
Kitchen and Living Room Ceiling and Wall Soundproofing in Melrose
A Melrose kitchen and living room opened up, packed with mineral wool, rebuilt on isolation clips and hat channel, and sealed with fire-rated light covers and putty pads.
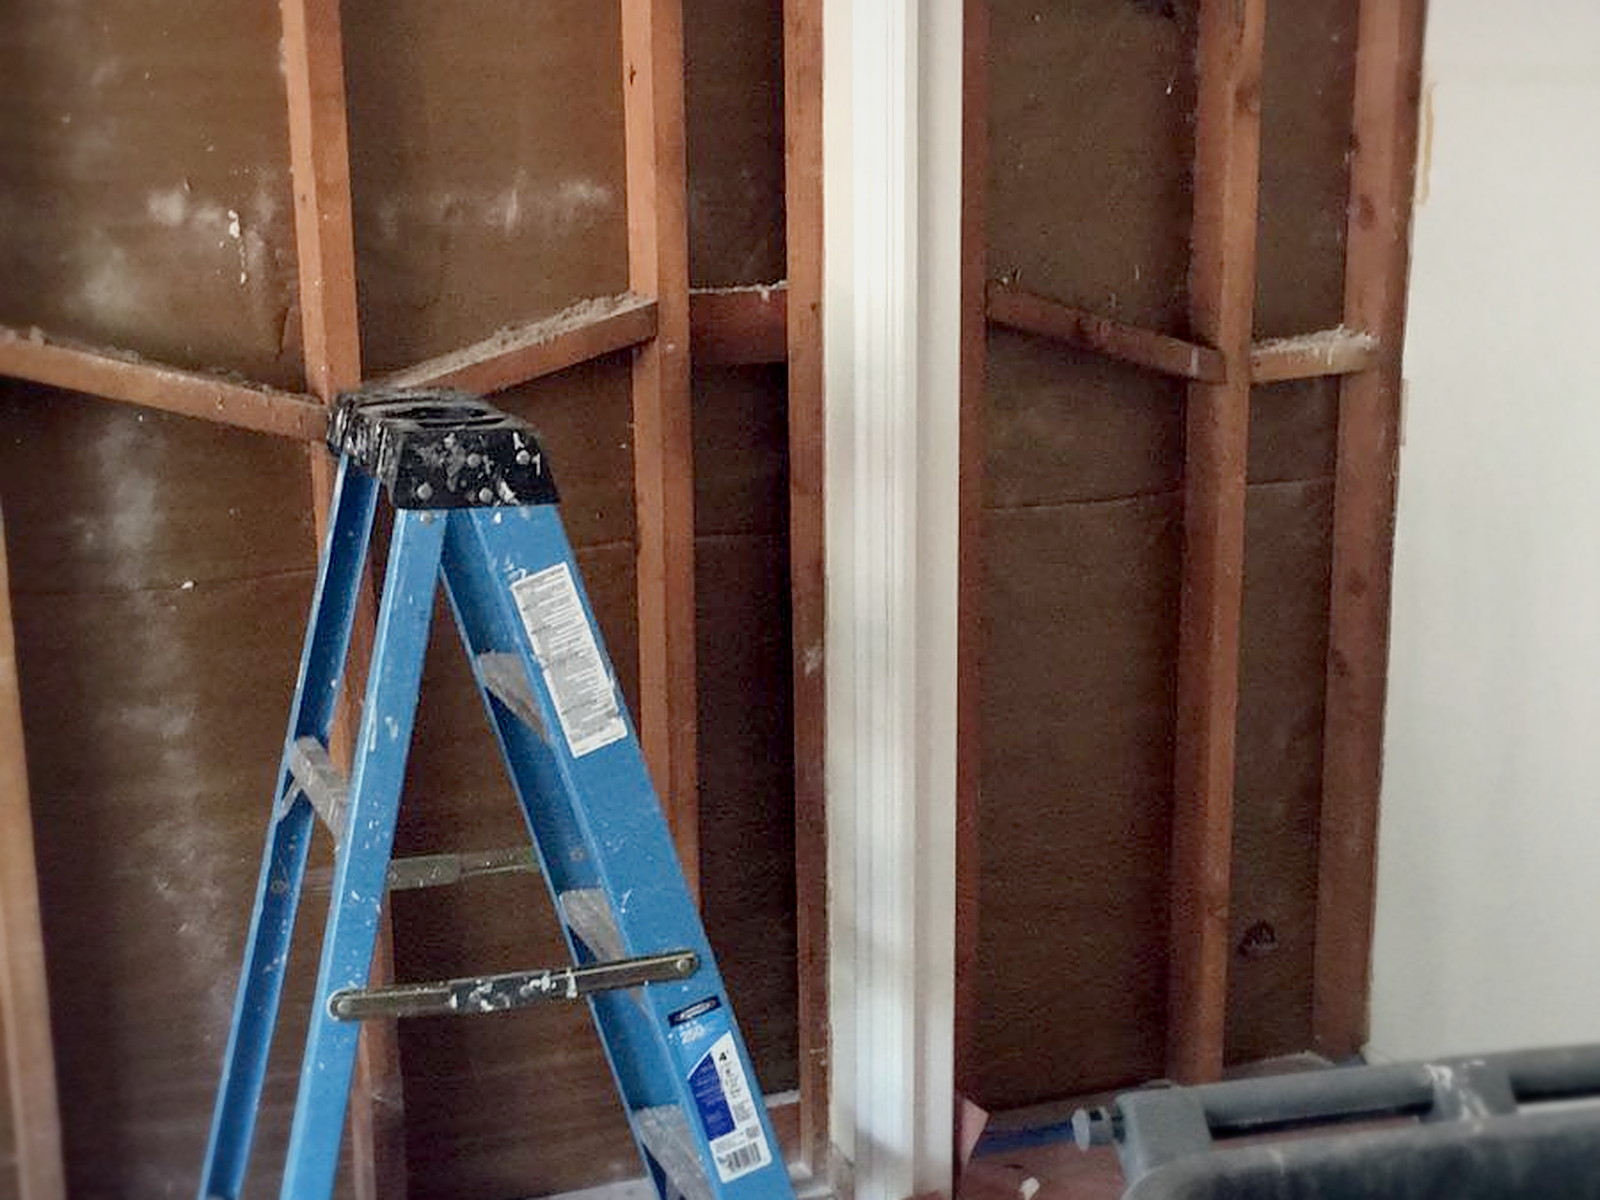
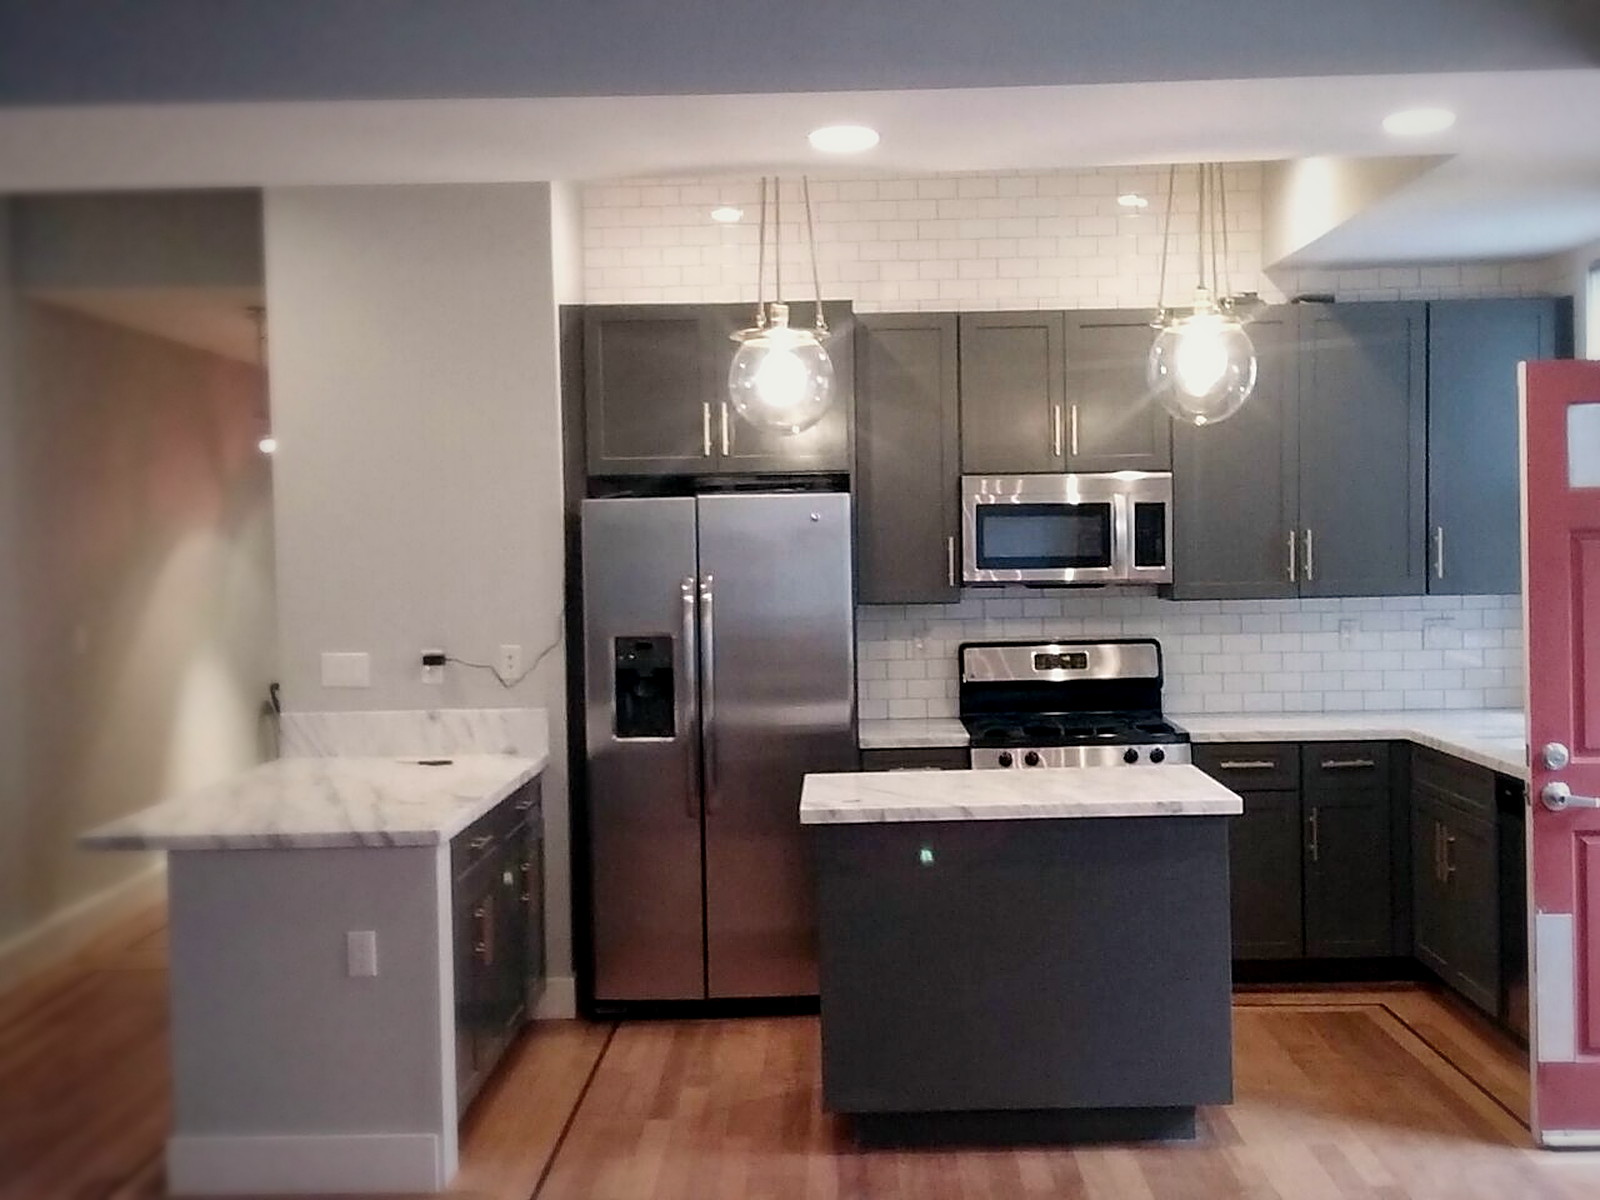
Before & after
Project photos
Before: board off, framing and closet opening exposed. 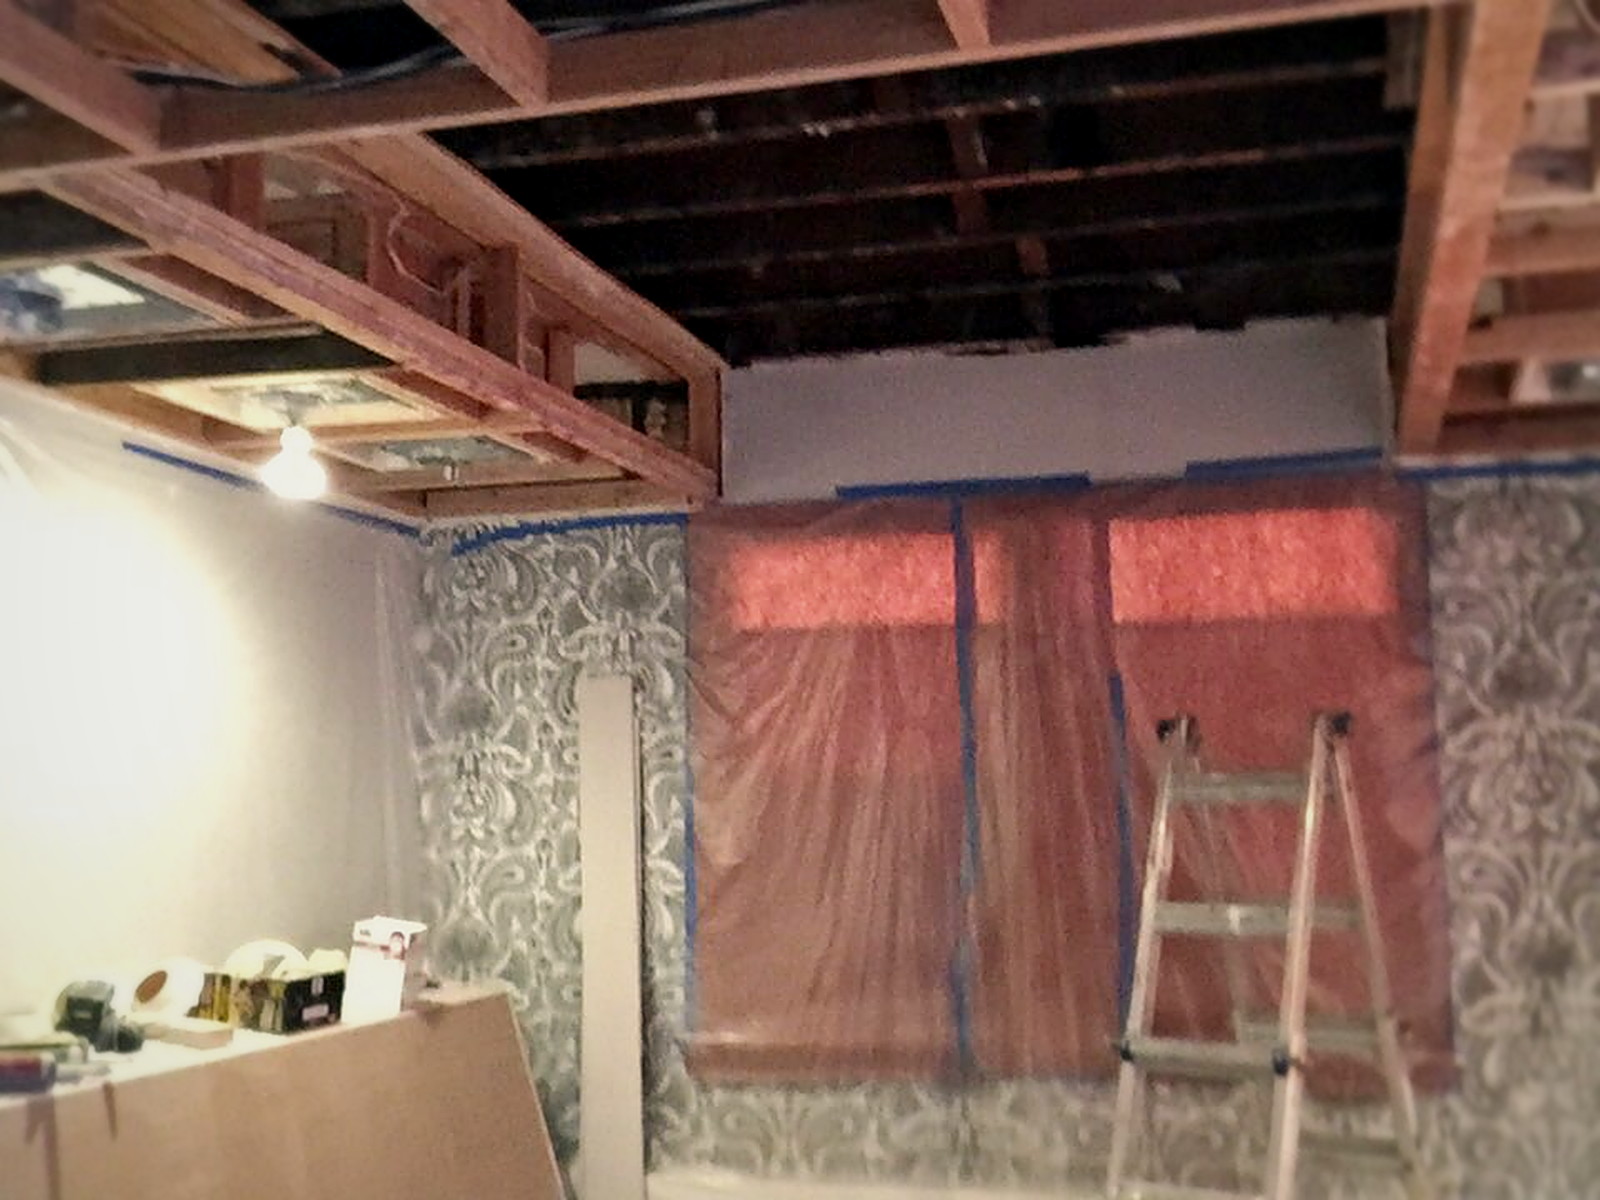
Ceiling stripped back with the room fully masked off. 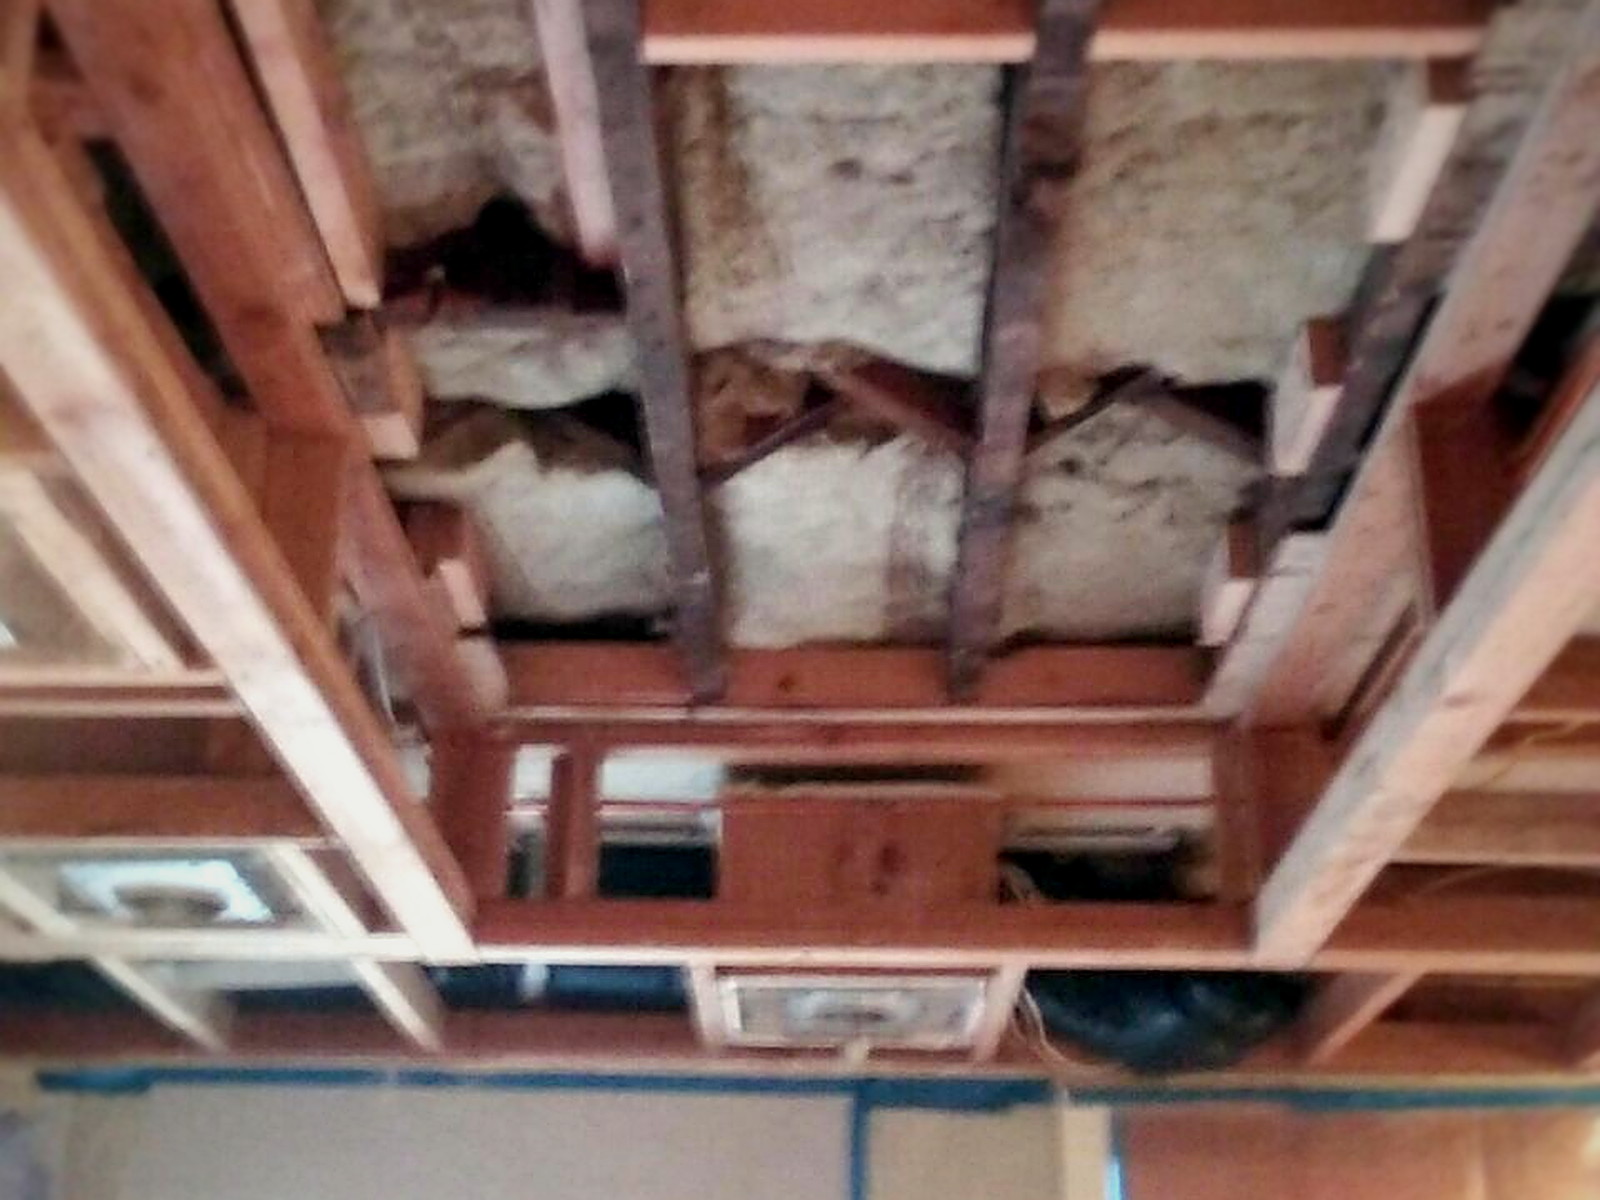
Mineral wool packed full depth into every joist bay. 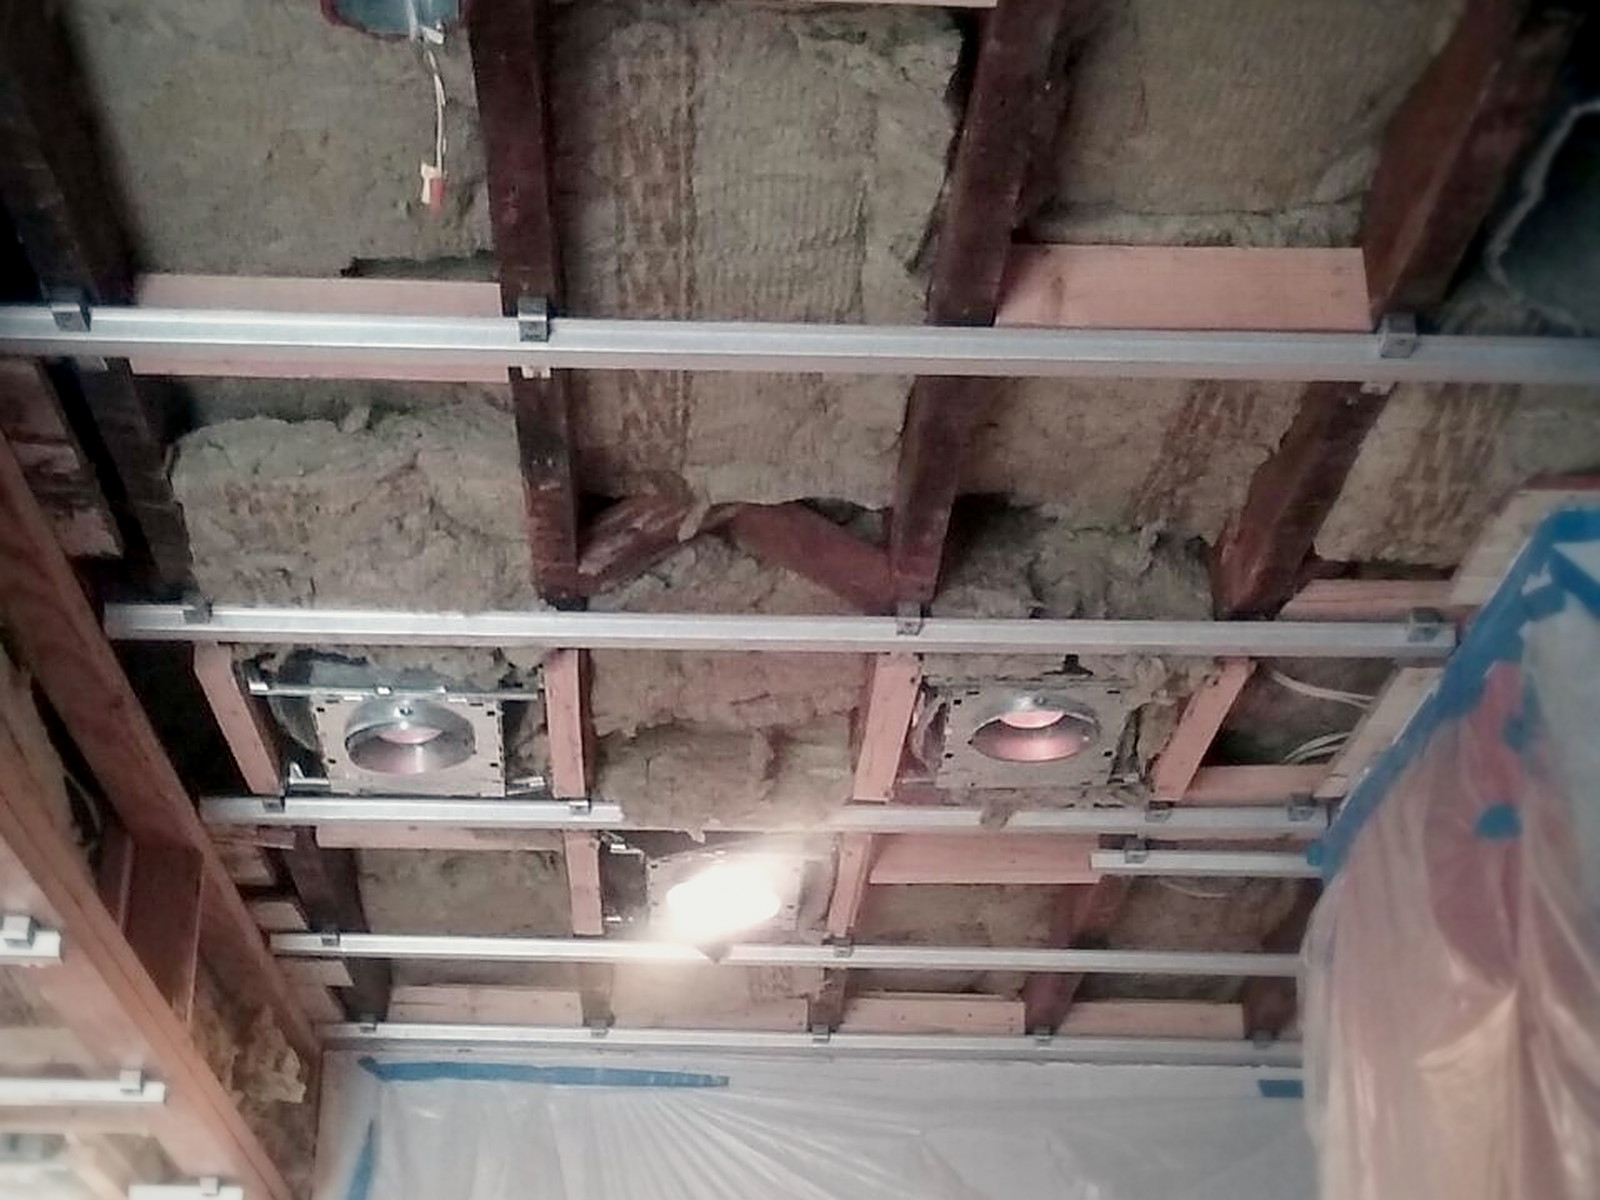
Clips and channel set out, boxes backed with putty pads. 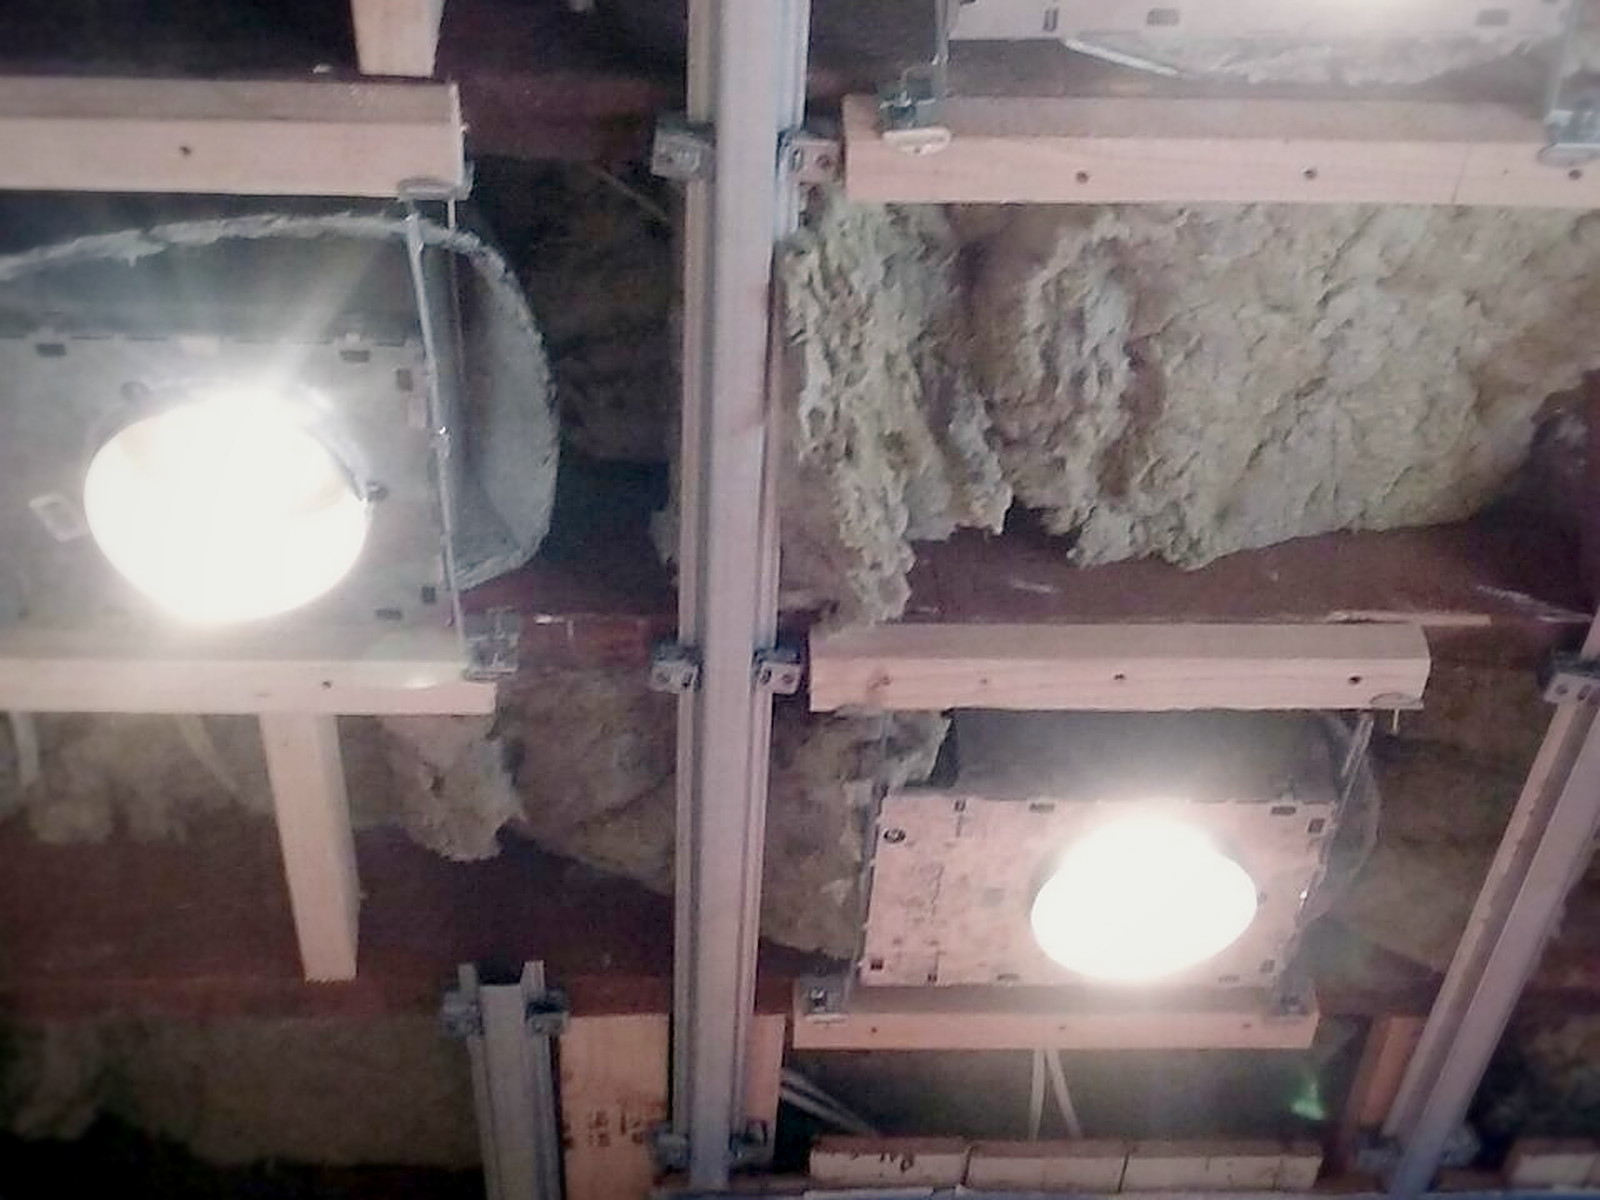
Fire-rated covers over each downlight so the cavity stays sealed. 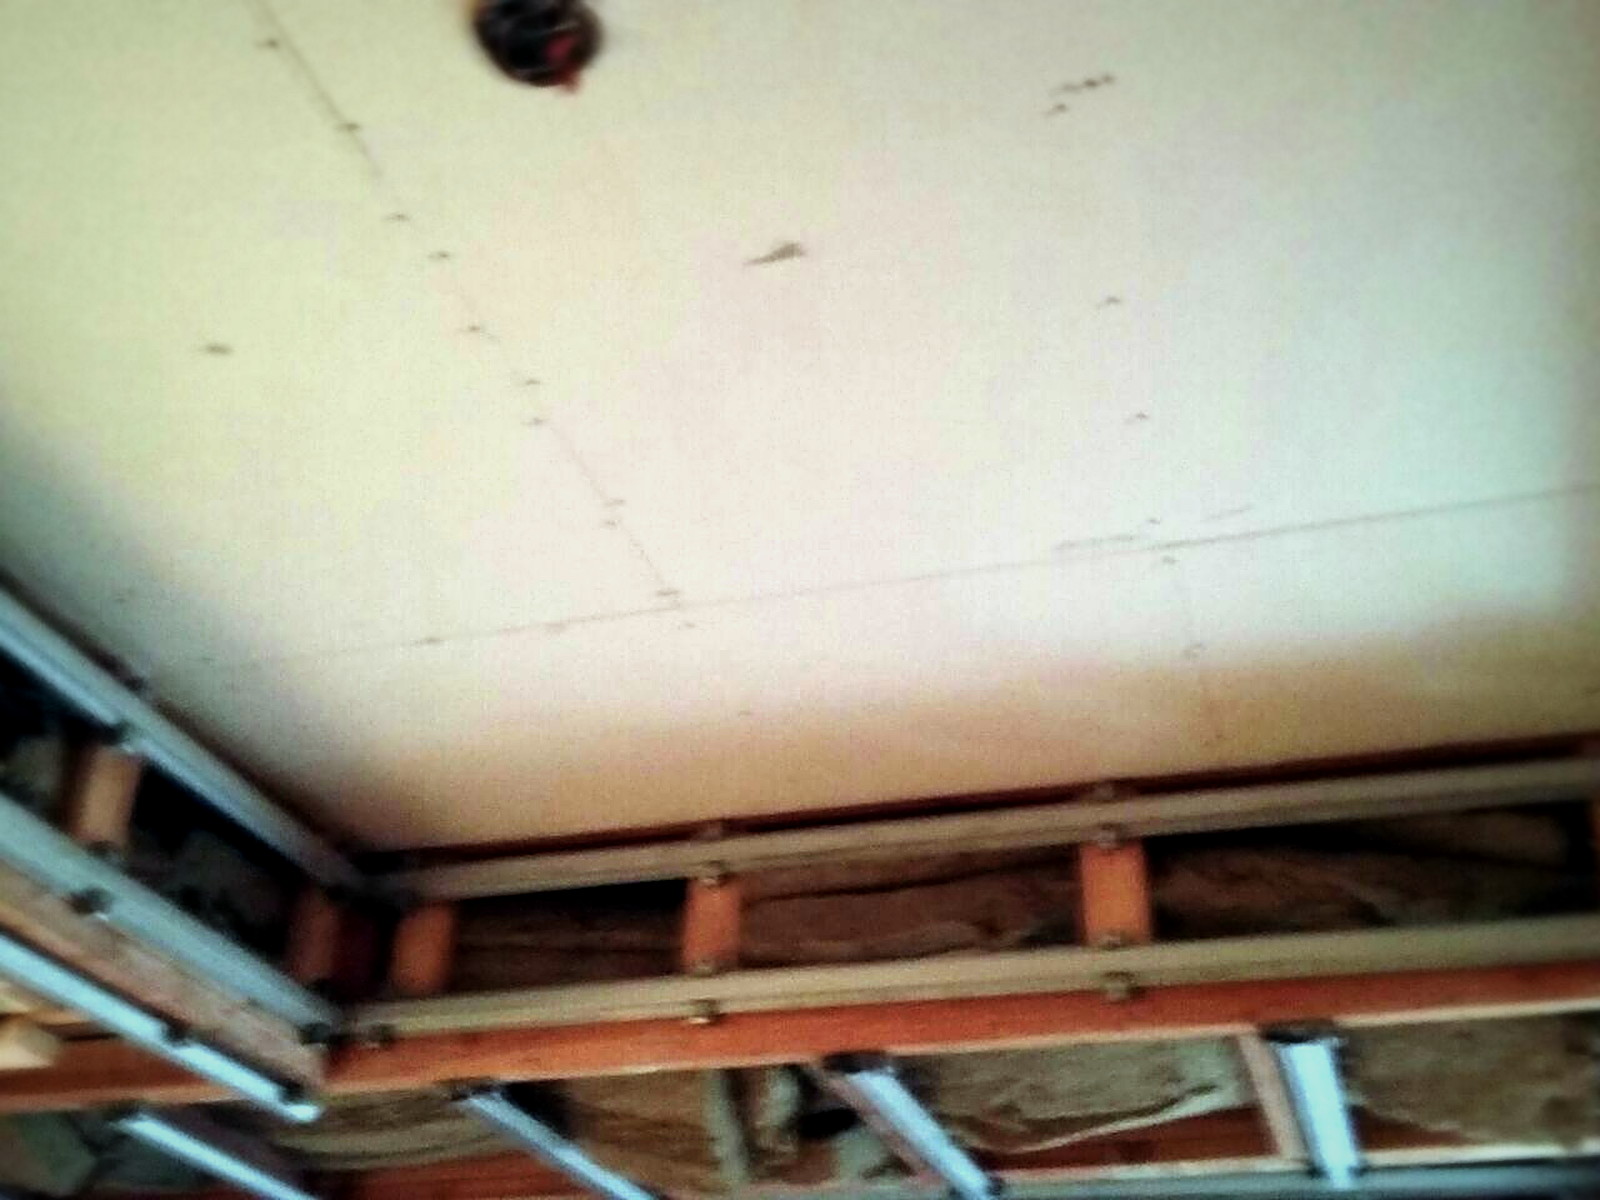
Drywall landing on channel, never touching the joists. 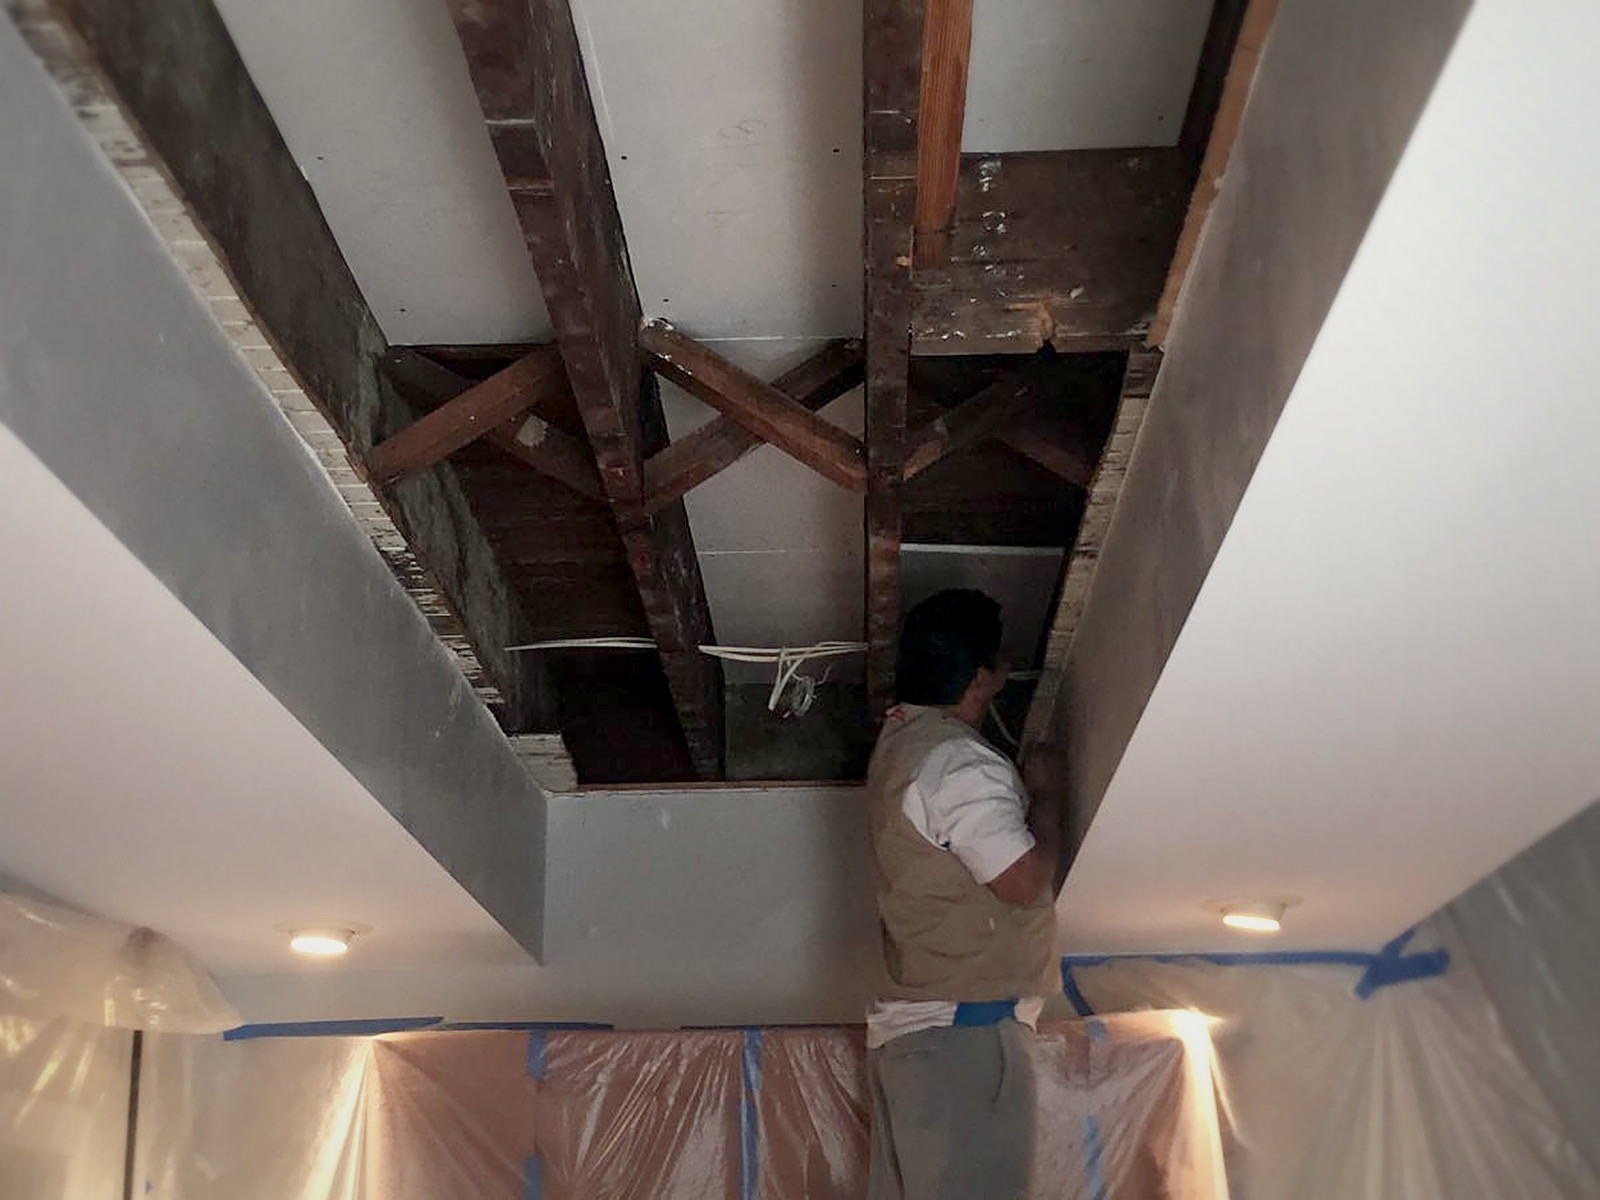
Closing out the final bay around the existing framing. 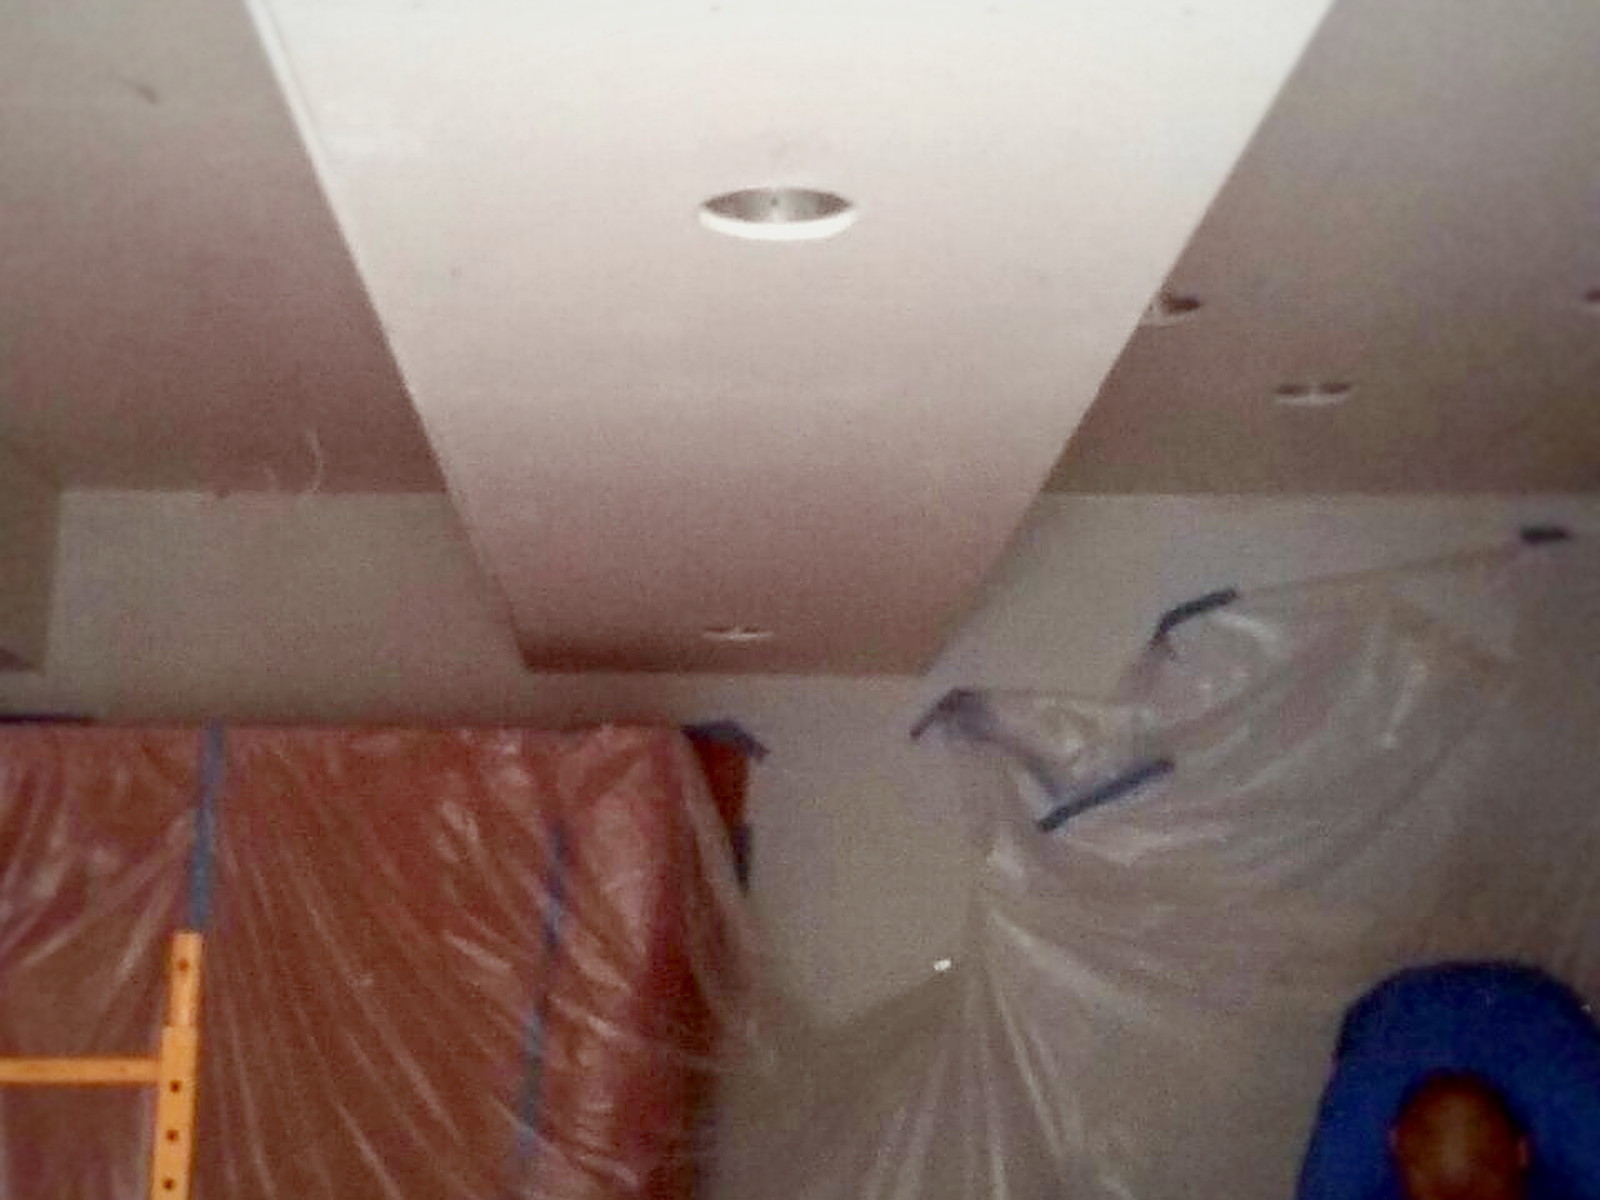
Fixtures set flush and everything taped ahead of paint. 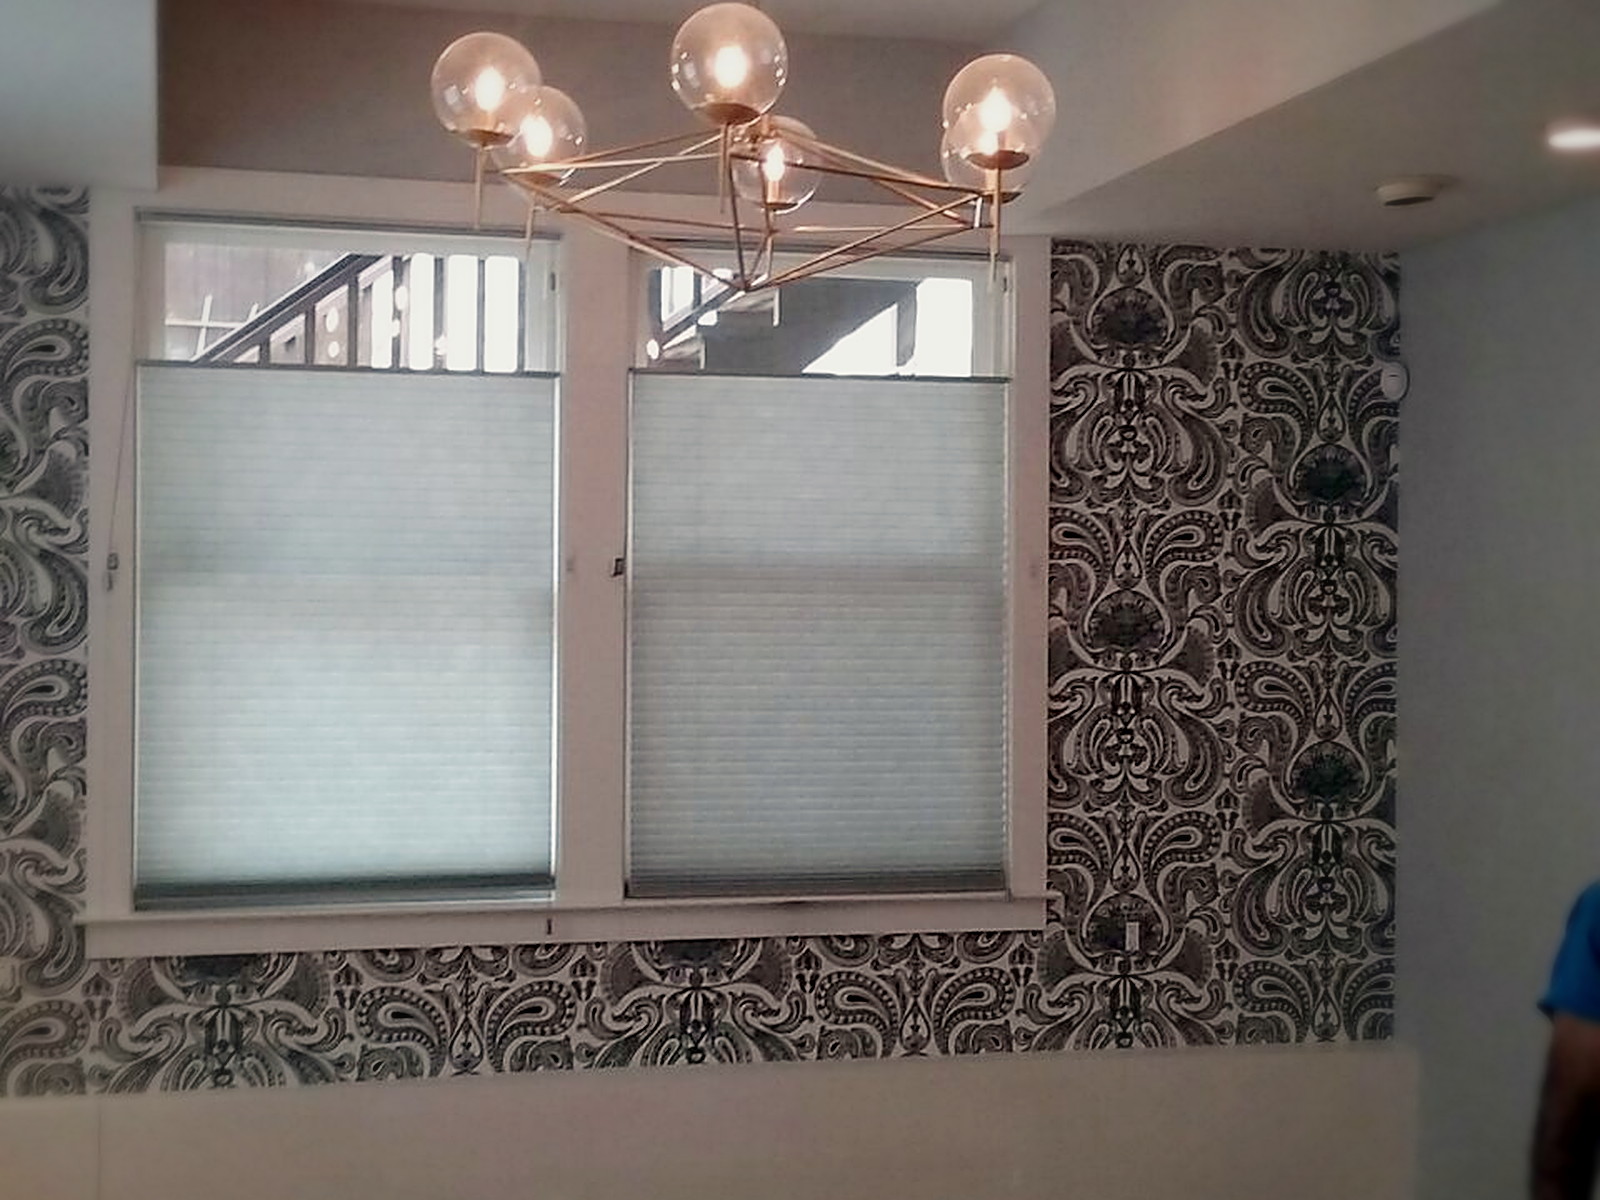
Finished ceiling reading as an ordinary flat plane. After: kitchen and living space finished and quiet.
Build timeline
- 1
Open up and protect
The kitchen and living room were masked floor to ceiling, then the ceiling and affected walls were taken back to framing so every joist bay, stud bay, wire and duct was visible before anything new went in.
- 2
Cavity insulation
Mineral wool was packed full depth into the ceiling joists and wall bays. The dense batt absorbs energy inside the cavity so the new air gap behind the finished surface does not ring.
- 3
Electrical detailing
Fire-rated recessed light covers were fitted over every downlight and putty pads were wrapped around each electrical box. Fixtures and boxes are the usual leak points in a ceiling, and sealing them keeps the assembly airtight without breaking code.
- 4
Clips, channel and drywall
Isolation clips were set on a measured grid with hat channel snapped in, then drywall was hung on the channel. From that point the finished surfaces hang on rubber rather than on the structure.
- 5
Seal, finish and reinstate
Perimeters and every penetration were sealed acoustically, then taped, mudded and painted. Lighting went back flush, cabinetry and floors were reinstated, and the space returned to daily use.
Materials & system summary
The key soundproofing components used on this build, grouped by the job each layer does in the assembly.
Cavity absorption
Packed full depth through the ceiling joists and wall bays across the kitchen and living room.
Decoupling
Clips and channel across the ceiling and walls so the drywall never touches the framing.
Fixture containment
Fitted over each downlight so the insulated, sealed cavity stays intact around the fixtures.
Box sealing
Wrapped around every electrical and switch box to close the flanking path through the openings.
Sealing
Run at every perimeter, seam and penetration so the finished assembly stays airtight.
What was the sound concern?
The kitchen and living room sat directly under and beside active parts of the home, so conversation, footfall and appliance noise carried straight through. The original ceiling was single-layer drywall fixed hard to the joists with almost nothing in the cavities, and a run of recessed downlights punched holes through what little barrier existed.
What was our plan?
Rebuild the ceiling and the affected walls as a complete assembly rather than patching one layer: dense mineral wool in every cavity, fire-rated covers and putty pads to close the fixture and box penetrations, isolation clips and hat channel to break the structural path, and an acoustic seal at every edge before finishing.
What further issues did we need to resolve?
This was a live renovation with cabinetry and finishes staged around the work, so the whole space had to stay masked and clean. Ceiling height was tight, the recessed lighting layout was fixed, and each fixture had to be boxed and covered so it could sit flush in a surface that never touches the joists above it.
What was our final Sound Solution?
The finished kitchen and living room read as ordinary painted surfaces with flush downlights, while the decoupled, insulated and sealed assembly does the work behind them. Airborne noise between the space and the rest of the house dropped sharply, and the fixture penetrations that would normally undo the build are fully contained.
Want a room like this?
Tell us the size of your space, where it is, and whether you're trying to block sound or clean up the sound inside it. We'll come back with a scoped estimate — usually within one business day.
Prefer to talk it through? Call (415) 864-4440.