
Residential Ceiling and Wall Soundproofing in Melrose
A Melrose residence: ceiling and perimeter walls stripped back, packed with mineral wool, rebuilt on isolation clips and channel, and damped with Green Glue.
Before & after
Project photos
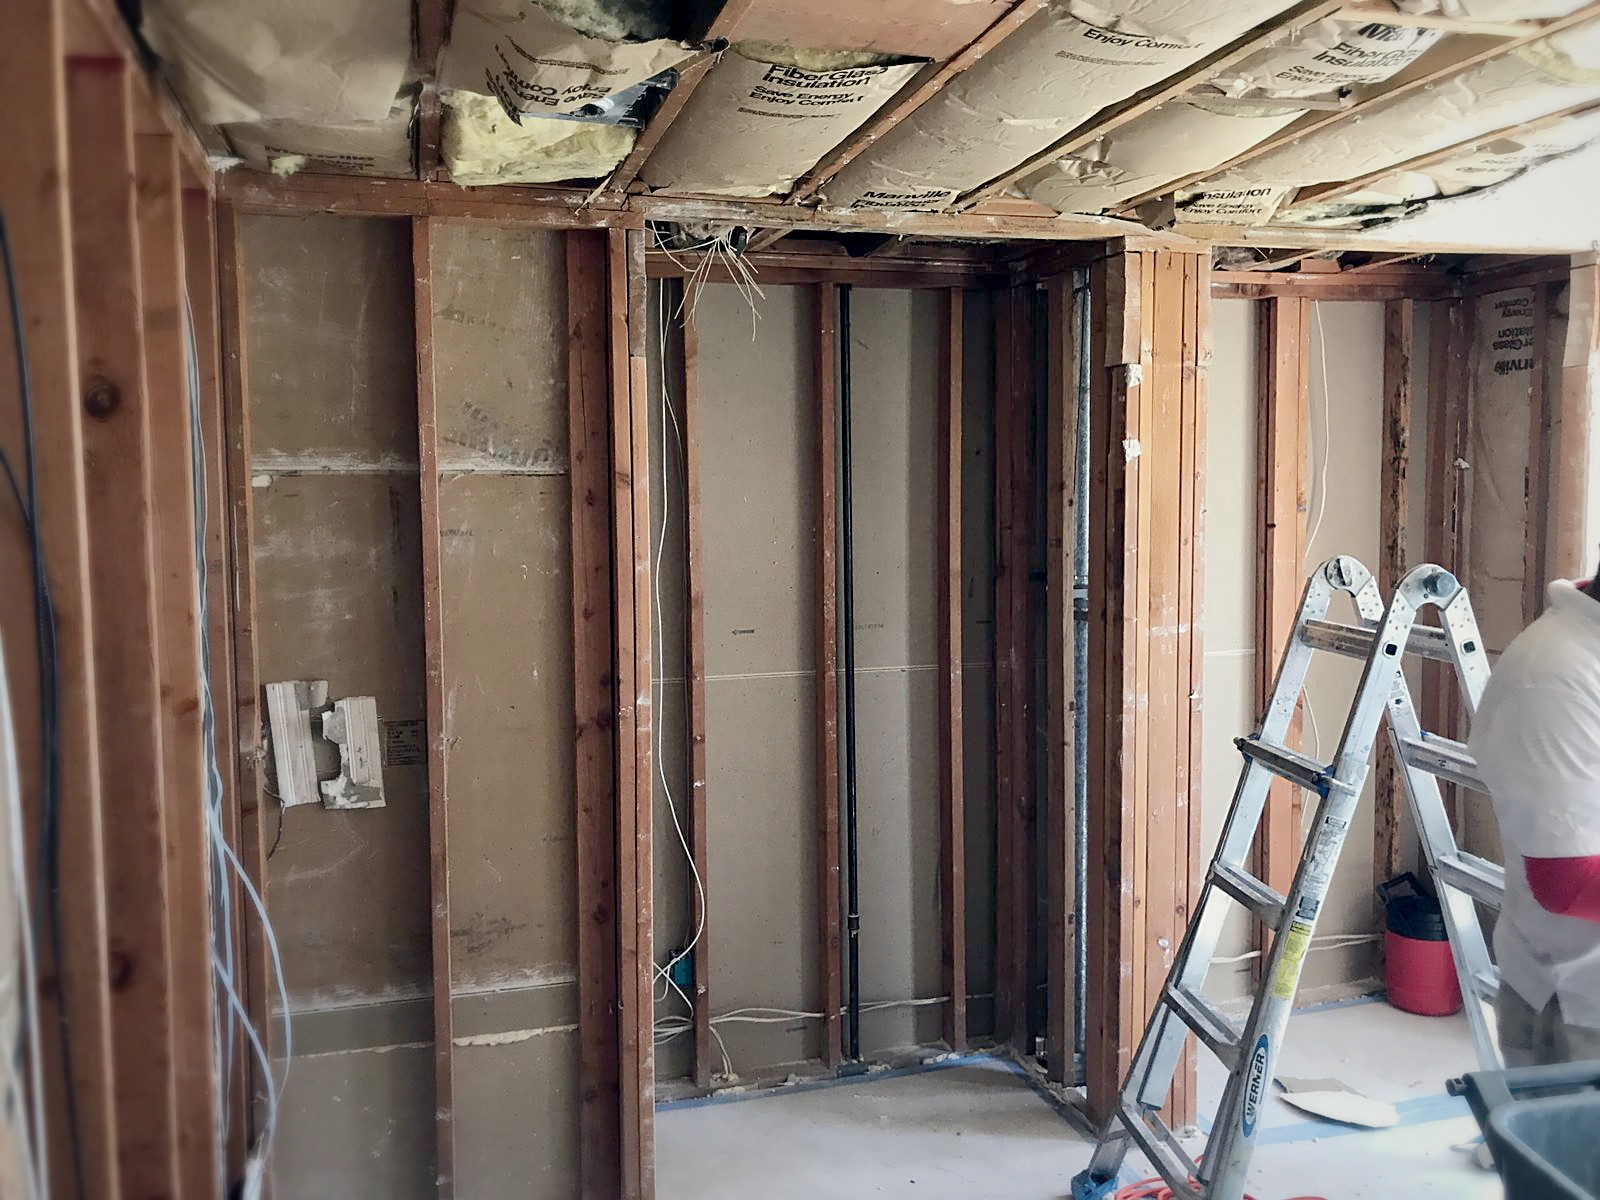
Before: framing exposed, old batts and services all visible. 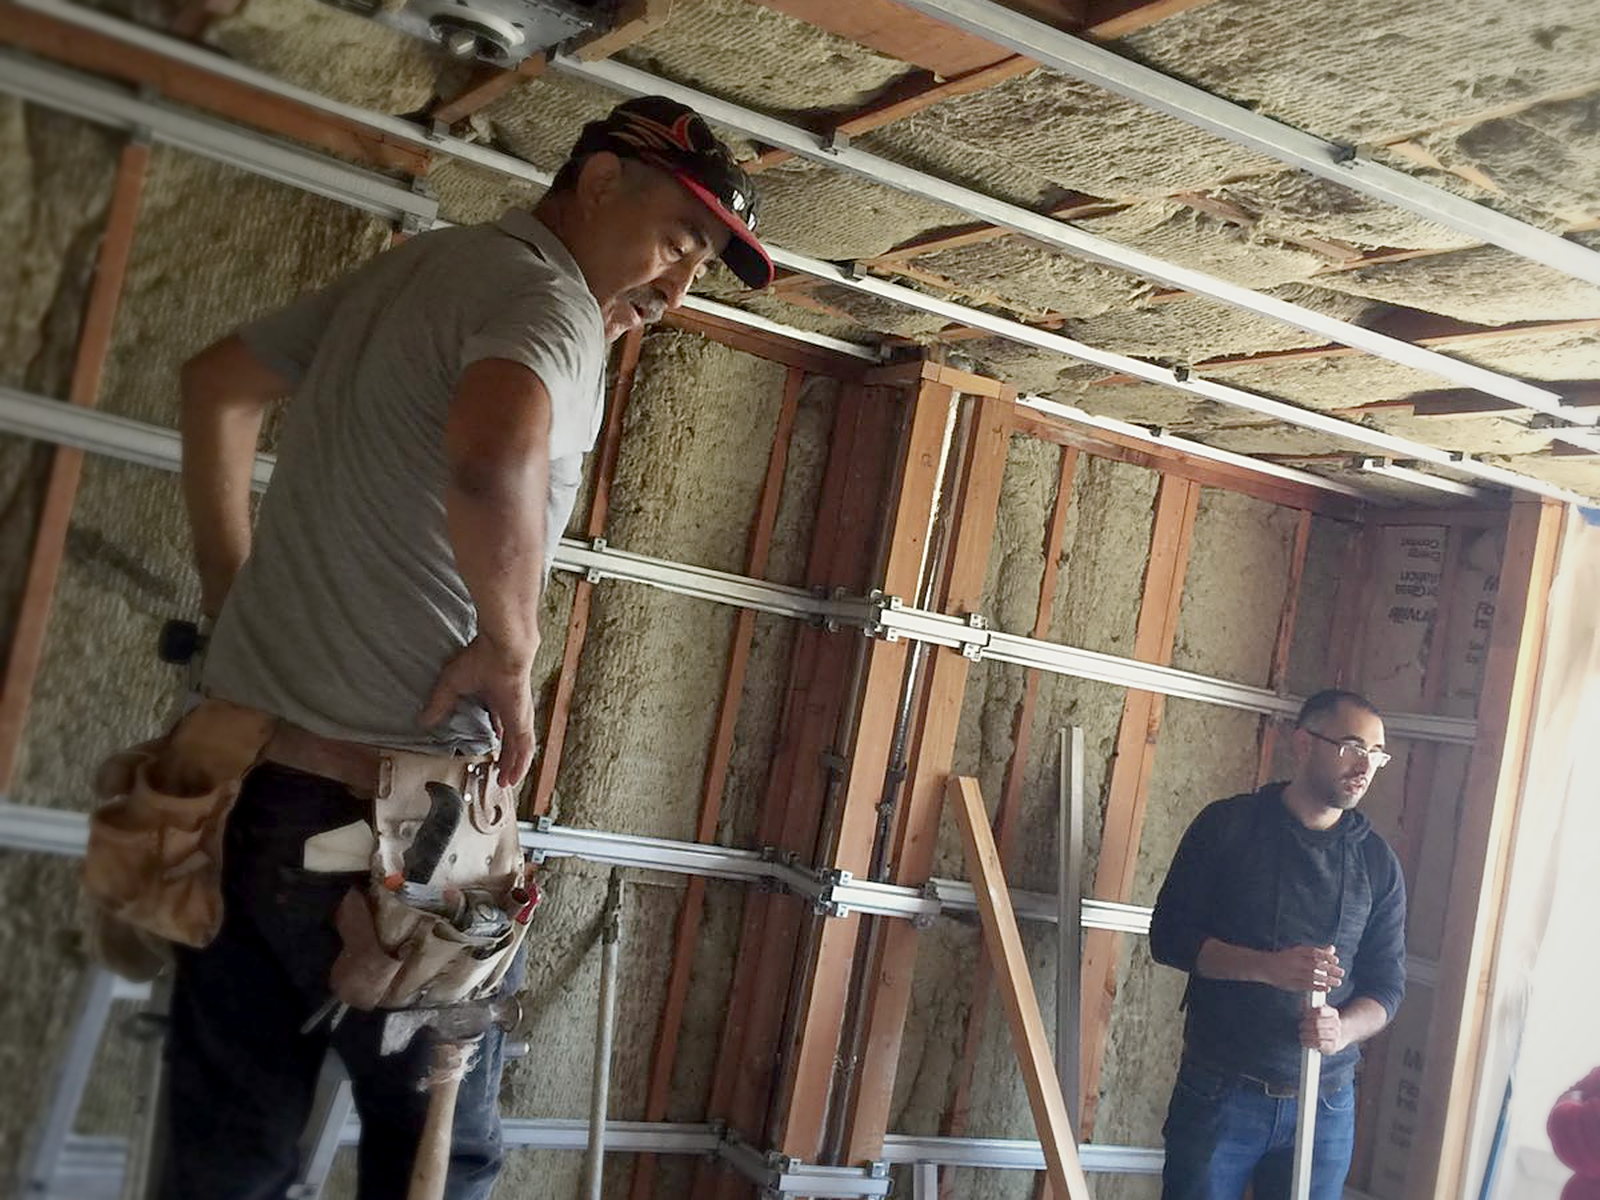
Mineral wool packed full depth, then clips and channel over the top. 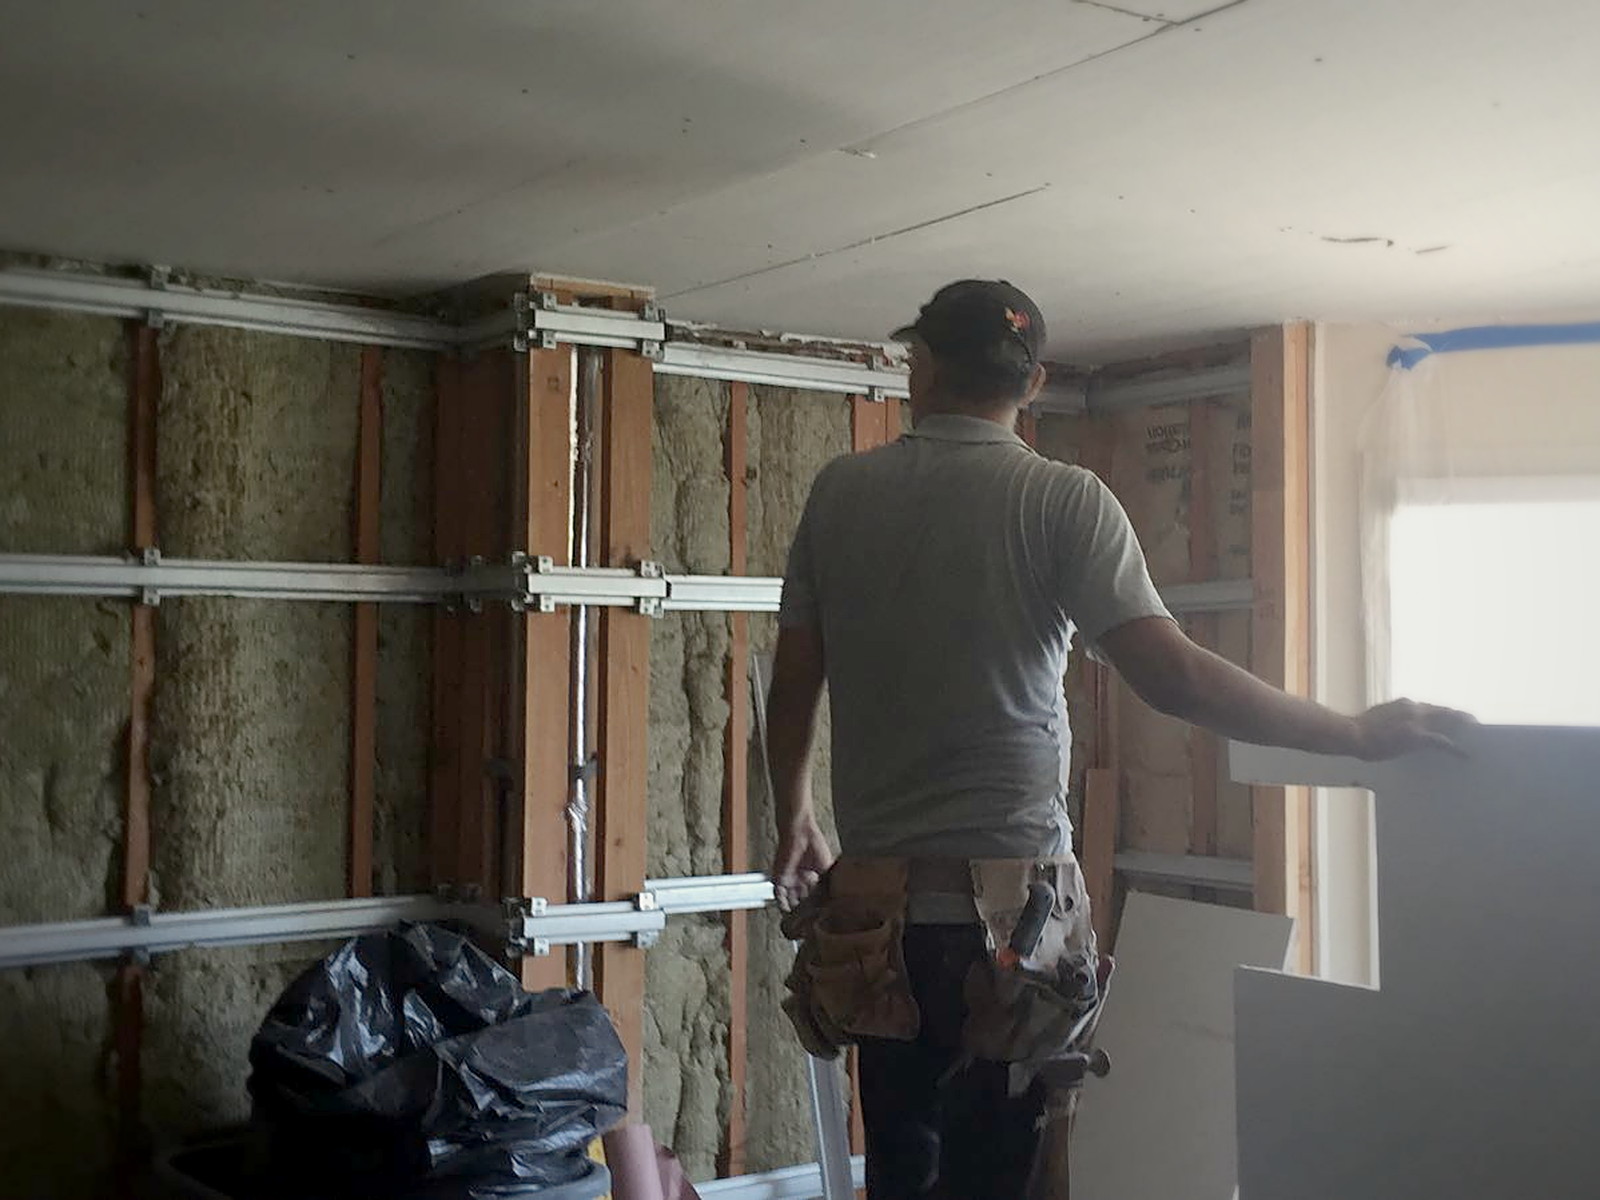
First boards heading onto the decoupled wall grid. 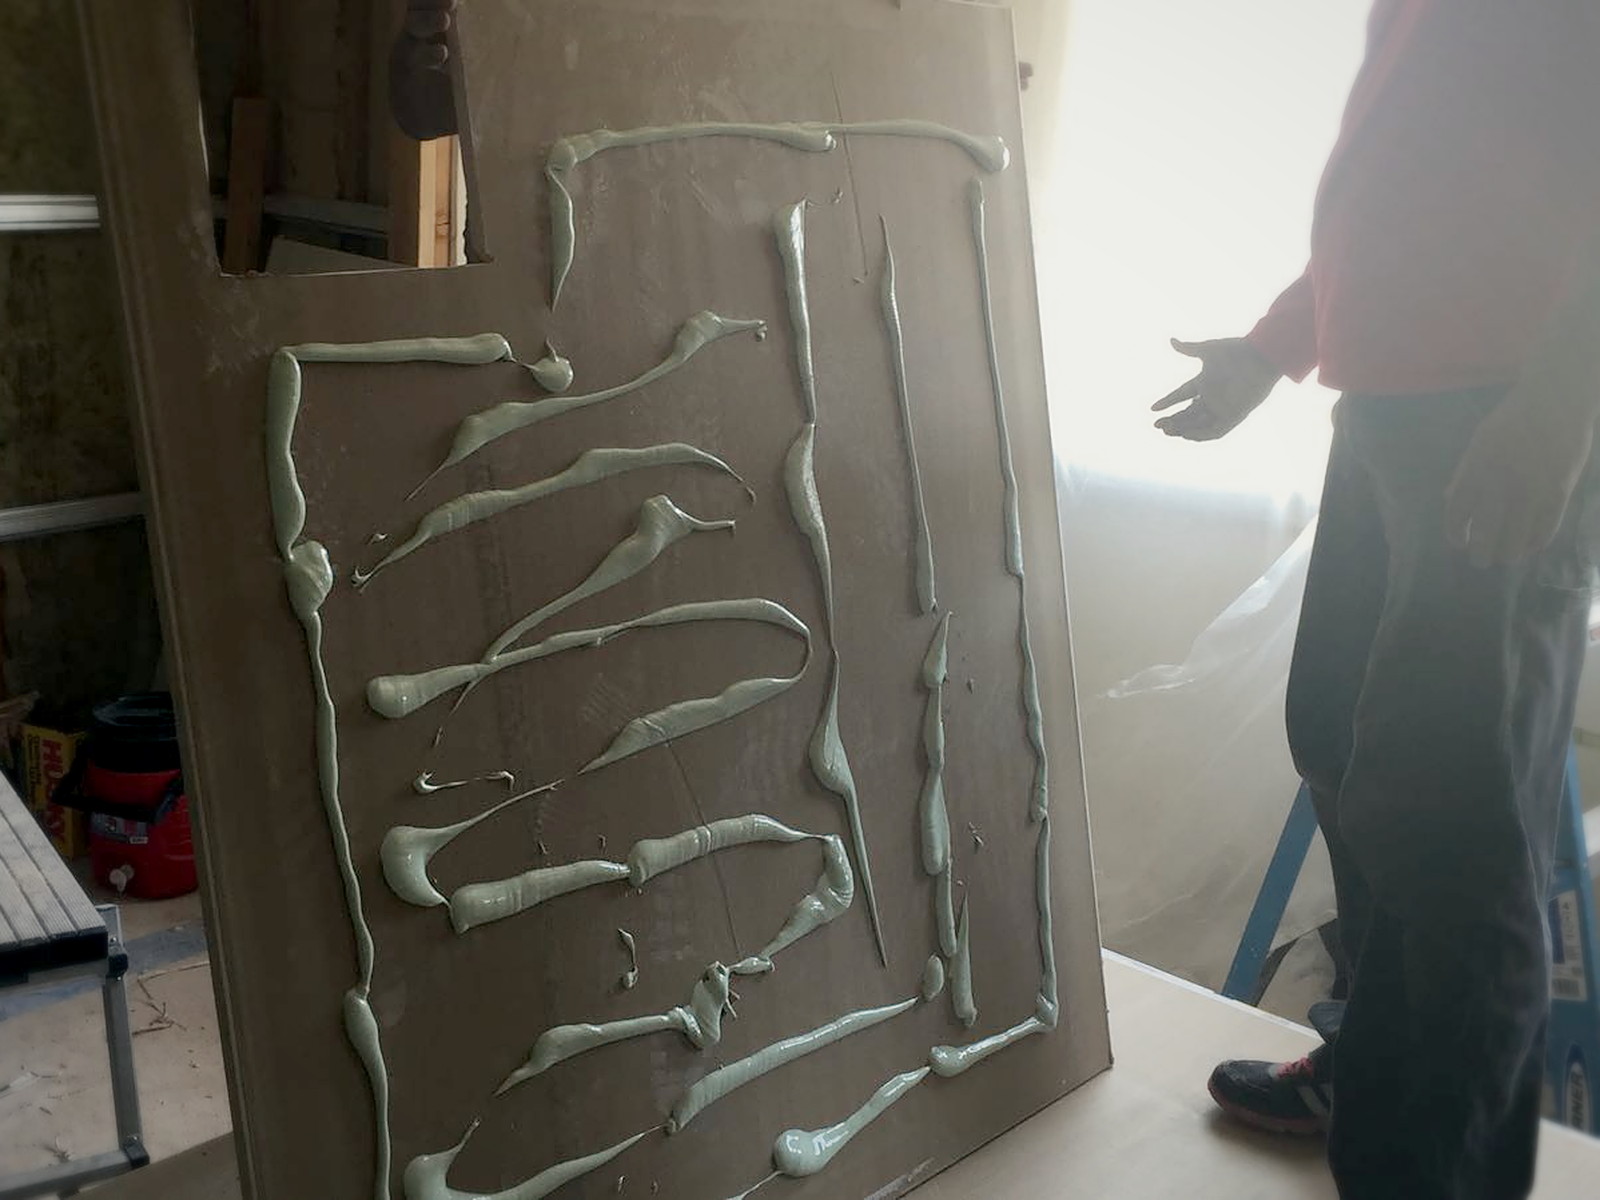
Green Glue laid out across the second layer before it goes up. 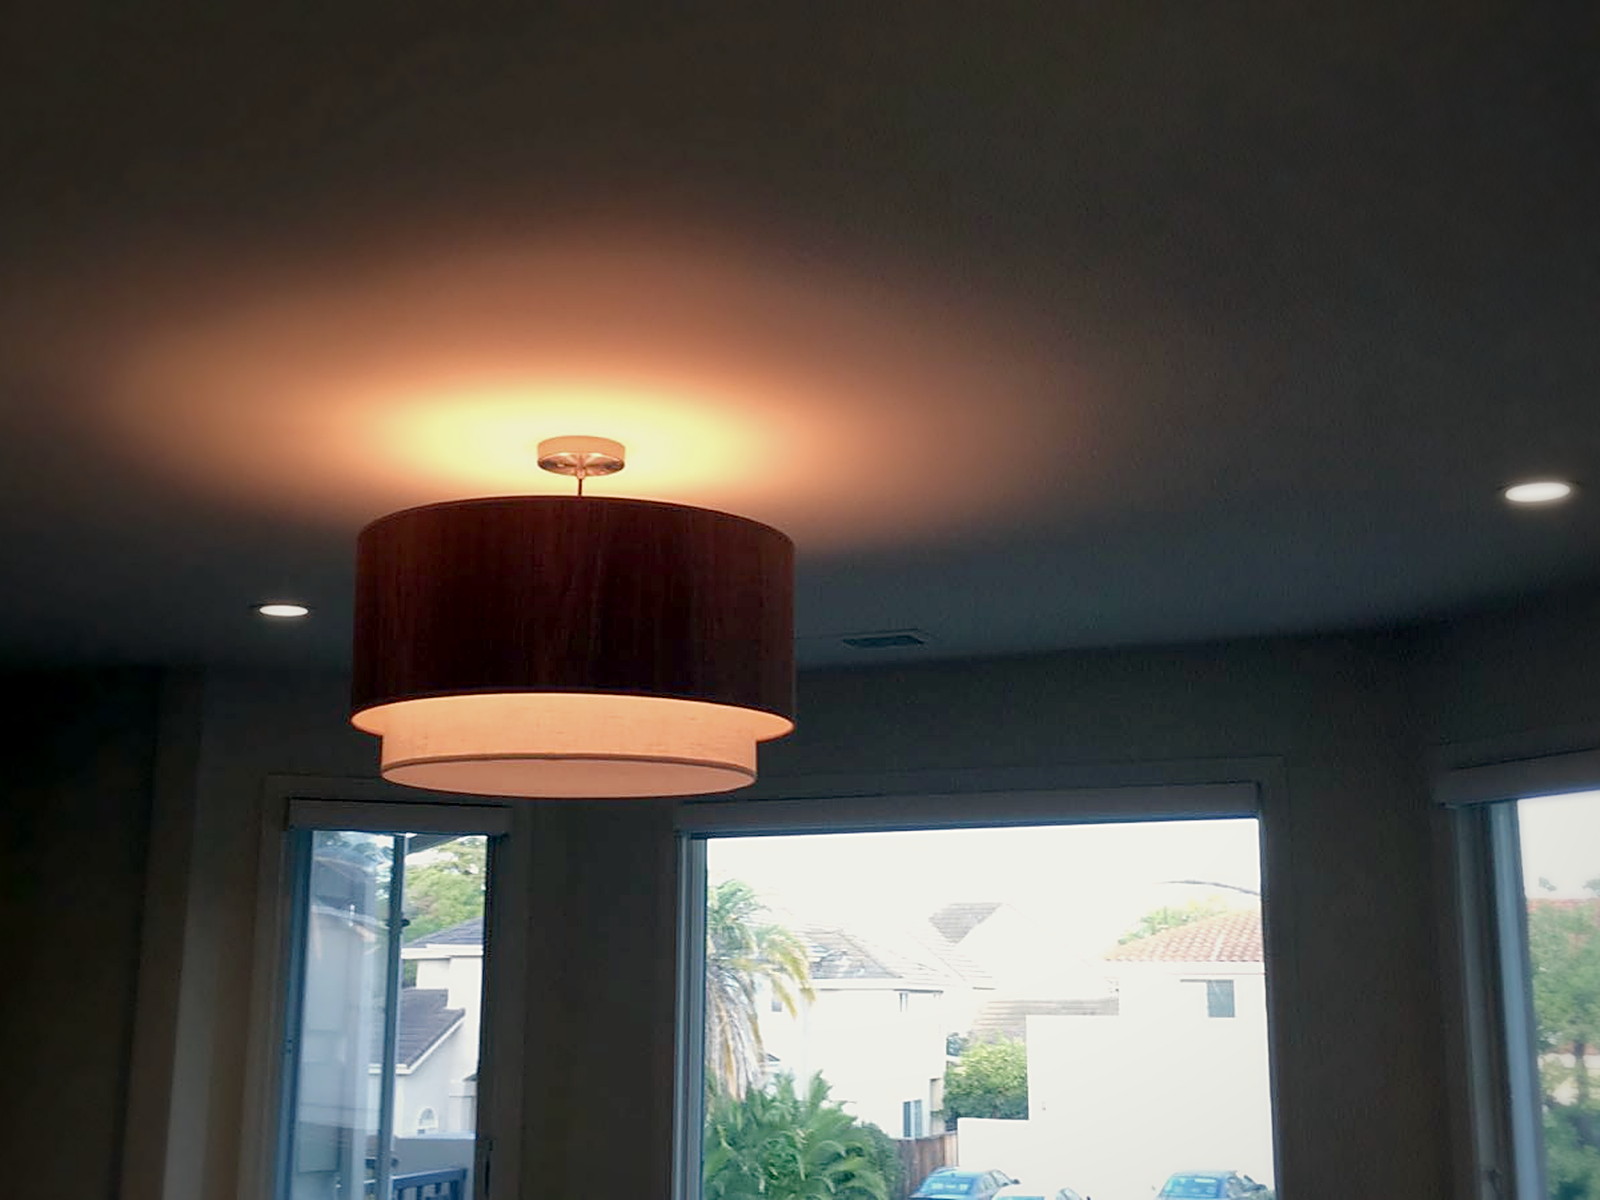
Finished ceiling with fixtures set back in and sealed. 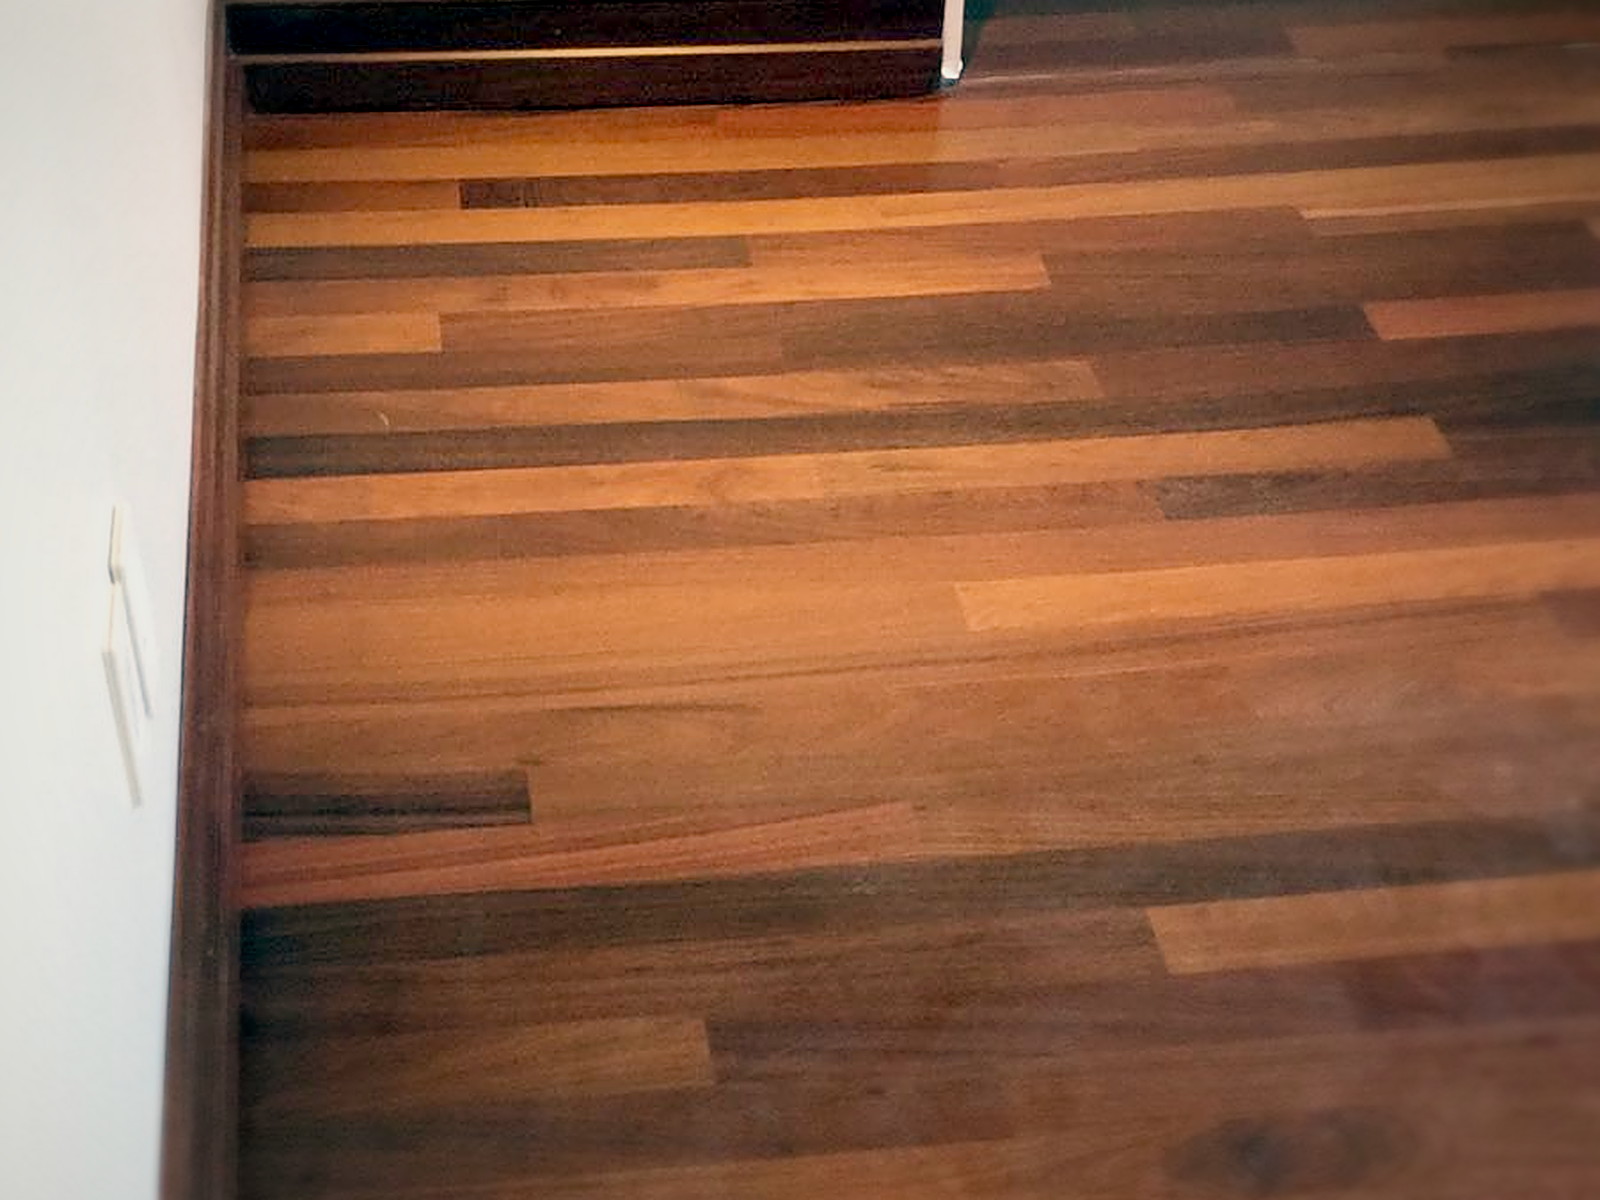
Floor and base run tight to the rebuilt walls. 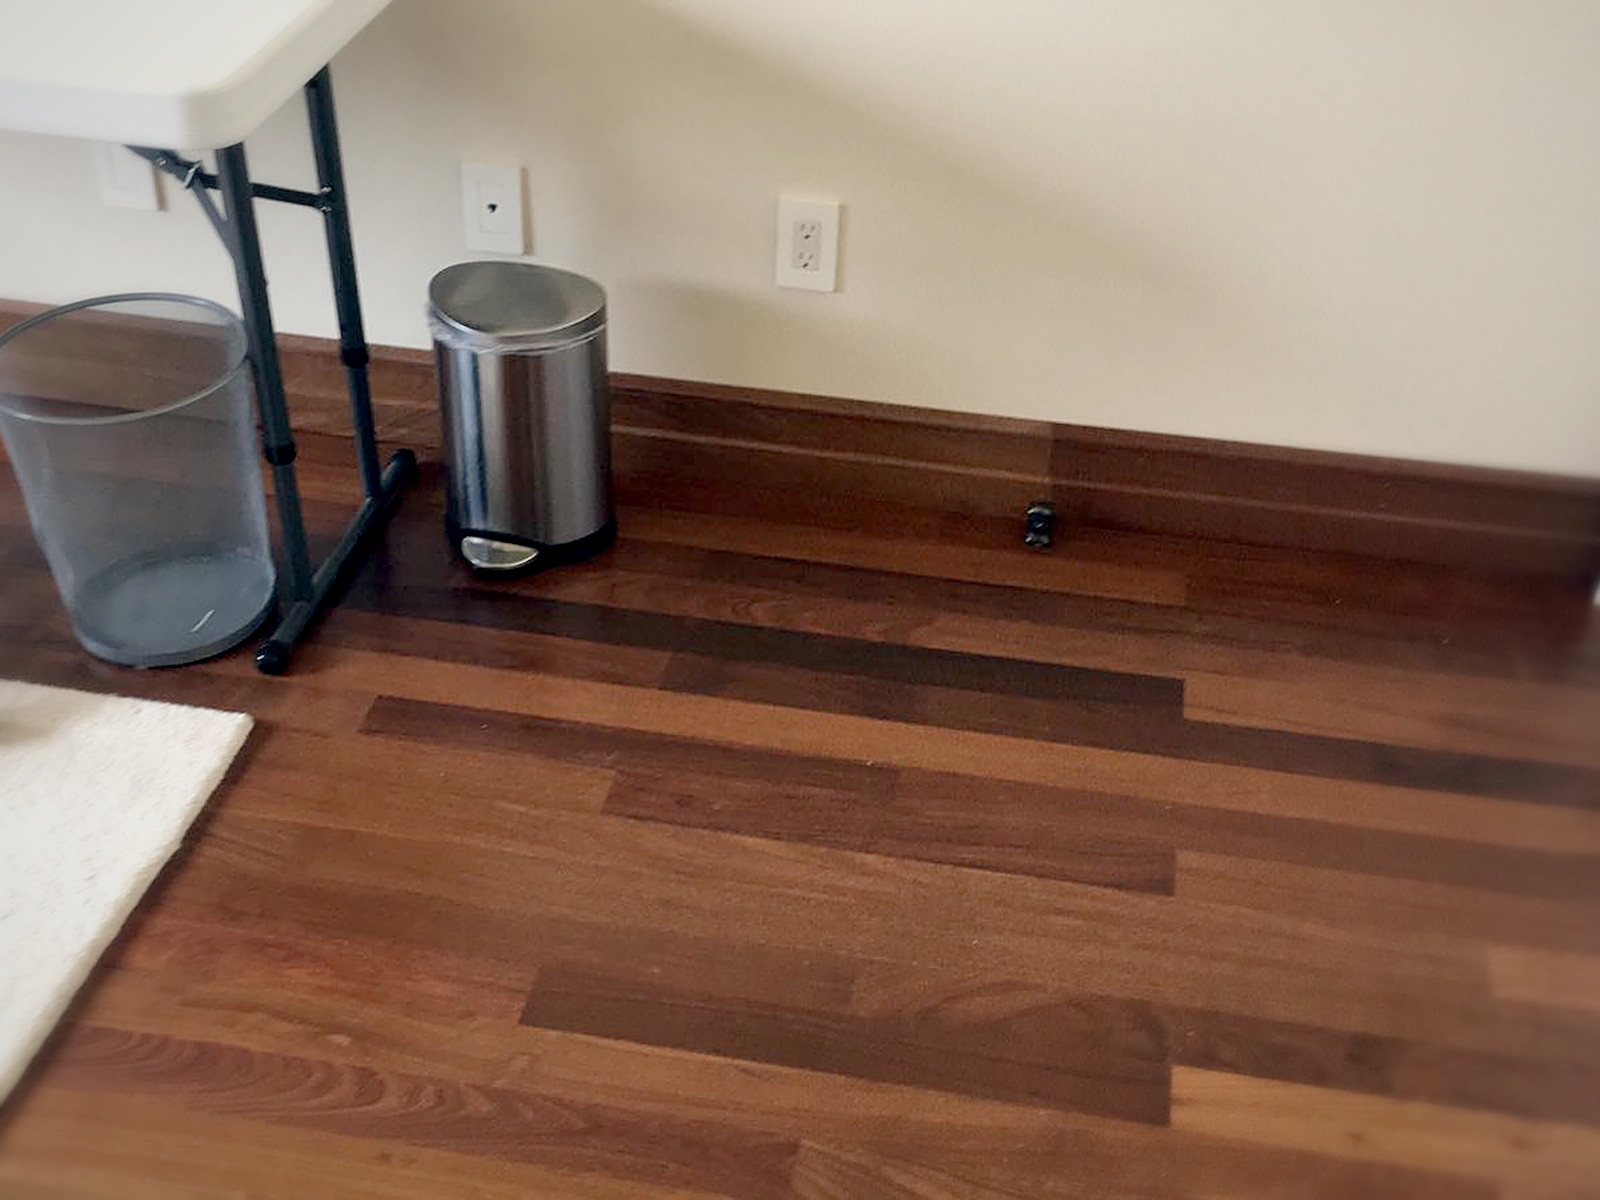
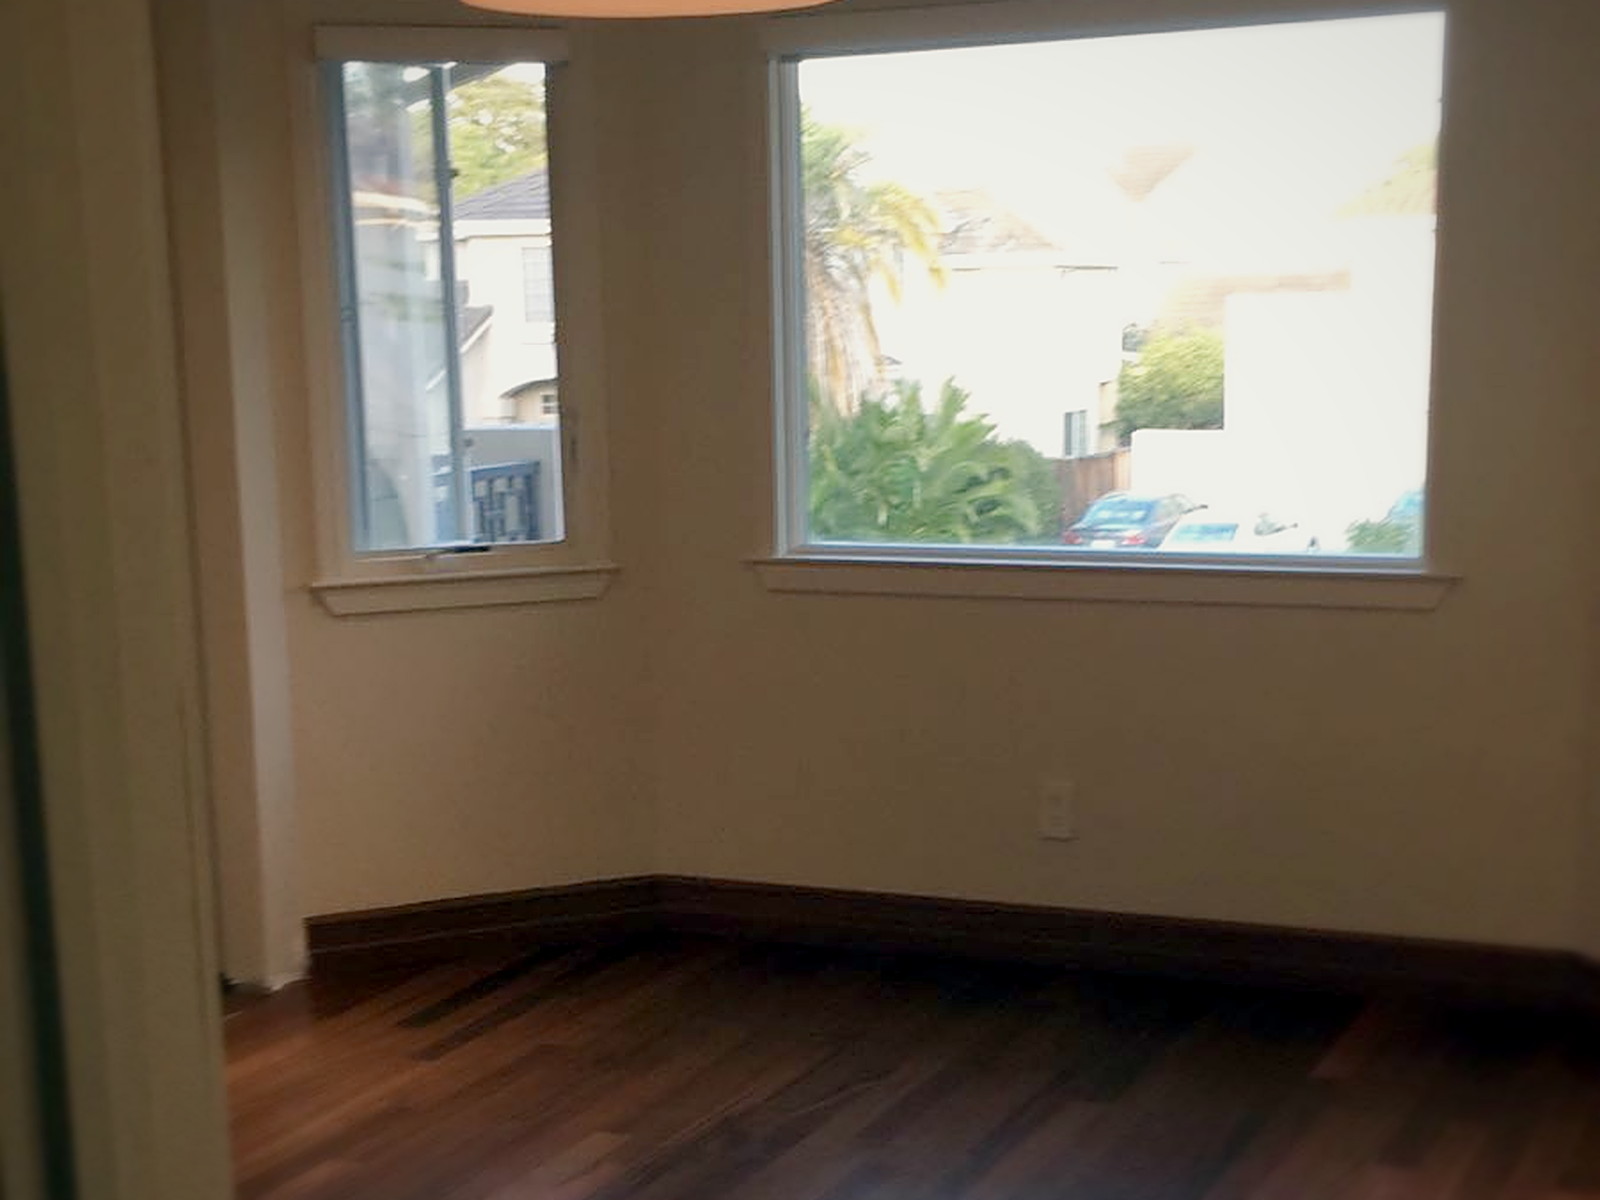
The room back in use, floors down and outlets reset. Finished: no visible sign of the assembly behind the paint.
Build timeline
- 1
Strip out and survey
Ceiling and perimeter walls were taken back to framing so we could see the joists, the studs and every wire and duct crossing the room. The original lightweight fiberglass came out with the board.
- 2
Cavity insulation
Every joist bay and stud bay was packed full depth with mineral wool. It is denser than the fiberglass it replaced, so it absorbs more energy inside the cavity and keeps the new air gap from ringing.
- 3
Clips and channel
Isolation clips were set on a measured grid across the ceiling joists and the wall studs, with metal channel snapped into them. From that point the finished surfaces hang on rubber rather than on the structure.
- 4
Green Glue and double drywall
Drywall was hung on the channel, then a second layer went on with Green Glue damping compound spread in serpentine beads between the sheets. The compound converts the vibration between the layers into heat, which is what handles the low end that mass alone misses.
- 5
Seal, finish and reinstate
Perimeters and every fixture penetration were sealed acoustically, then tape, mud and paint. Lighting was reinstated flush, hardwood flooring and base went back down, and the room returned to service.
Materials & system summary
The key soundproofing components used on this build, grouped by the job each layer does in the assembly.
Cavity absorption
Packed full depth in the ceiling joists and wall bays, replacing the original lightweight fiberglass.
Decoupling
Clips and channel on both the ceiling and walls so the finished board never touches the framing.
Damping
Spread between the two drywall layers to convert panel vibration into heat, especially at low frequencies.
Sealing
Run at every perimeter, seam and fixture penetration so the finished assembly stays airtight.
What was the sound concern?
Noise was moving freely into this Melrose home through both the ceiling and the perimeter walls. The original construction was single-layer drywall on bare framing with lightweight fiberglass in the cavities — an assembly with no mass, no damping and a direct structural path, so voices, traffic and footfall all came straight through.
What was our plan?
Take the ceiling and walls back to framing and rebuild them as a full assembly: dense mineral wool in every cavity, isolation clips and channel to break the structural path, then two layers of drywall with Green Glue damping between them and an acoustic seal at every edge. Each of those layers does a different job, and skipping one is what makes most soundproofing attempts disappointing.
What further issues did we need to resolve?
The work happened inside a home mid-renovation, so lighting, wiring and ducts crossing the ceiling all had to be re-detailed to sit flush in a surface that could not touch the joists. Ceiling height was limited, the walls had to stay square for new flooring and trim, and the double-layer build had to be planned so the second sheet landed with staggered seams over the Green Glue while it was still workable.
What was our final Sound Solution?
The finished rooms read as ordinary painted walls, a flush-lit ceiling and new hardwood floors, with the entire isolating assembly hidden behind them. Airborne noise from outside and from adjoining spaces dropped sharply, and the low-frequency rumble that mass alone would have left behind is handled by the damping layer.
Want a room like this?
Tell us the size of your space, where it is, and whether you're trying to block sound or clean up the sound inside it. We'll come back with a scoped estimate — usually within one business day.
Prefer to talk it through? Call (415) 864-4440.