
Company Recording Studio Rebuild
A company-owned recording studio stripped back to the framing and rebuilt as a decoupled, treated room with fabric-wrapped walls, slat diffusion and flush-mounted speakers.
Before & after
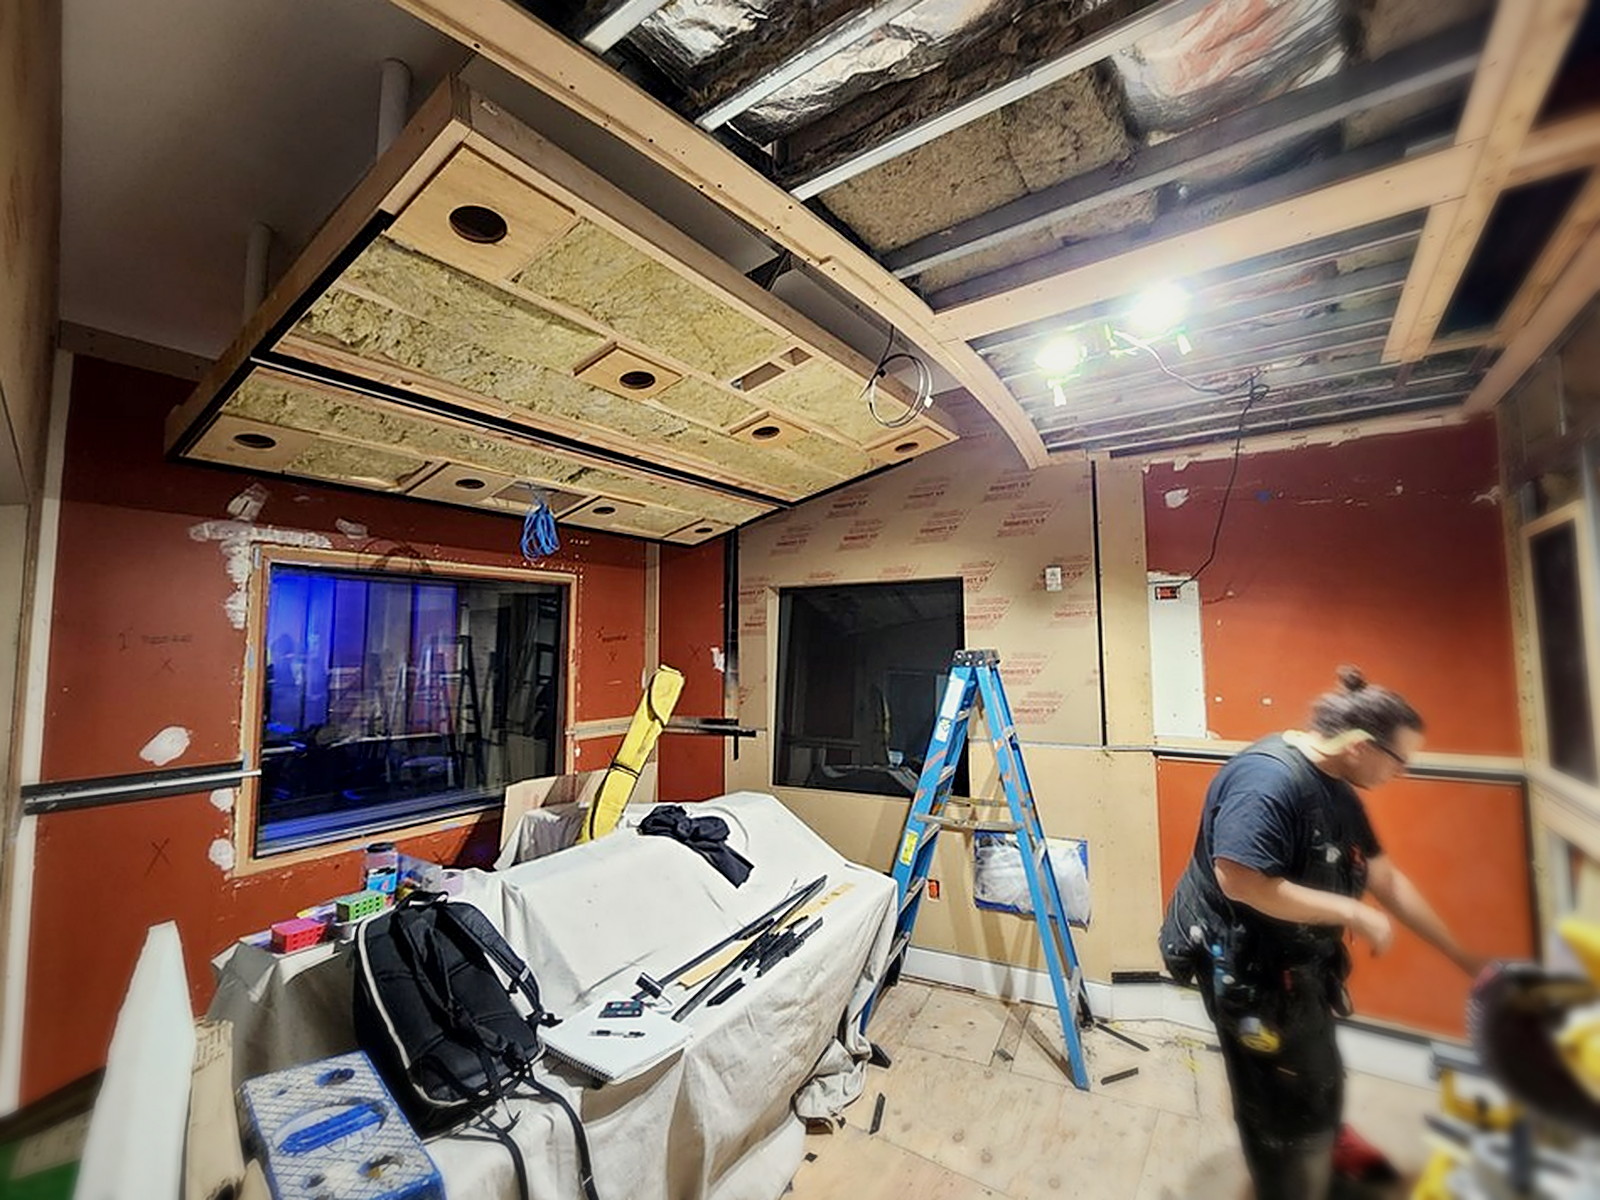
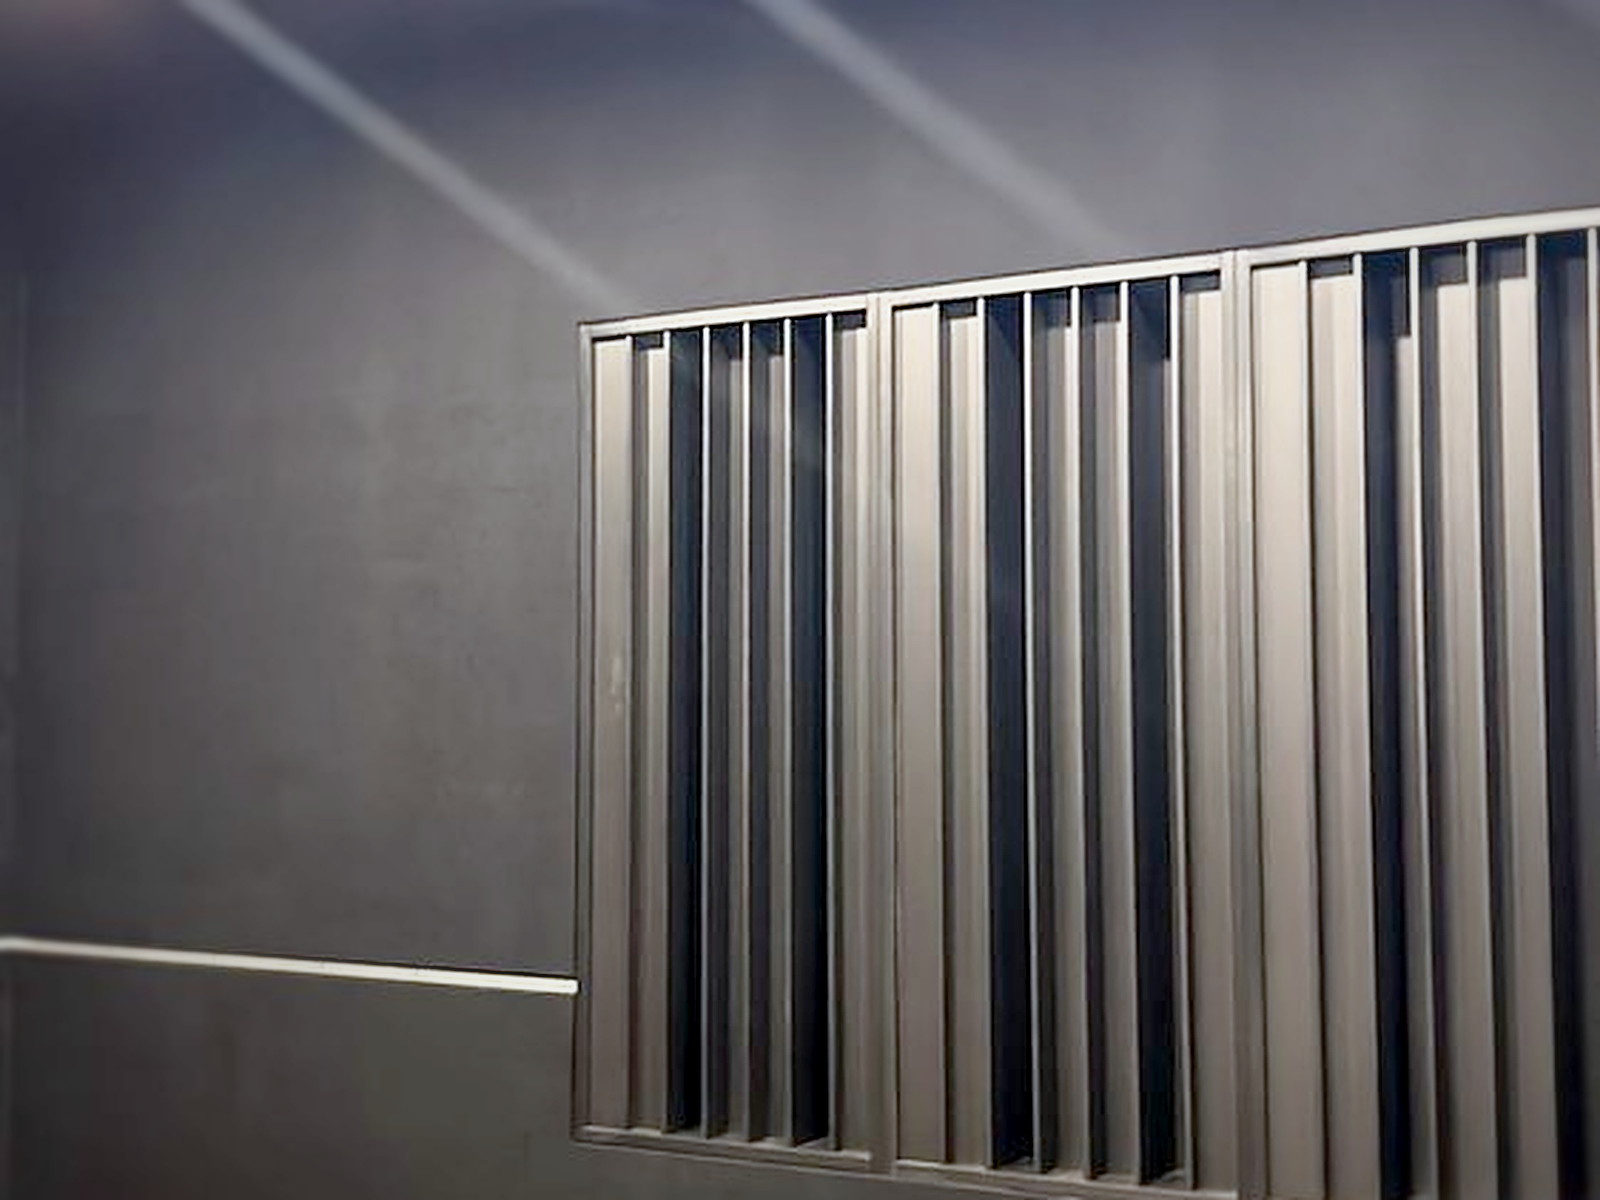
Project photos
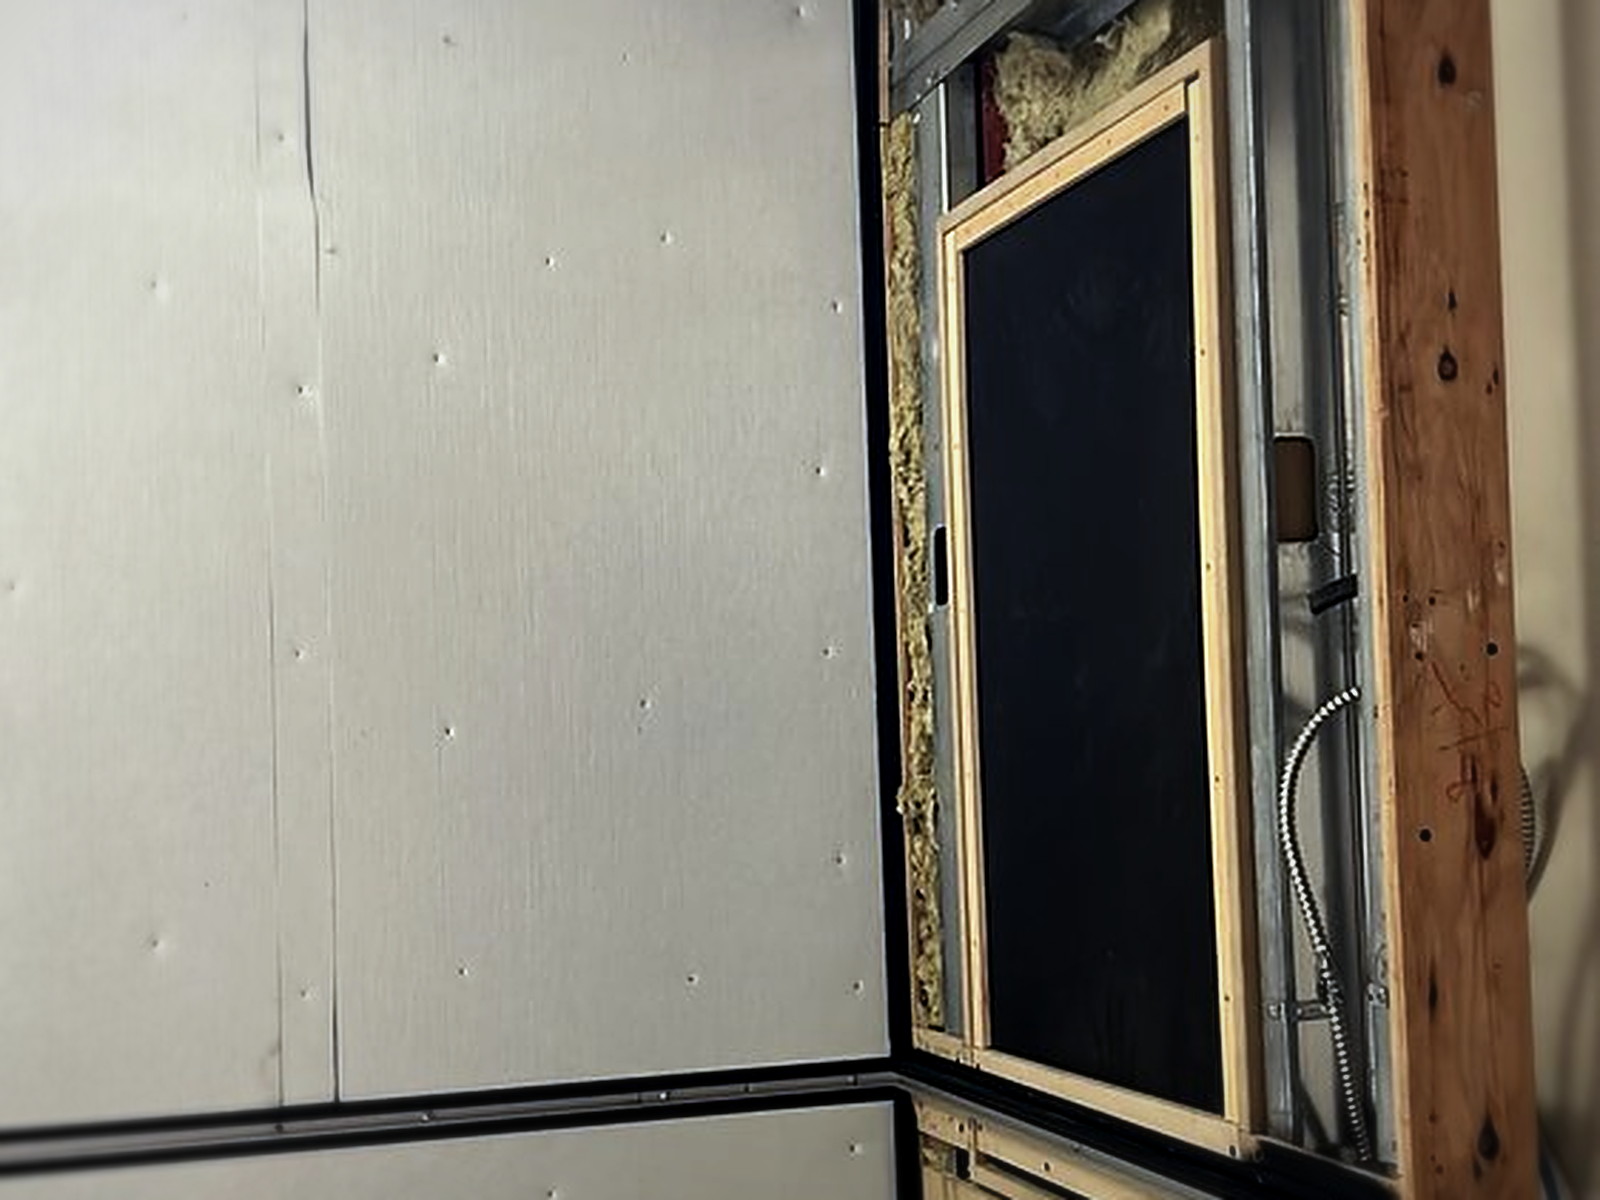
Wall buildup: mineral wool cavities behind a new decoupled gypsum skin. 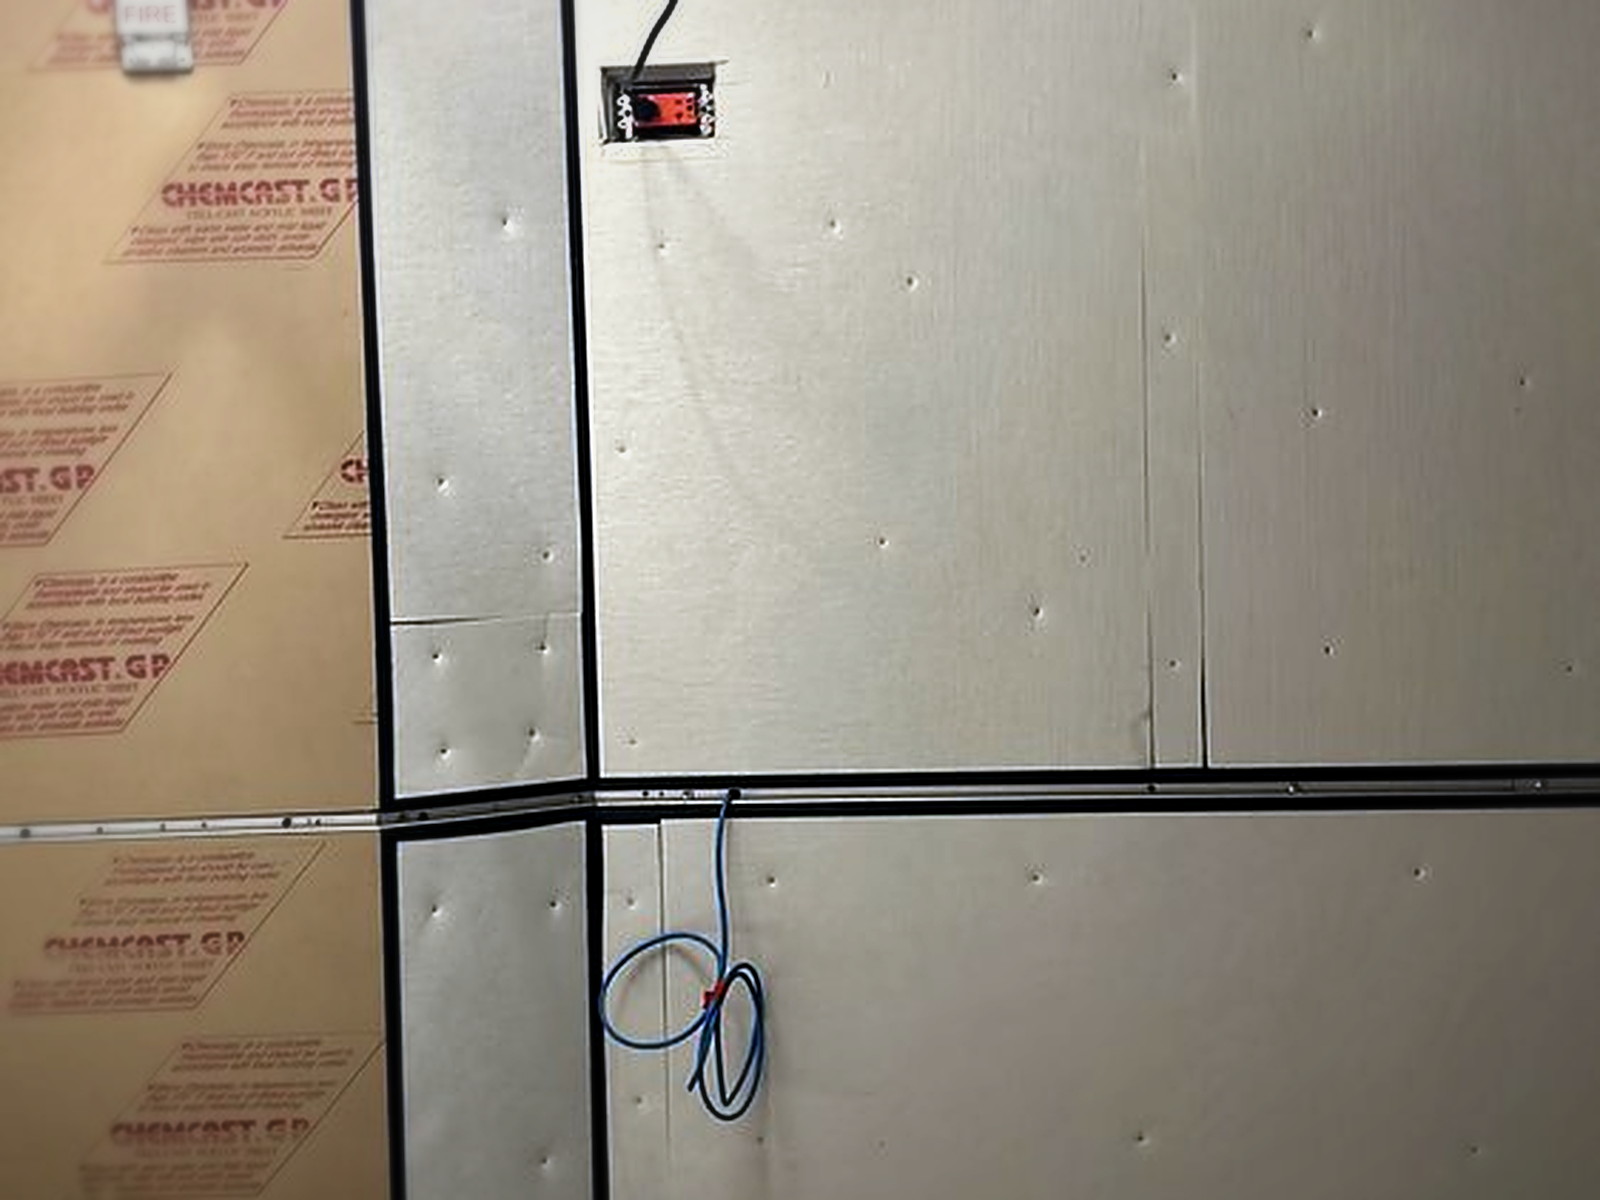
Panels going on, seams taped and services pulled through before closing up. 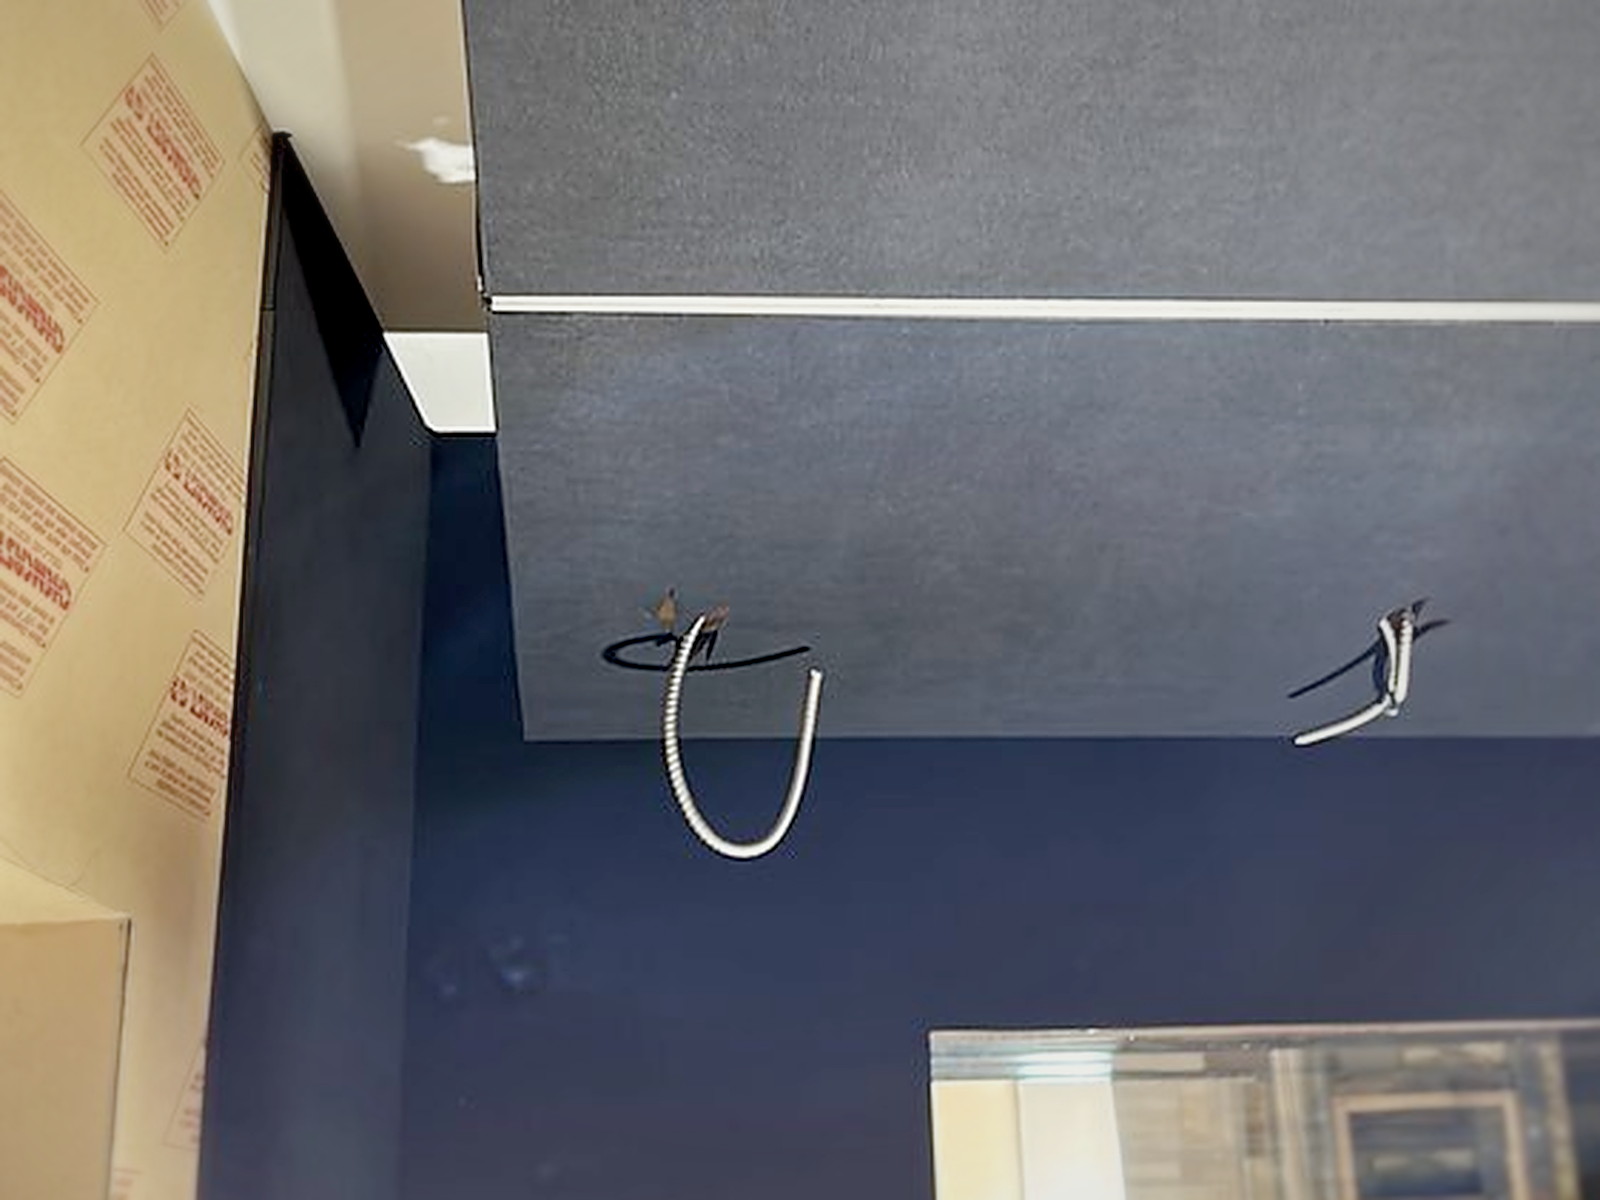
Ceiling rebuild: absorptive ceiling plane set with conduit drops left accessible. 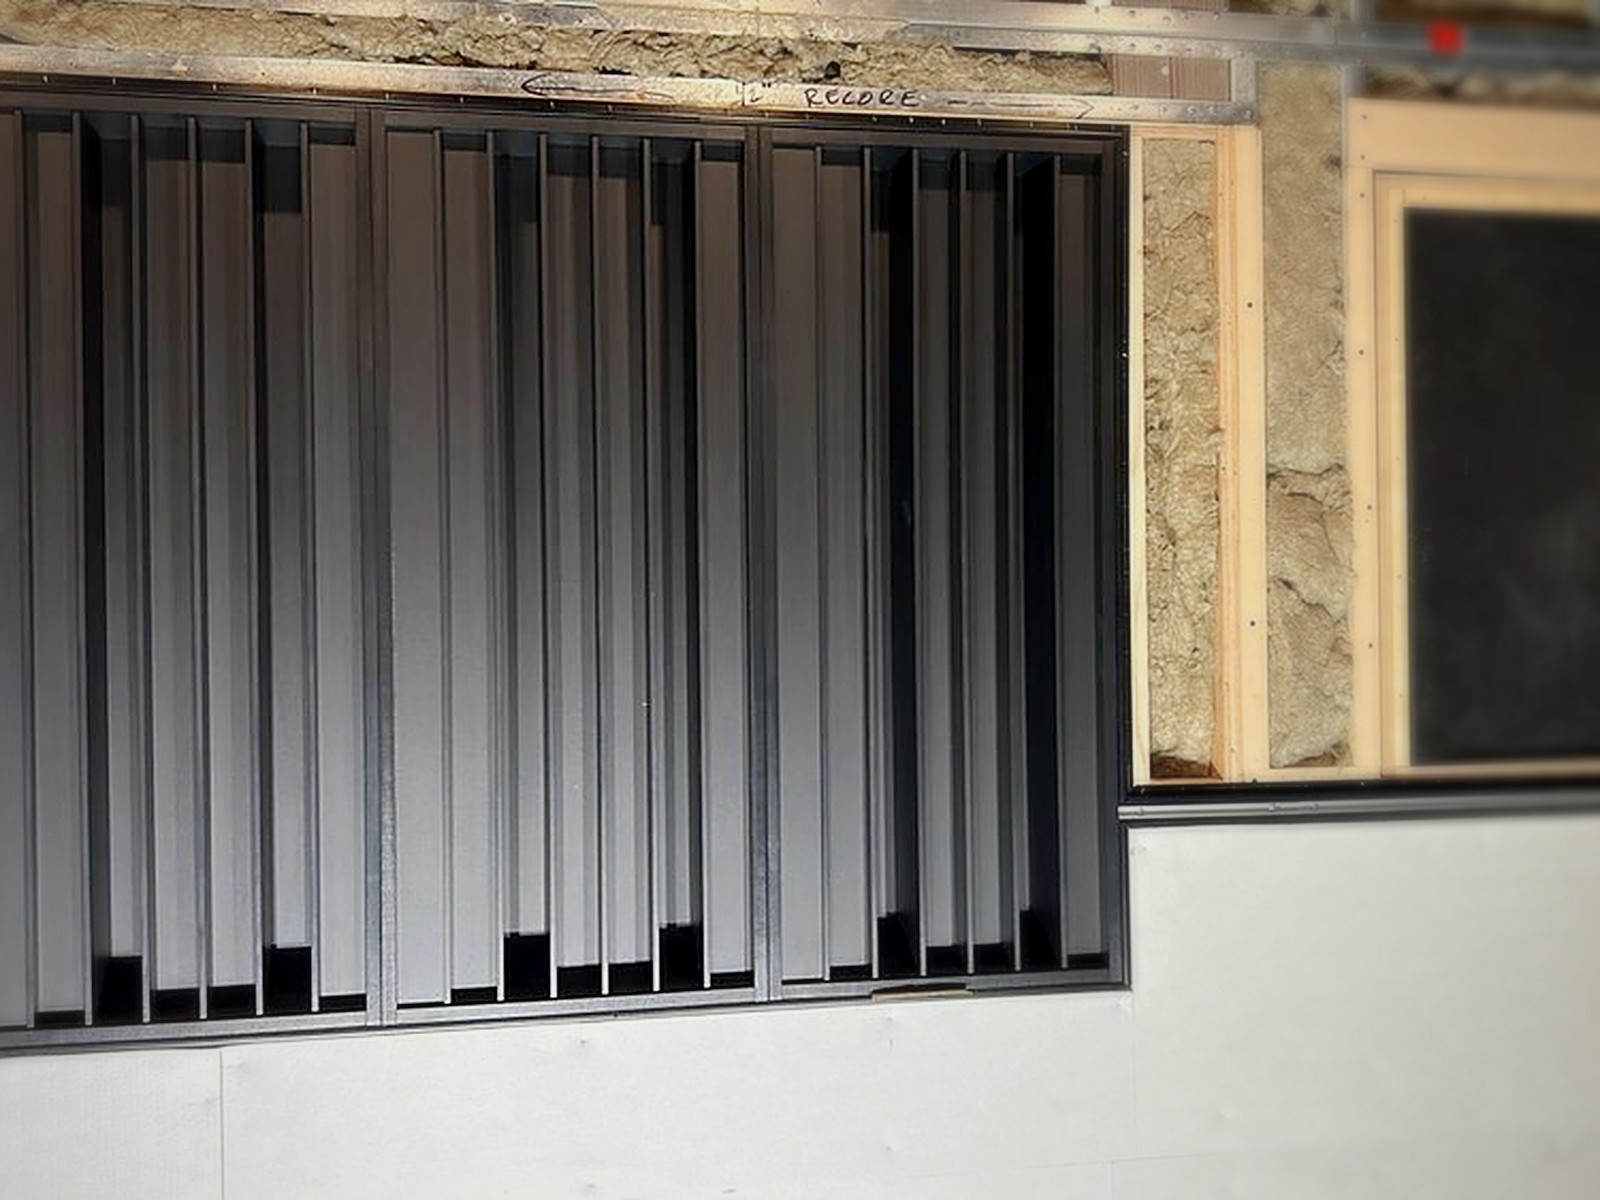
A slat diffuser bay set into the framing, insulation packed behind it. 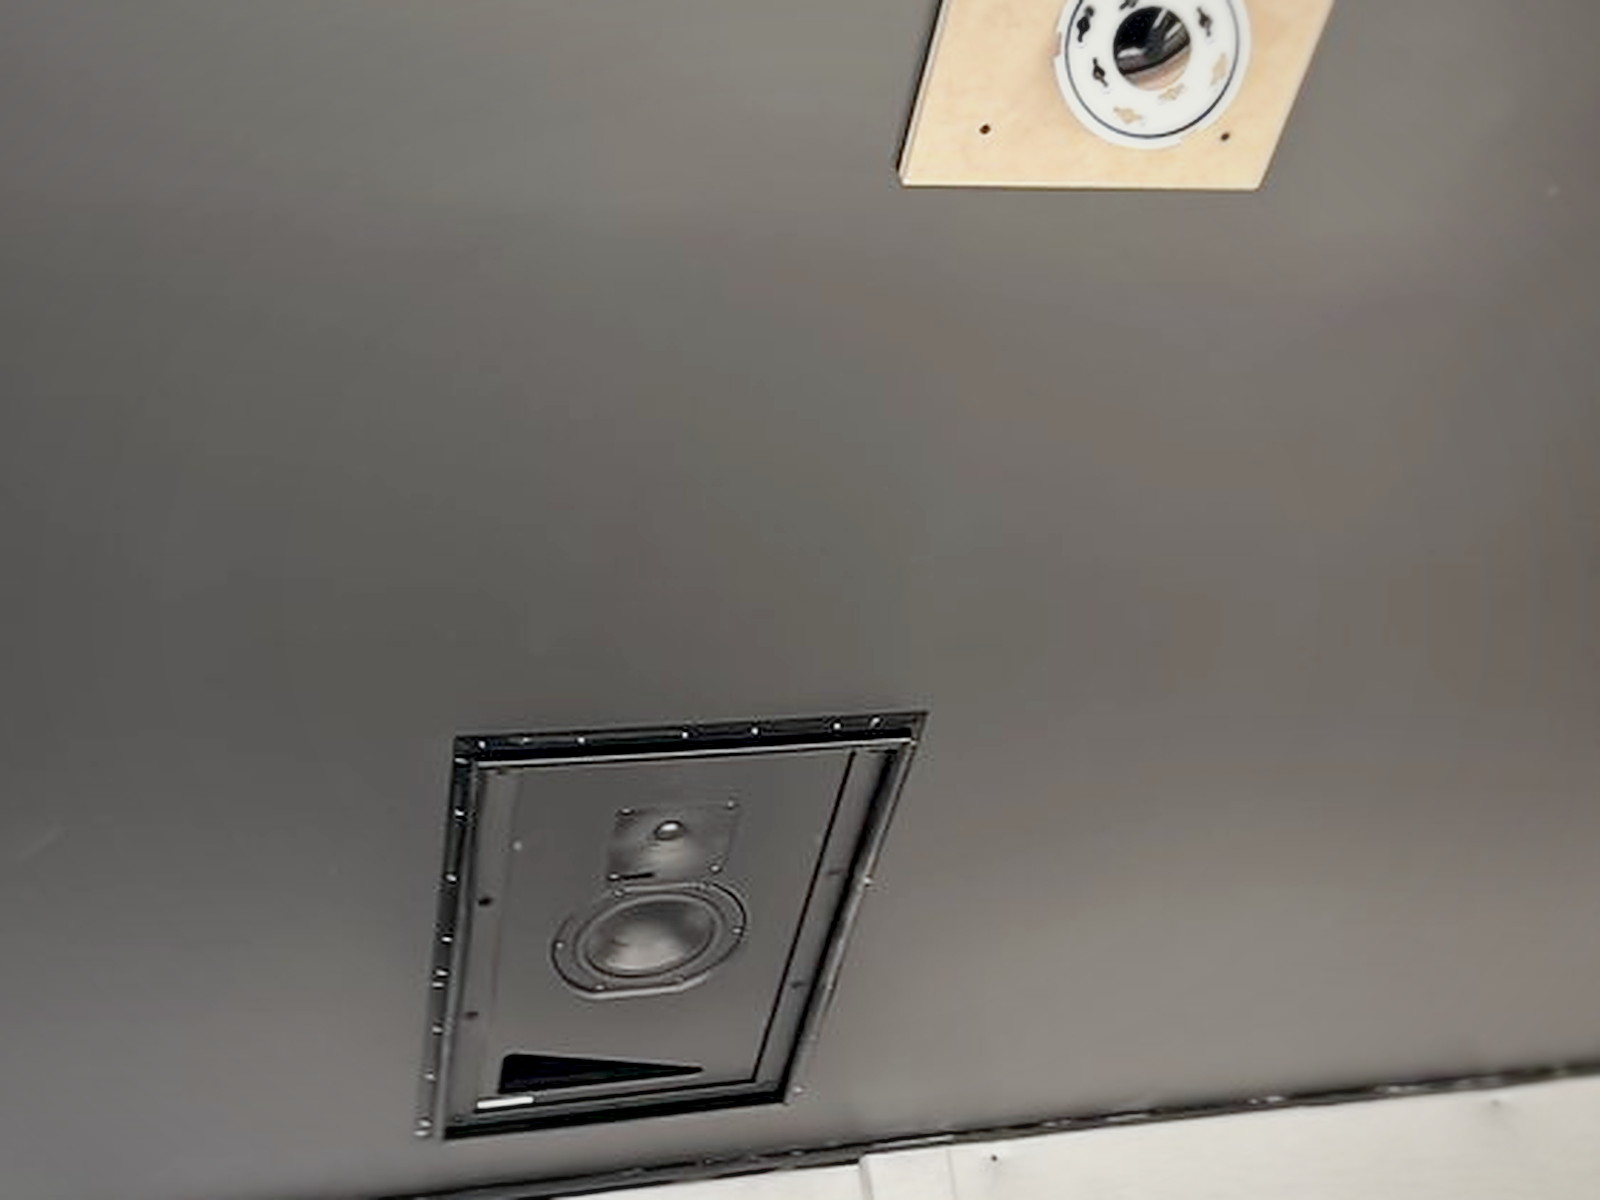
Monitors flush-mounted into pre-cut openings so nothing sits proud of the surface. 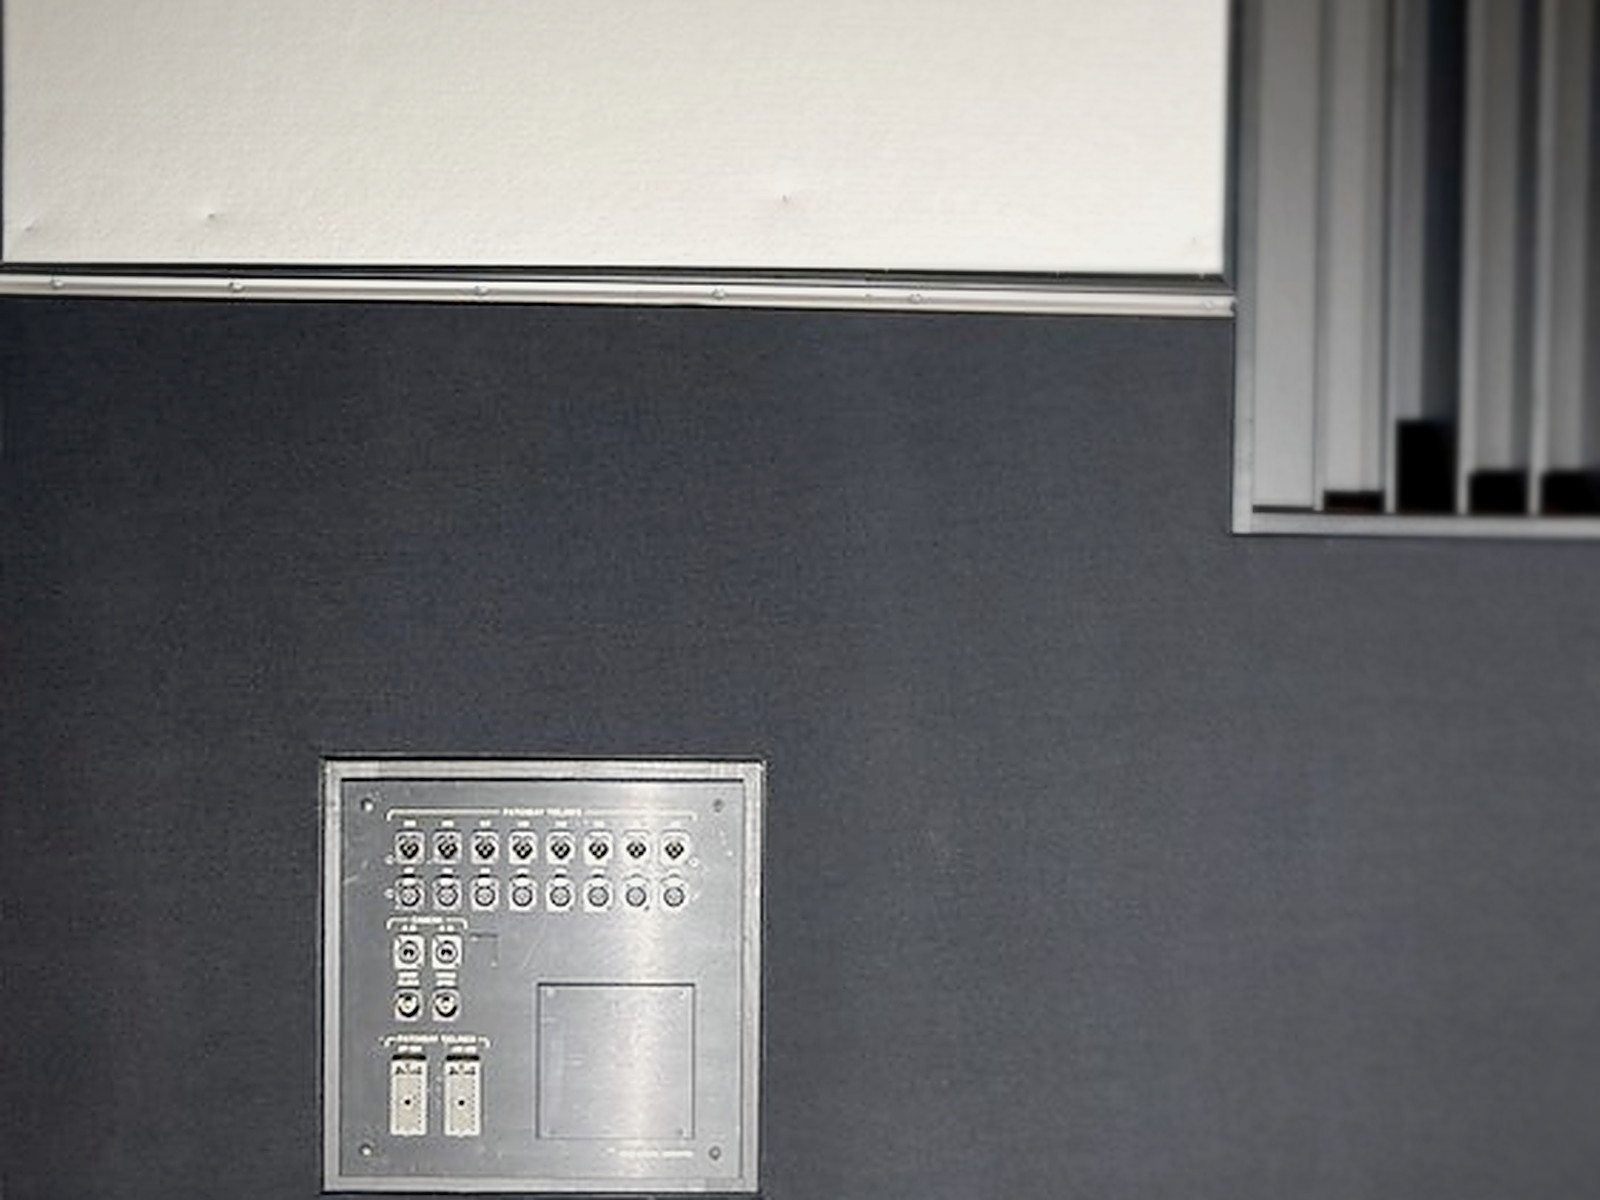
Tie-line plate set flush into the fabric-wrapped wall. 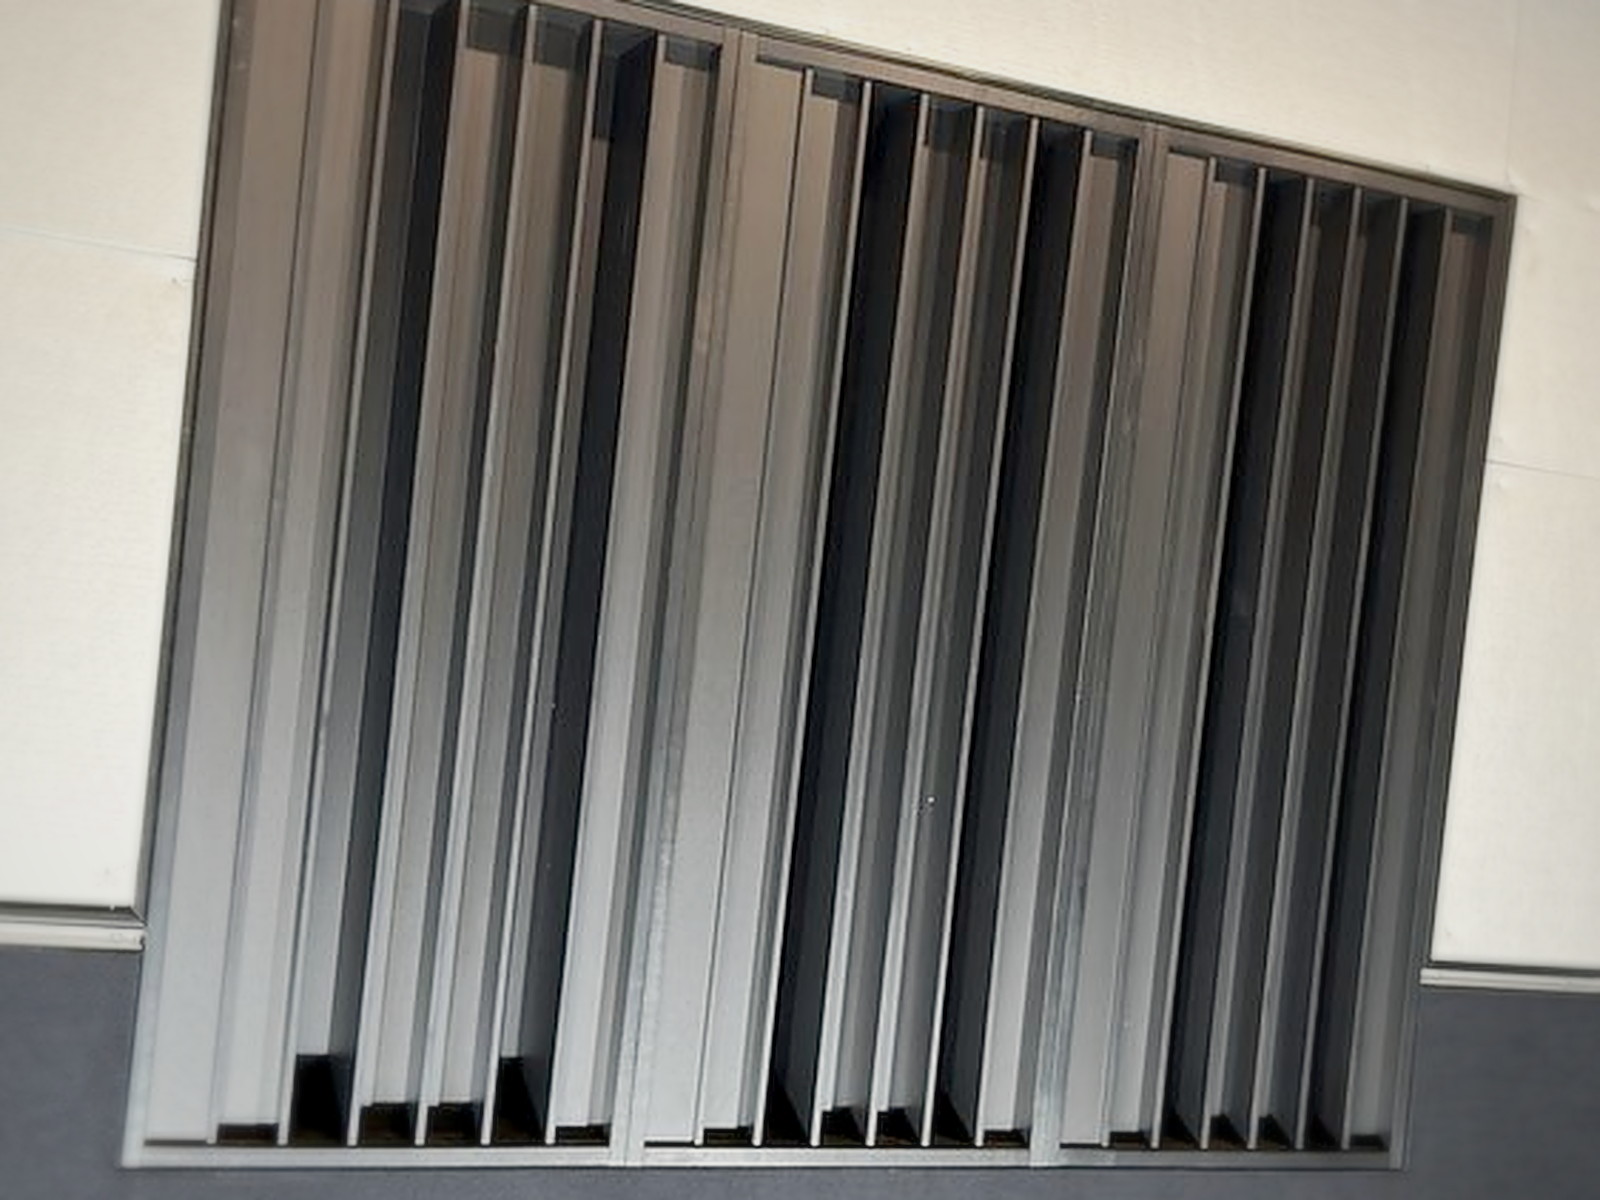
Finished diffusion above absorption — the pairing that keeps the room lively but controlled.
Build timeline
- 1
Demolition
The existing room was taken back to framing — finishes, ceiling and services removed so the new isolation and treatment layers could start from a known condition.
- 2
Isolation & wall buildup
Cavities were filled with mineral wool, and new gypsum skins were built off the studs to add mass and cut structure-borne transmission between the studio and the rest of the building.
- 3
Ceiling rebuild
A new absorptive ceiling plane was rebuilt with conduit and lighting drops coordinated in advance so nothing had to be cut back into the finished surface.
- 4
Monitors & tie-lines
Flush-mount speaker openings and wall plates were cut and framed into the assembly, keeping the listening plane clean and the boundaries predictable.
- 5
Acoustic finish
Fabric-wrapped absorption was fitted wall by wall and paired with black slat diffuser bays, then trimmed out with concealed lighting for the finished look.
- 6
Echo control in black fabric
With the room in use, the leftover echo was chased down: we pulled the existing panels and speaker covers, ran black track throughout, set polyboard absorption inside the track, and cut and tucked black fabric into the tracks and around both the polyboard and the existing black sound-absorbing panels — including over the ceiling and wall speakers, which stay acoustically open behind the cloth.
Materials & system summary
The key soundproofing components used on this build, grouped by the job each layer does in the assembly.
Cavity absorption
Packed into wall and ceiling cavities to absorb energy inside the assembly and damp cavity resonance.
Decoupling
Hold the finished surfaces off the framing so vibration can't ride straight through the structure.
Sealing
Run at every perimeter and penetration — an airtight assembly is what makes the mass layers count.
Absorption finish
- Custom fabric track panels
Site-measured, hand-made fabric-wrapped absorption fitted bay by bay for broadband control and a clean finish.
Diffusion
- Slat diffuser bays
Vertical slat arrays over absorptive backing scatter reflections so the room stays lively without flutter.
What was the sound concern?
A San Francisco company wanted a real recording studio inside their commercial space. The existing room did two things wrong at once: it let building noise in — HVAC, foot traffic and neighboring activity — and it sounded wrong once you were inside it, with hard parallel surfaces smearing every take.
What was our plan?
The room needed both isolation and interior acoustics, so we planned a full gut and rebuild rather than a surface retrofit. Walls and ceiling would be rebuilt with mineral wool cavities and decoupled gypsum skins for isolation, then finished with custom fabric-wrapped absorption and slat diffusion bays tuned to the room's geometry. Monitors and tie-line plates were designed into the assembly from the start.
What further issues did we need to resolve?
Working inside an occupied commercial building meant staging demolition and noisy work around the tenant's schedule. Once opened up, the ceiling framing and existing services dictated where conduit, lighting and speaker openings could land, so every penetration had to be coordinated before the surfaces closed — cutting back into a sealed assembly would have undone the isolation.
What was our final Sound Solution?
The finished studio is a rebuilt, sealed and decoupled shell wearing its acoustics as architecture: charcoal fabric track absorption across the walls, black slat diffuser bays at the reflection points, flush-mounted monitors, and flush tie-line plates. The room is quiet enough to track in during business hours and even enough to trust what the monitors are telling you.
Want a room like this?
Tell us the size of your space, where it is, and whether you're trying to block sound or clean up the sound inside it. We'll come back with a scoped estimate — usually within one business day.
Prefer to talk it through? Call (415) 864-4440.