
Residential Ceiling Soundproofing with Insulation, Clips and Channel
An occupied San Francisco residence: the ceiling opened up, packed with mineral wool, and rebuilt on clips and hat channel so footfall from above stops carrying through.
Before & after
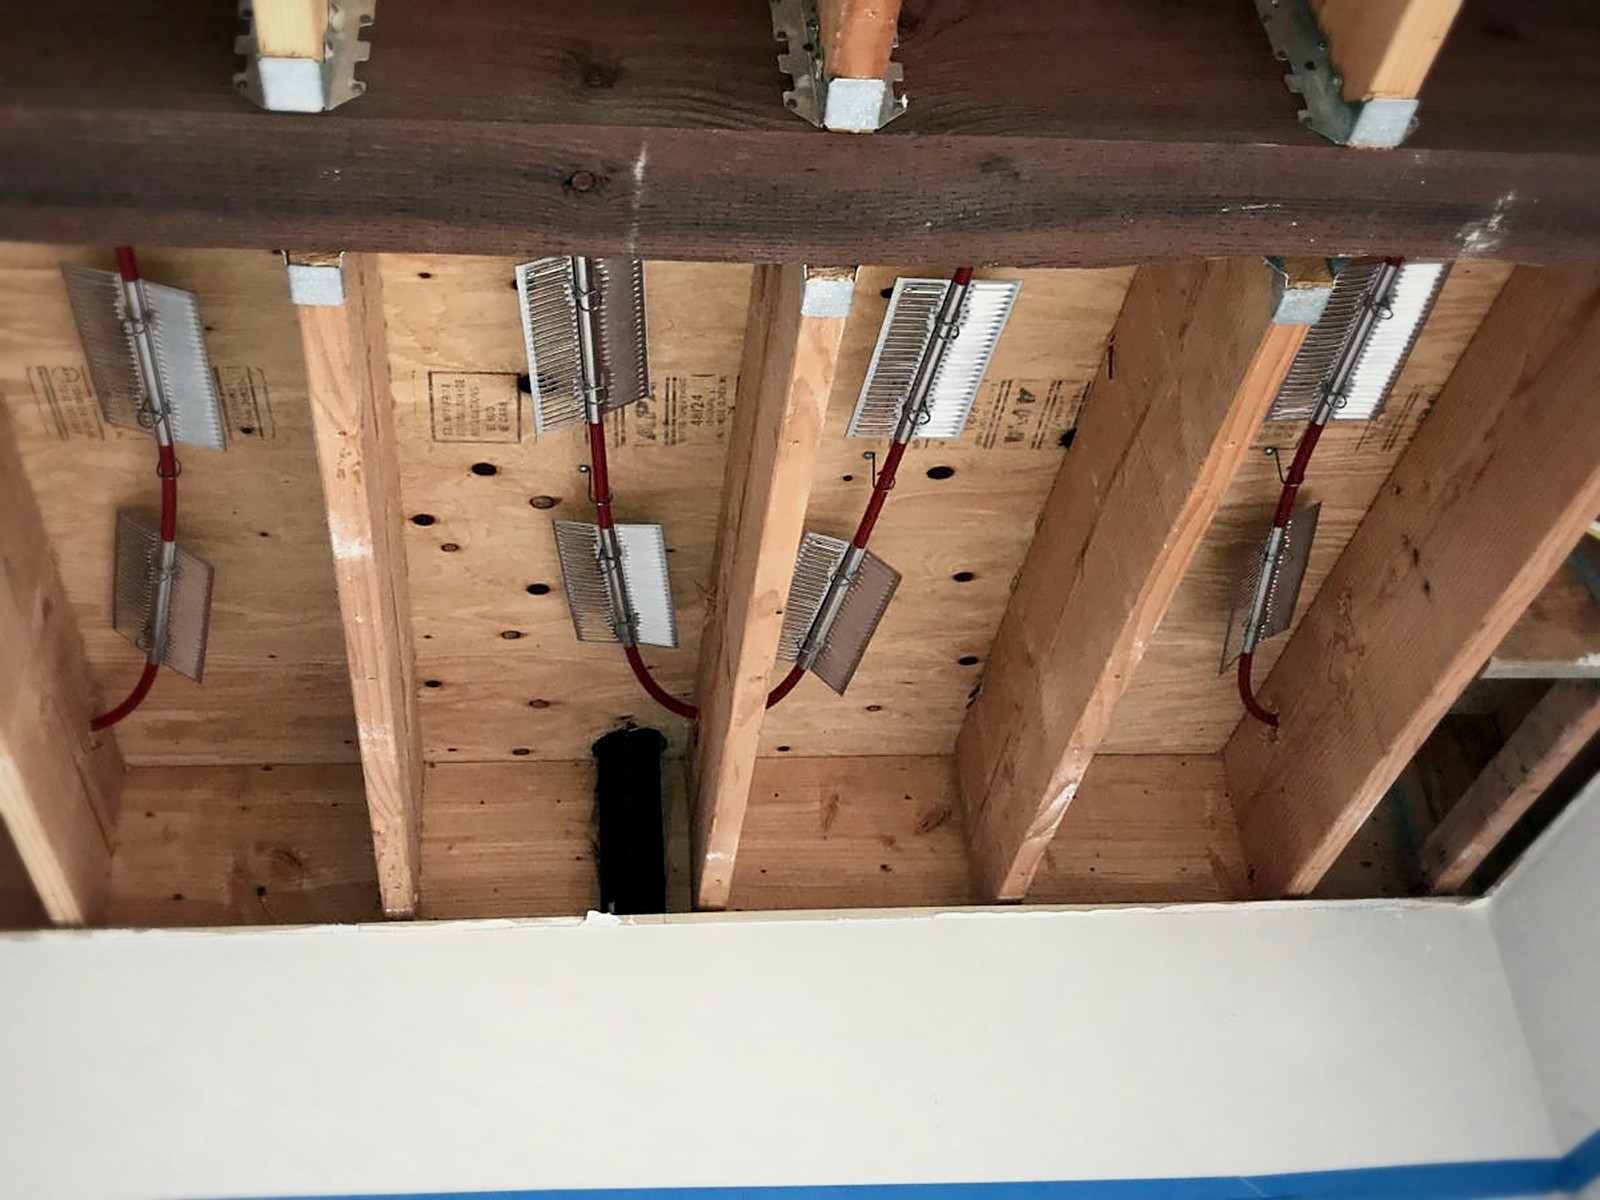
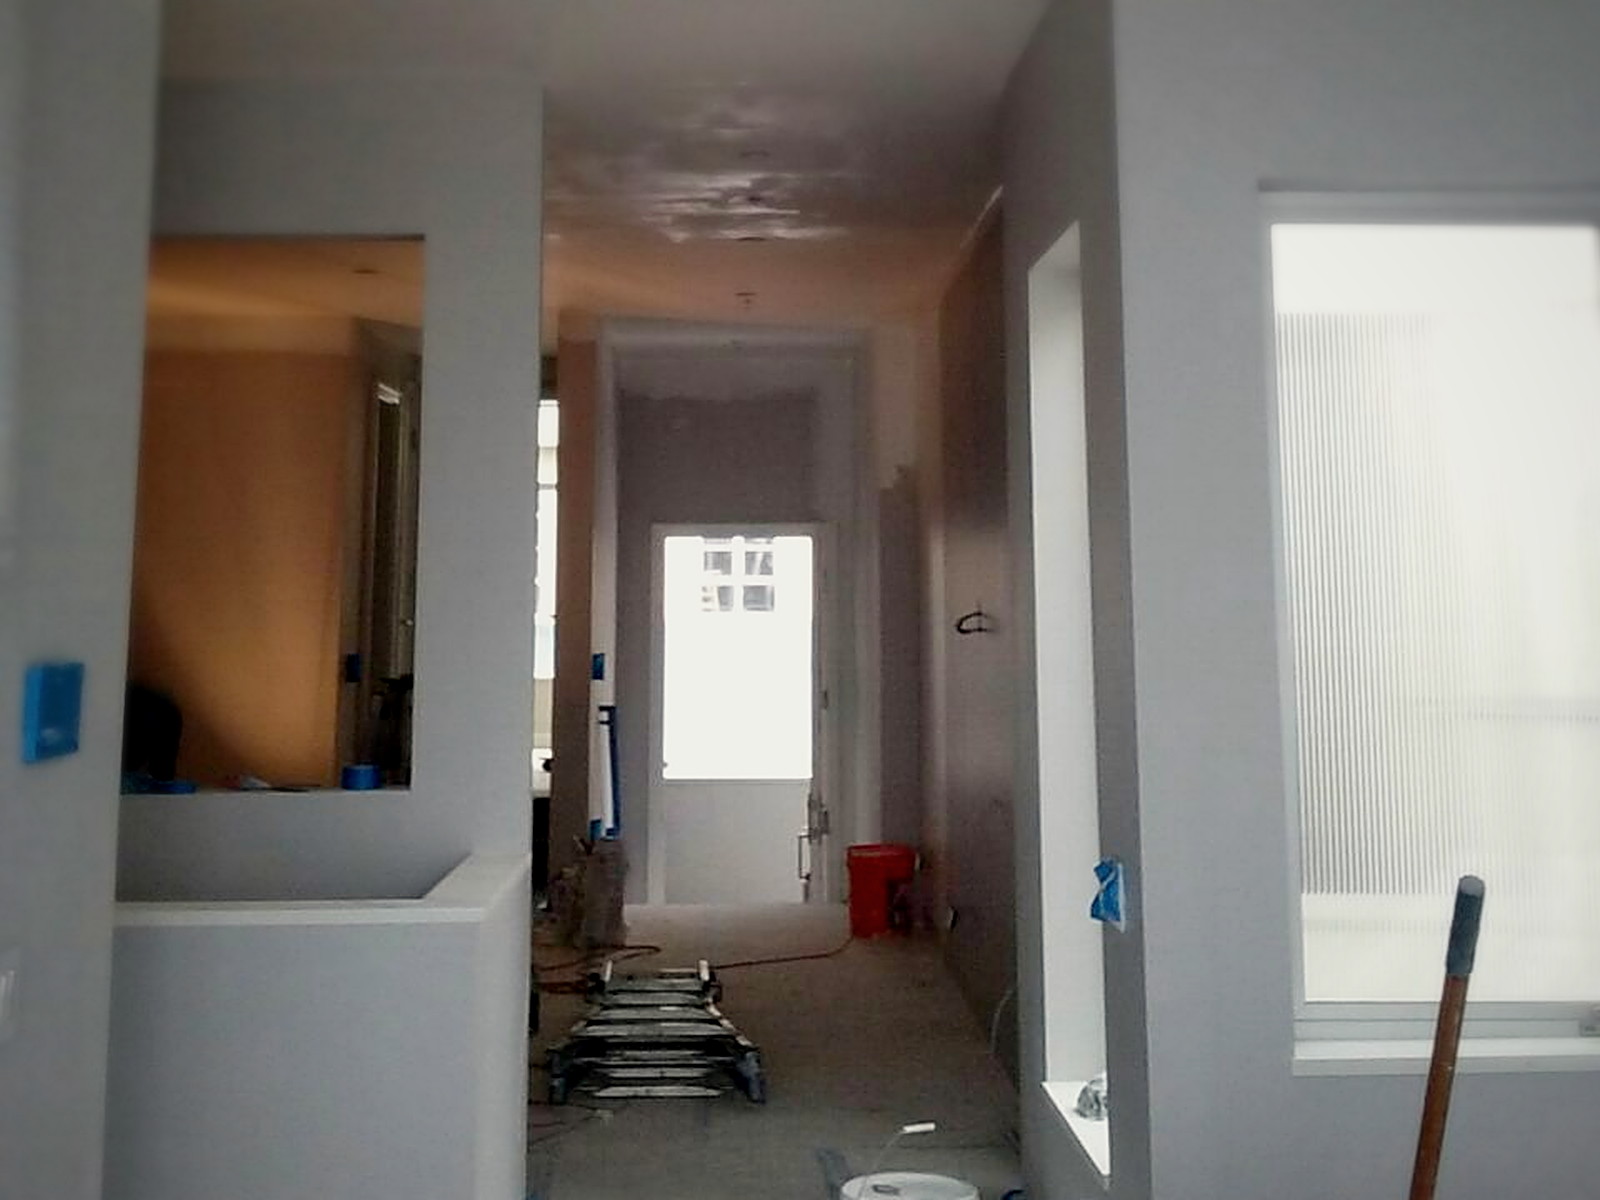
Project photos
Demolition complete — joists, subfloor and services all accessible. 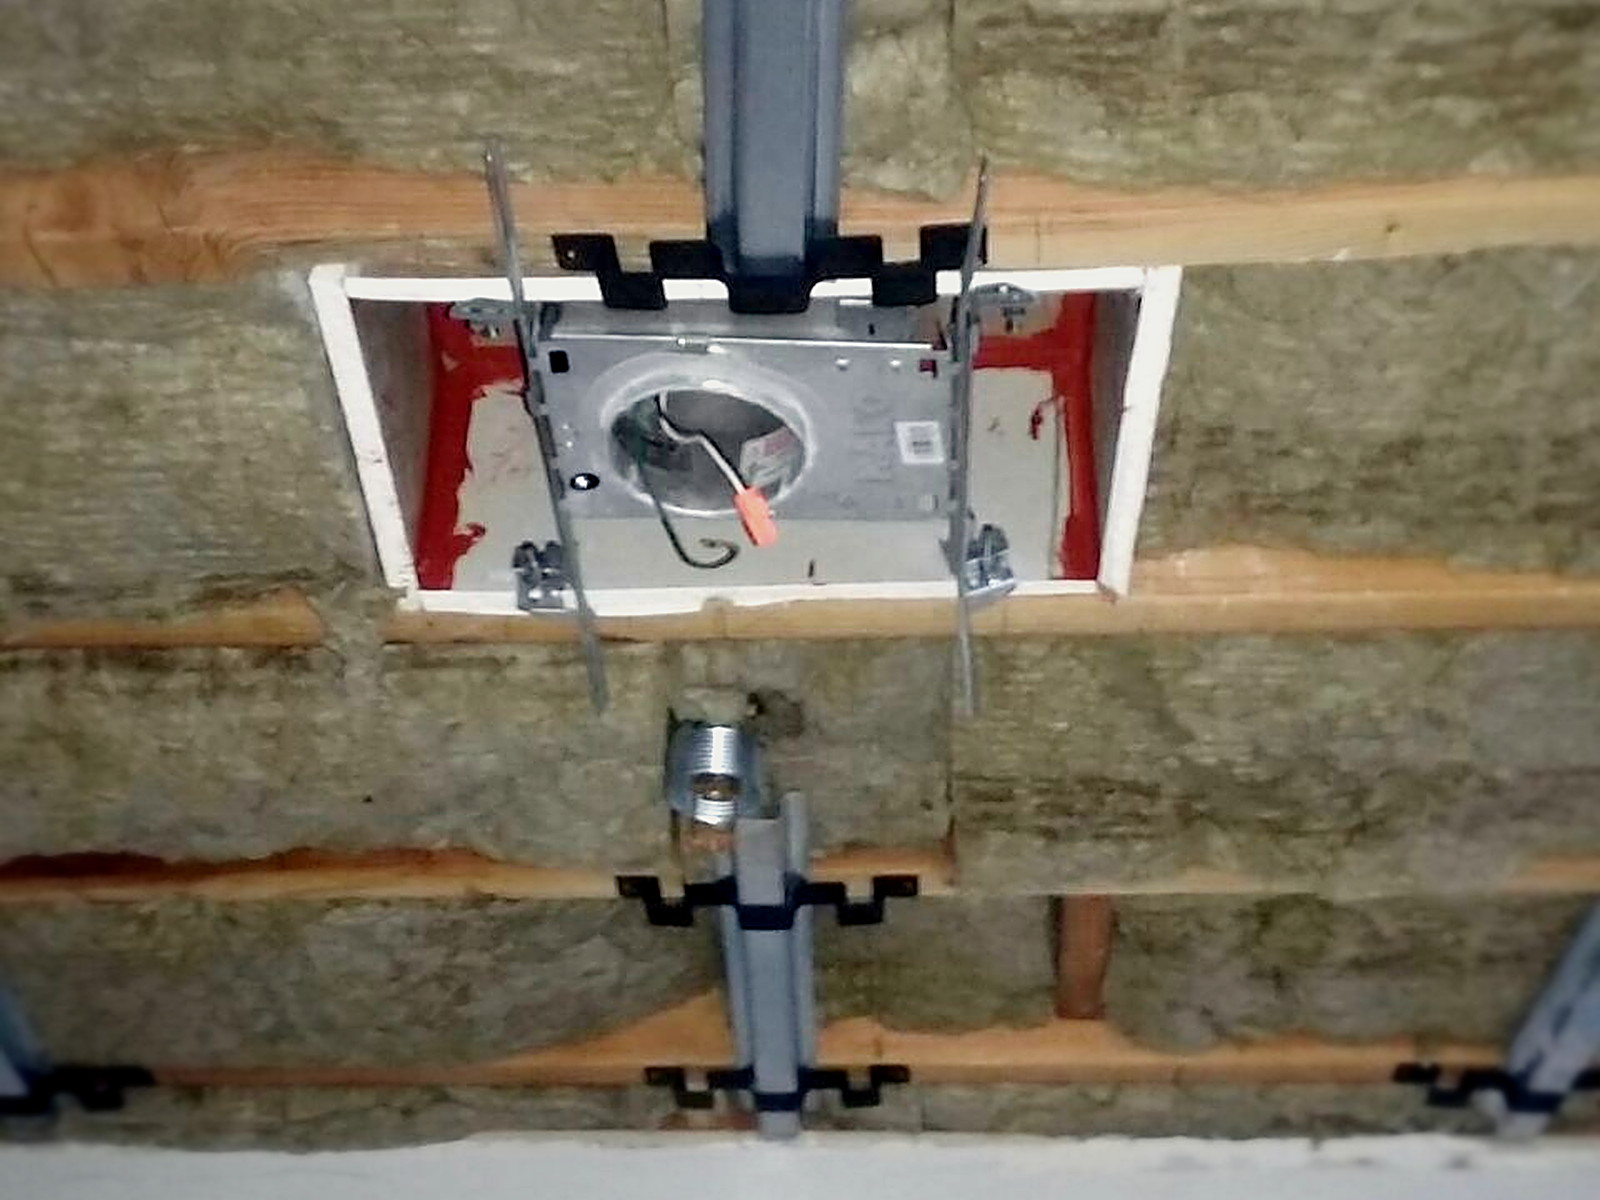
Cavities packed with mineral wool, fixtures boxed and detailed as we went. 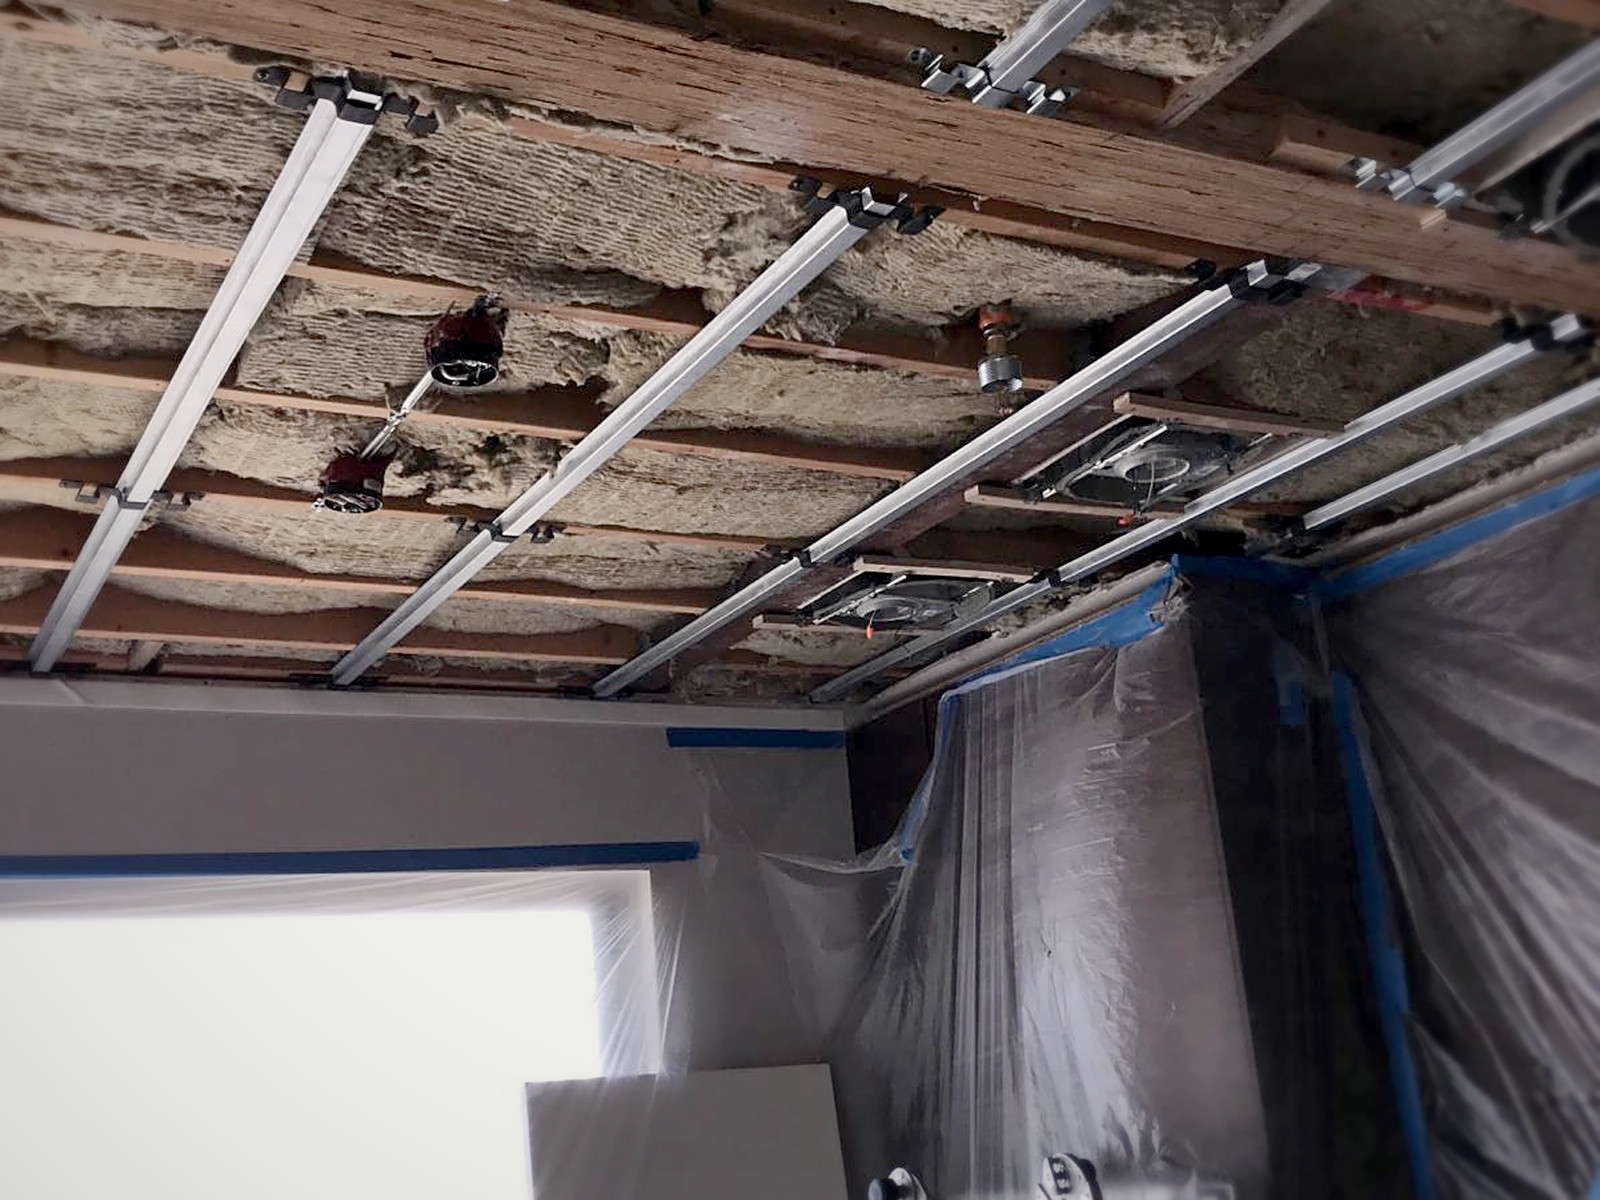
Clips set on a measured grid, channel snapped in and levelled. 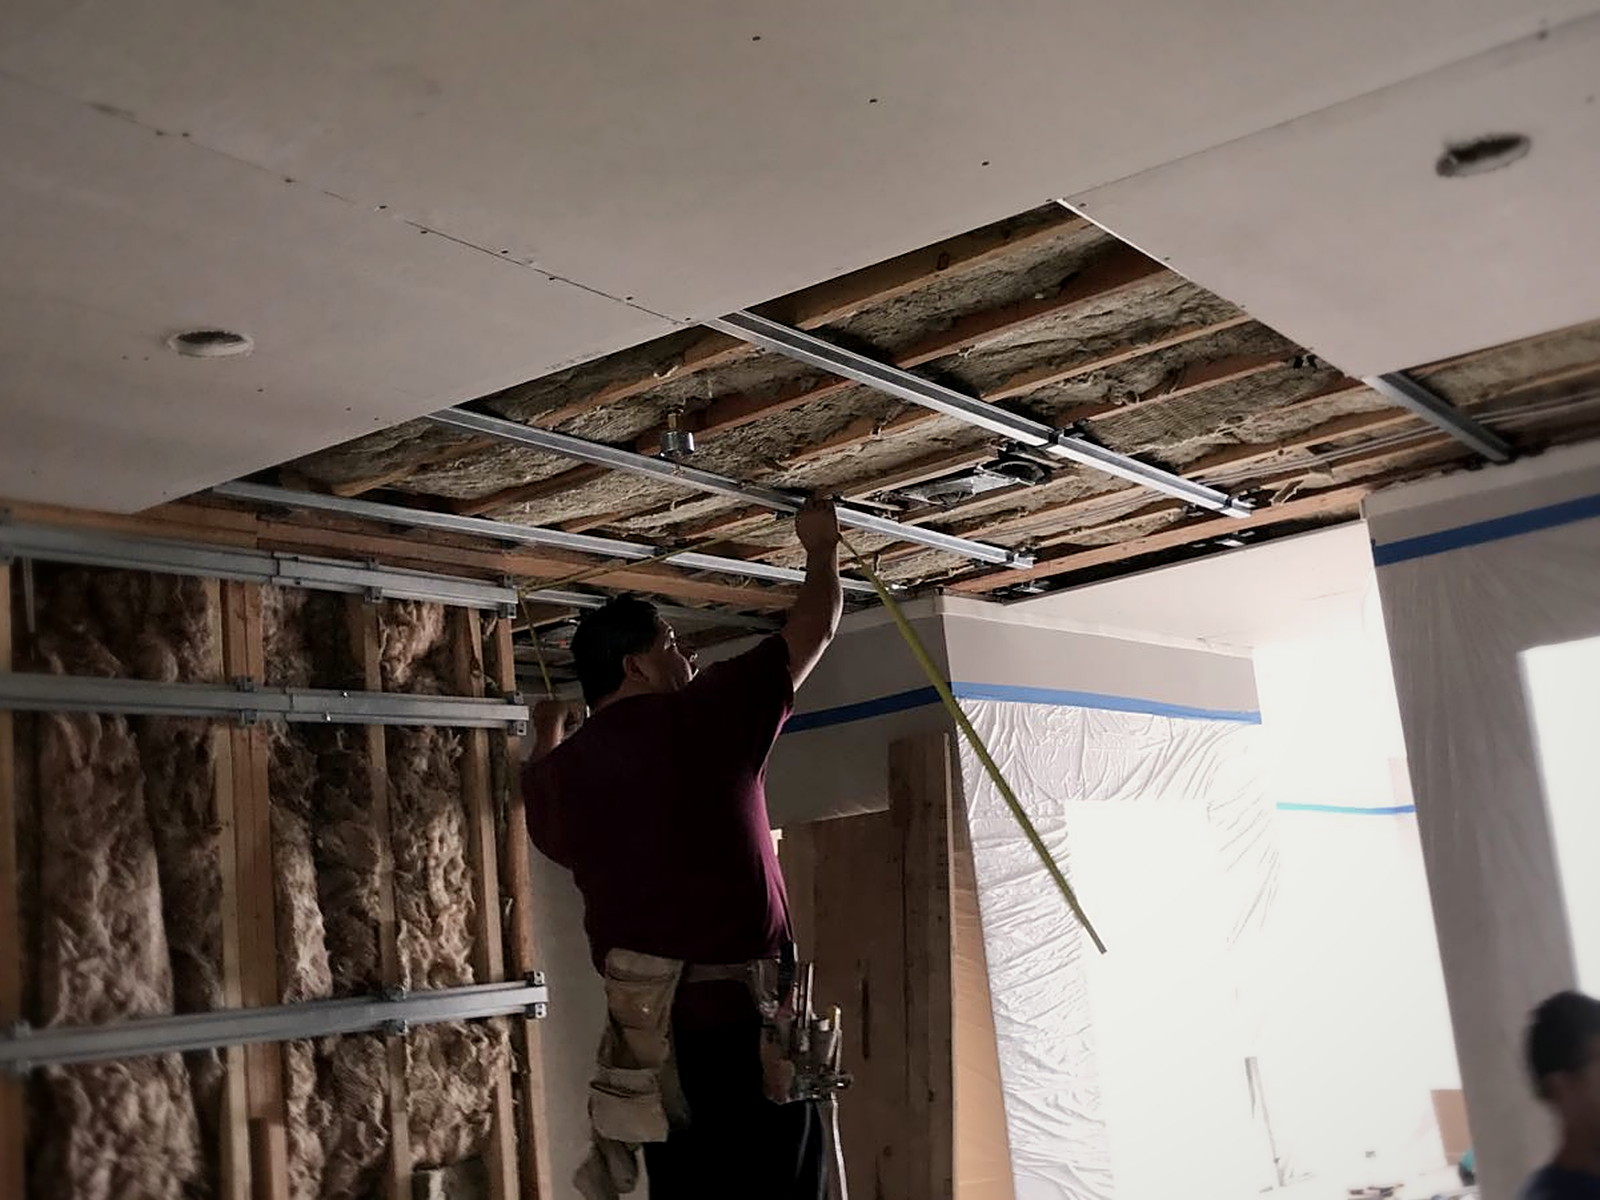
Checking channel spacing before the first ceiling board goes up. 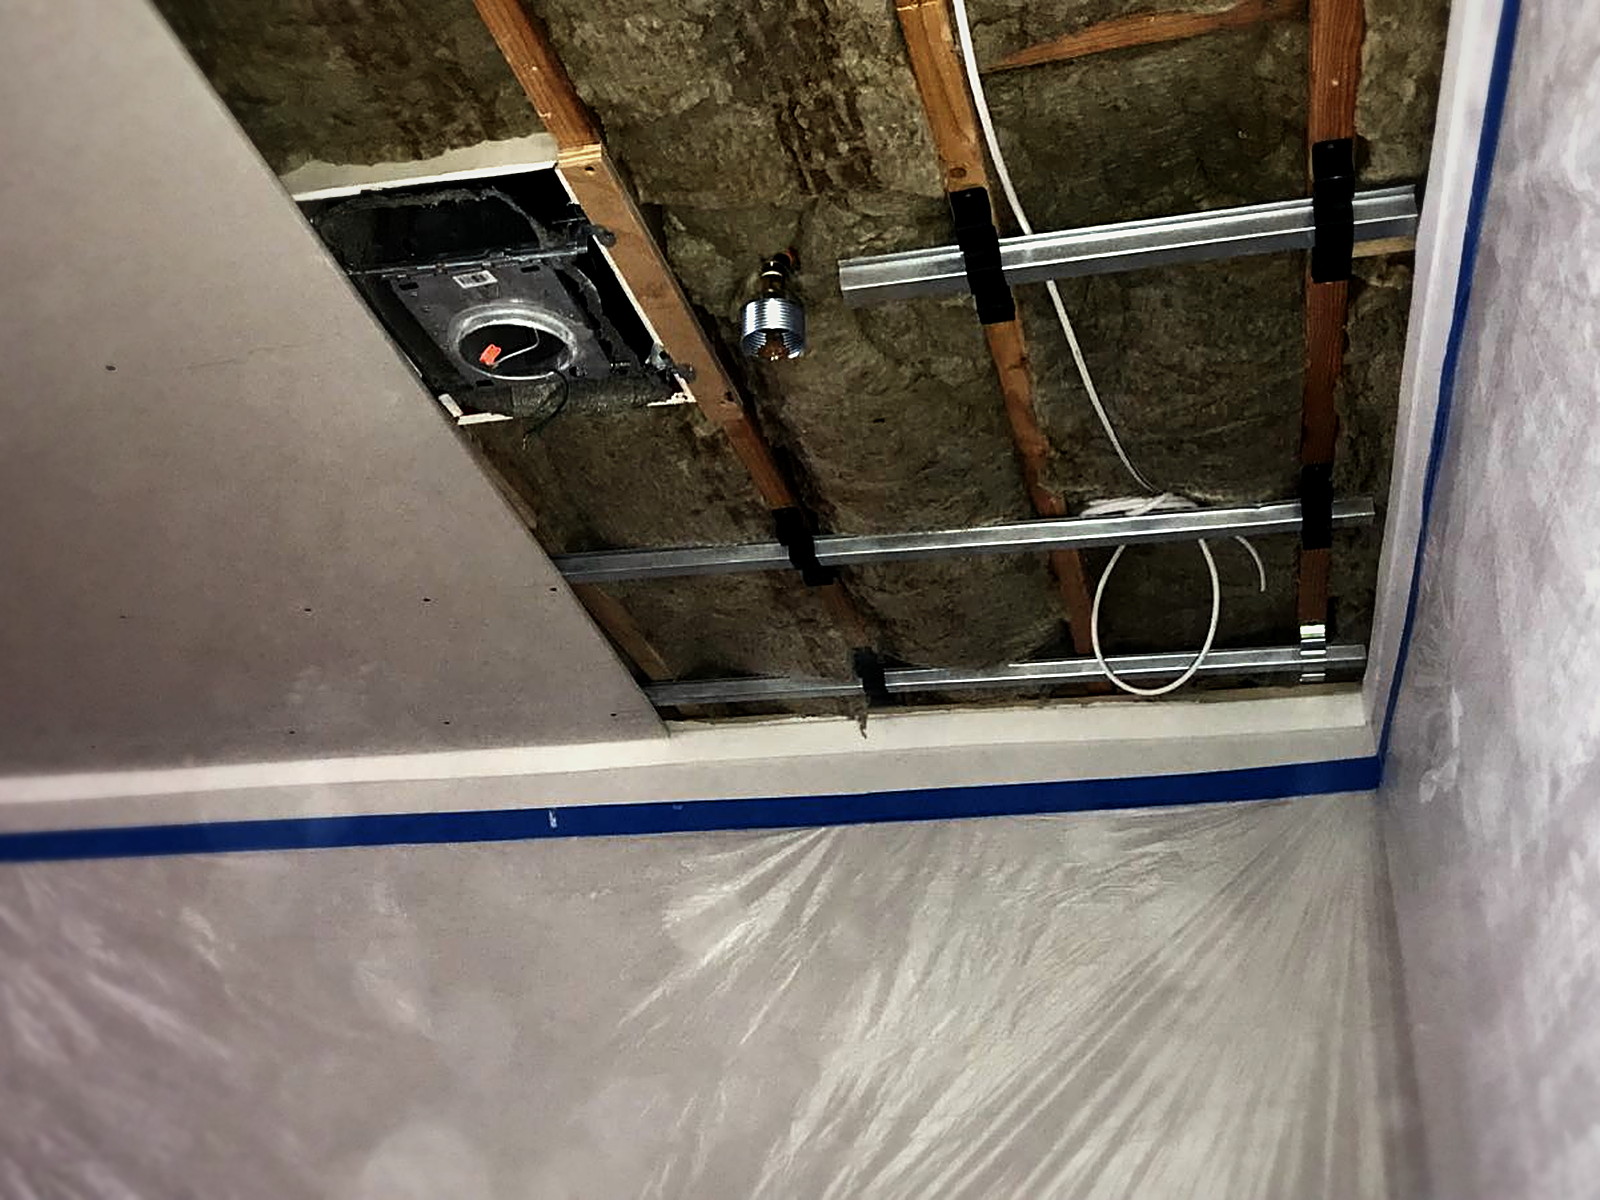
Detail at the edge: channel stays clear of the framing and the wall. 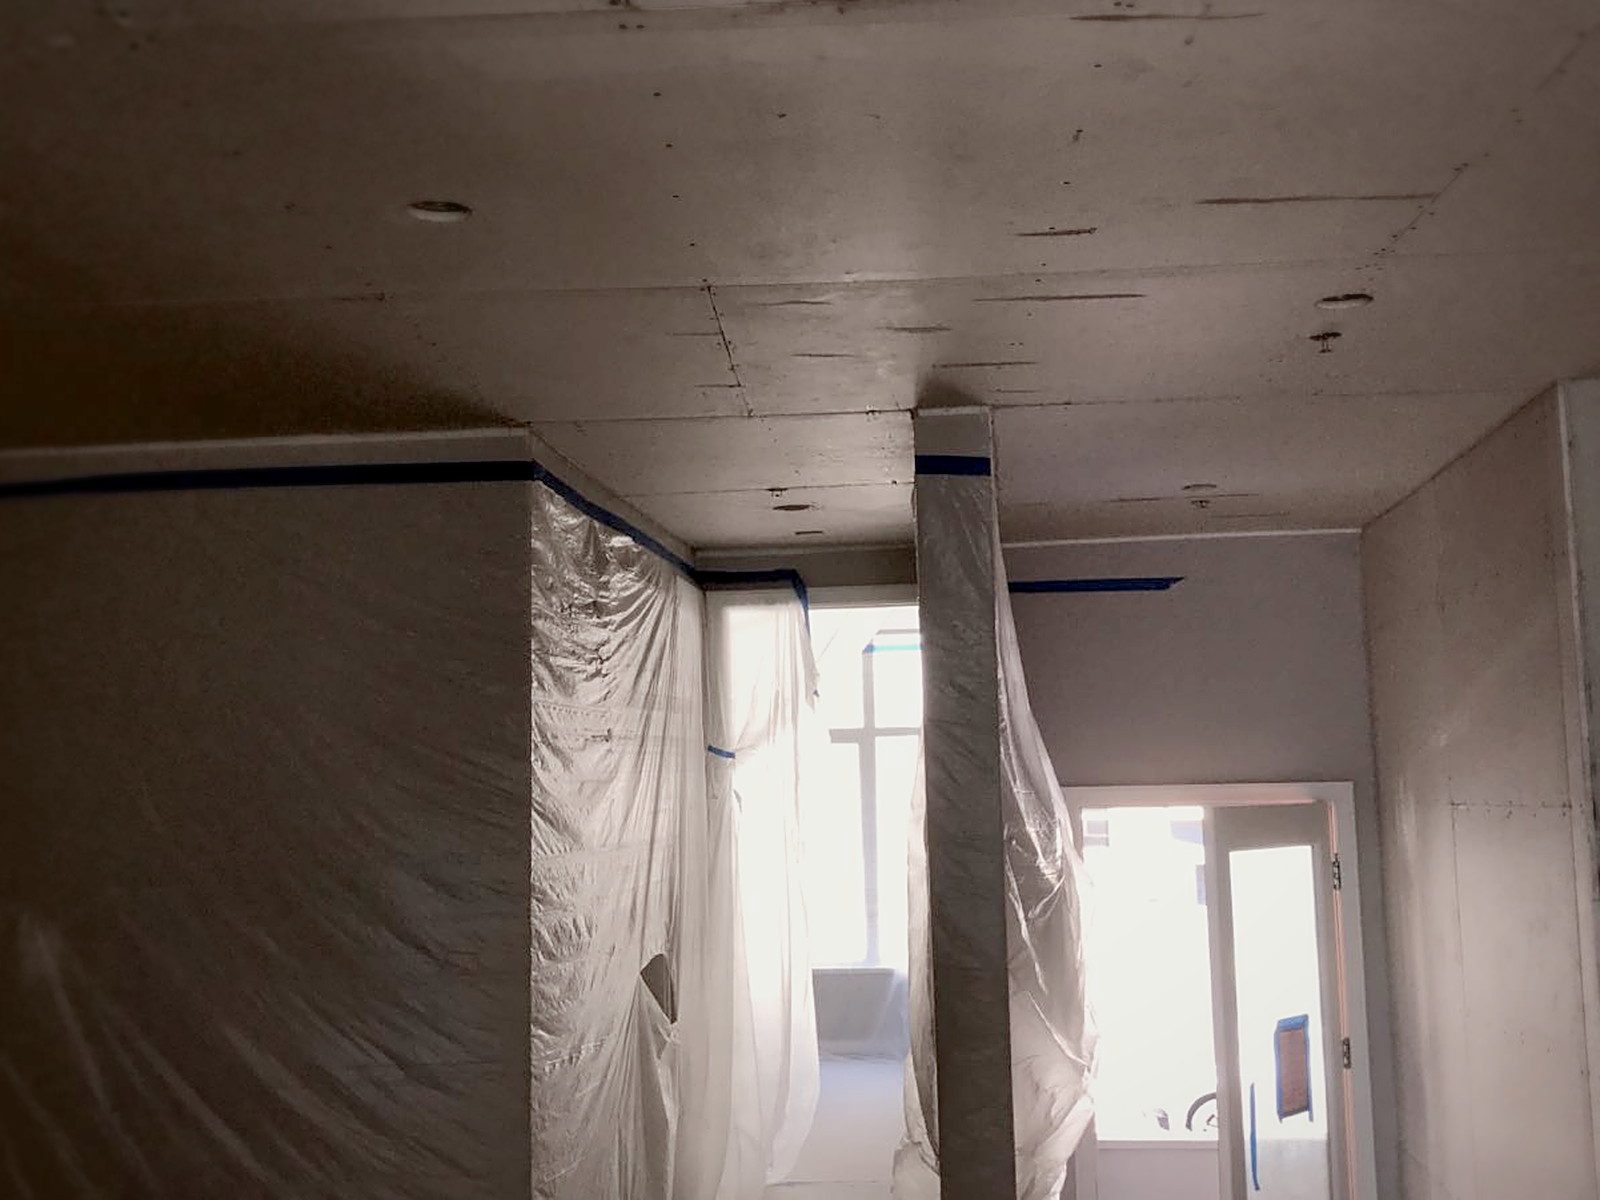
Board hung on the channel, perimeter left for sealant. 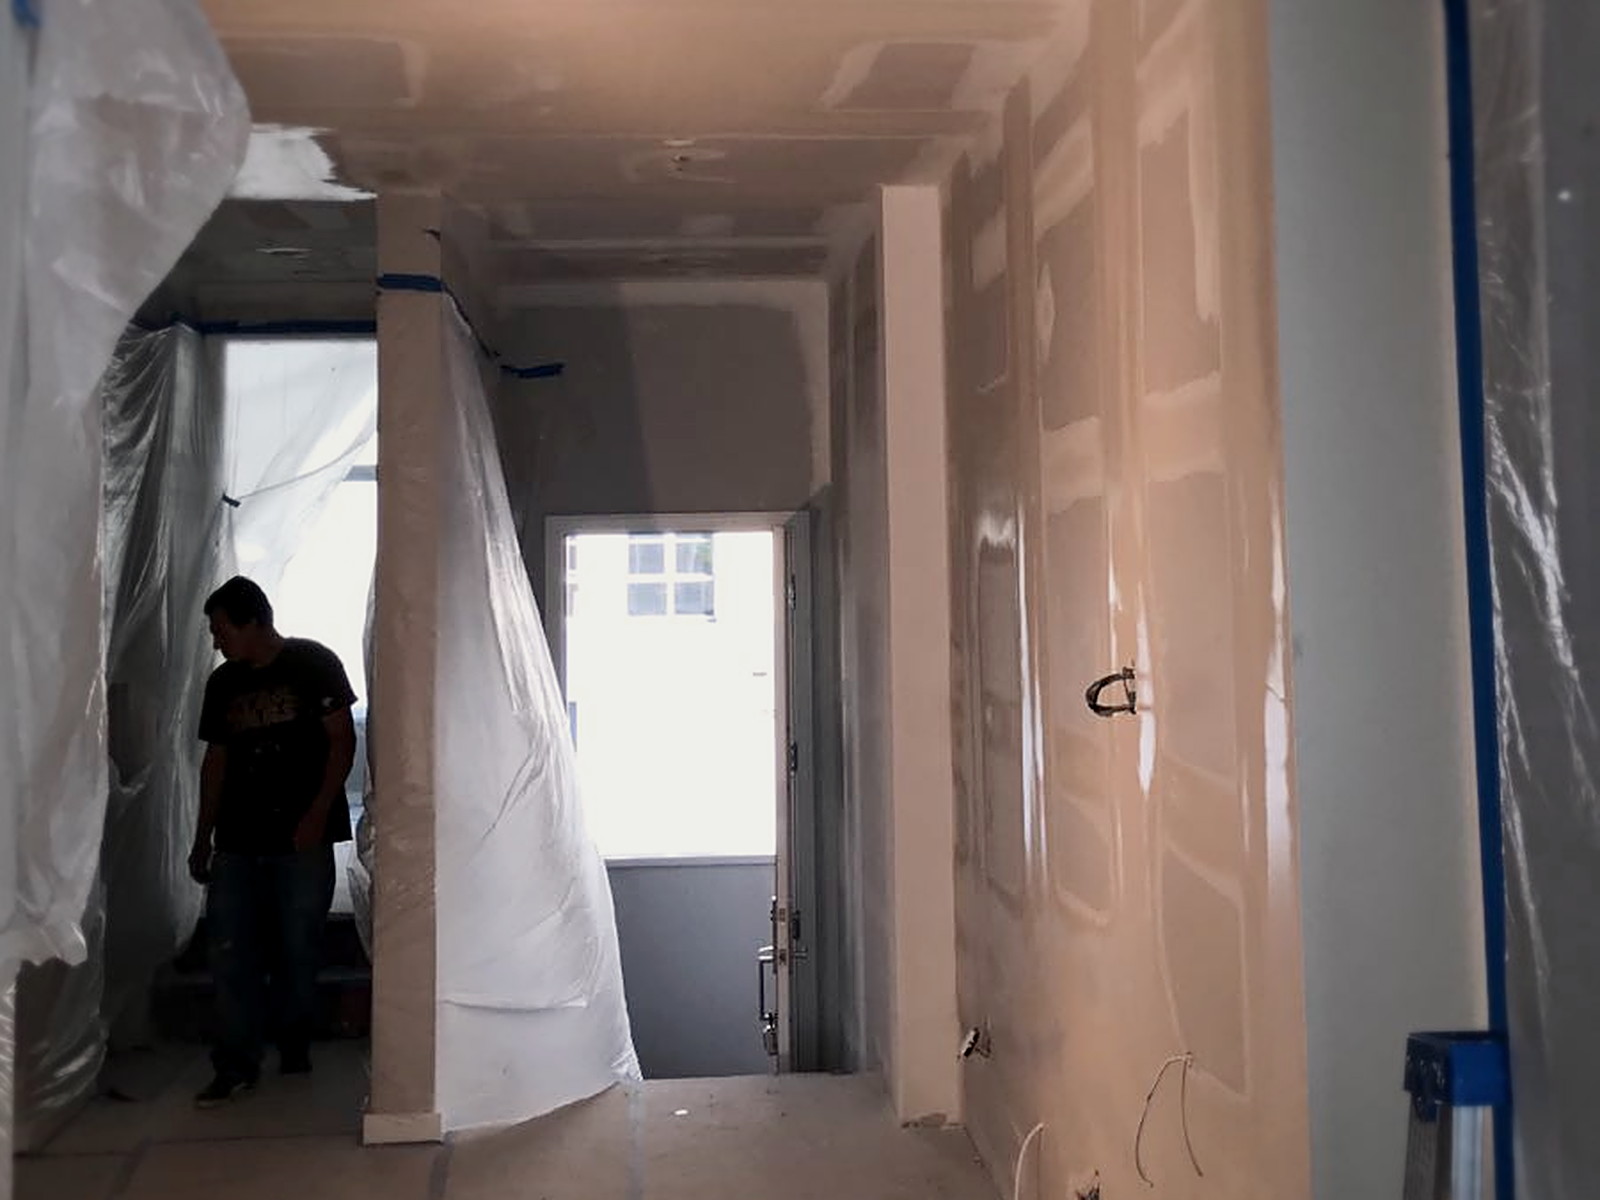
Taped and mudded through the hallway, protection still in place. Finished and painted — a quiet ceiling that looks like any other ceiling.
Build timeline
- 1
Demolition and survey
The existing ceiling came down so we could see the joists, the subfloor above and every service running through the bay. Impact noise from above travels through structure, so the first job is knowing exactly what is connected to what.
- 2
Cavity insulation
Mineral wool was packed between the joists to absorb energy inside the cavity and stop it drumming. Insulation alone will not stop footfall, but without it the new air gap becomes a resonant chamber.
- 3
Fixture and penetration detailing
Recessed lights, sprinkler heads and conduit were boxed and detailed so the new ceiling plane could stay continuous. Every hole in a soundproofed ceiling is a shortcut for the noise you just spent money blocking.
- 4
Clips and hat channel
Sound isolation clips were set on a measured grid across the joists and hat channel snapped into them, holding the finished ceiling on resilient rubber rather than on the framing itself. This decoupling is what breaks the structural path for footsteps overhead.
- 5
Drywall, seal and finish
Drywall was hung on the channel only — never fastened back into the joists — with the perimeter left loose and sealed acoustically instead of caulked tight to the walls. Then tape, mud, paint, and the rooms went back into service.
Materials & system summary
The key soundproofing components used on this build, grouped by the job each layer does in the assembly.
Cavity absorption
Packed full-depth between joists to absorb energy in the cavity and stop the new air gap from ringing.
Decoupling
Rubber-isolated clips carry the hat channel, so the finished ceiling never touches the joists and impact noise loses its path.
Sealing
Run at the ceiling perimeter and around every penetration so the assembly is airtight without hard-coupling the board to the walls.
What was the sound concern?
Noise from the unit above was coming straight down into this San Francisco home — footsteps, dropped objects, voices carrying through the floor structure. That is impact and structure-borne noise, and no amount of soft furnishing in the room below touches it, because the sound is travelling through the joists themselves.
What was our plan?
Open the ceiling, fill the joist bays with mineral wool, and rebuild the finished ceiling on sound isolation clips and hat channel so the drywall hangs on rubber instead of on the structure. Absorption in the cavity plus a decoupled, sealed, massed surface below it is the assembly that actually addresses footfall.
What further issues did we need to resolve?
The work was inside a finished, occupied residence, so every room had to be masked and protected before demolition started. Recessed lighting, a sprinkler line and conduit all crossed the ceiling plane and each one had to be detailed without letting the new surface touch the joists or leaving an air path around it. Ceiling height was also tight, so the assembly had to stay as shallow as the clip and channel system allows.
What was our final Sound Solution?
The finished ceiling reads as an ordinary painted ceiling and gives nothing away, but the drywall above the paint is fully decoupled from the building. Footfall from upstairs is dramatically reduced, the cavity no longer resonates, and the perimeter is sealed so nothing flanks around the edges.
Want a room like this?
Tell us the size of your space, where it is, and whether you're trying to block sound or clean up the sound inside it. We'll come back with a scoped estimate — usually within one business day.
Prefer to talk it through? Call (415) 864-4440.